Tag: Aurora Borealis

  • What to wear in Iceland packing guide

    What to wear in Iceland packing guide

    With Iceland making it onto the 2021 travel green list I wanted to put together a quick packing guide for clothing that will keep you warm and dry in Iceland’s forever changing weather, whilst also keeping your luggage light and compact. 

    “If you don’t like the Icelandic weather, just wait five minutes” – Iceland.

    If you’re not used to travelling places where the weather changes often but never makes it into the  20°C (low 70s in Fahrenheit) then this packing guide will help you with what to wear to stay warm and comfortable in Iceland so the only thing on your mind is adventure.

    I am not partnered with any of the brands in this blog post but you will find me recommending them as they are what Michael and I own and frequently travel with. I’m only recommending the brands whose clothes wash well, last a long time and are reasonably priced. Don’t forget to look on Depop and eBay etc. for second hand clothing and there is always the option to do what I have done for trips like this which is to borrow clothing and outerwear from friends and family to save money whilst being more mindful of the planet. Got any friends who regularly ski? Great, now’s the time to shoot them a message.

    Here’s what I recommend packing to wear on a trip to Iceland to stay warm.
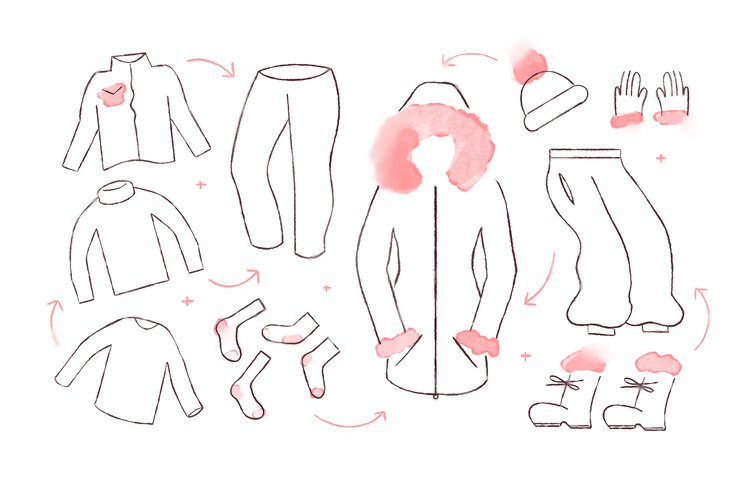
    Thermal base layer 

    My biggest mistake in packing for colder places such as Canada or Scotland has been not taking enough thermal base layers. The layers that go on top such as fleeces, jumpers and coats can be worn multiple times but I find wearing the same base layers without washing is like wearing the same pair of undies 2 days in a row. Maybe I’m just stanky, whatever, either way I advise having 2-4 minimum thermal base layers.

    They’re lightweight and it means you can stay warm under any layers you already own to save having to buy more clothes.

    For those reading this that wear bras, you can save yourself some space by packing thermal base layers with bra support sewn in.
    Fleece

    A fleece is a lightweight and breathable layer that will keep you warm by trapping air in the pockets of its fibres. There are varying weights and looks of fleeces so it’s up to you what you go for. I’ve found the mountain warehouse Camber half zip fleece to be great for fitting comfortably under tighter coats and it’s super compact in luggage, but the bulkier fluffy fleece jacket from Uniqlo is so cosy and can be unzipped if I get warm. 

    Thermal fleeces don’t necessarily need to come in the form of a jacket or jumper, you can travel extra compact with a fleece turtle neck. If I know the weather is going to be particularly cold I will wear a thermal base layer with a fleece turtle neck and a fleece jumper or jacket over the top, under my coat.

    If you don’t already own fleeces then don’t feel like you need to buy them, you can save money by wearing a jumper with a thermal layer underneath. Fleeces are great though for insulating whilst being a light layer so consider one next time you need a new jumper if you’re looking for warmth and comfort.

    Thermal leggings or long underwear

    I recommend wearing either thermal leggings or trousers with long underwear underneath rather than something like jeans. Jeans take much longer to dry when wet and as it can be sunny one moment and snowing the next in Iceland you don’t want to spend your time there uncomfortable.

    Michael and I have thermals from Uniqlo and Mountain Warehouse but the best pair I’ve ever owned were from Calzedonia which I really wasn’t expecting but I’ve worn them non-stop through the winter.

    A tip for those who wear tights – to save money on thermals get a pair of thermal tights to wear under your trousers. Not only do they provide a slim extra layer of warmth but they’re a base pair of socks too! Plus you have the versatility of wearing them as tights.
    Waterproof over-trousers

    I swear there are very few things in life that will make you feel more invincible than wearing effective waterproof clothing in adverse weather conditions. Seriously, I might look like I’m wearing a bin bag but when I have my waterproof over-trousers on I feel better than every other human being on the planet and I don’t care how that sounds because I’m not soggy and miserable.

    I chose to purchase waterproof over-trousers before my round the world trip in 2016 because I didn’t think the actual waterproof trousers were flattering, but I wanted to keep dry and they are one of my favourite purchases ever. They pack down smaller than a water bottle when I’m not using them and when I do need them I just unroll them and slip them over whatever I’m wearing and I’m dry. My pair from Mountain Warehouse have slits on the side so I can still access my pockets (if I actually have them to begin with, you get me) and are adjustable at the bottom so I can slip them over my feet without needing to take my shoes off. Over-trousers are also great because you can take them off when you get to your destination so you don’t have to sit in wet clothing. I swear if I had these back in 2015 to go between the tube and the office when I was working a corporate job in London, I might have actually been good at my job…

    My waterproof over-trousers have saved me all over the world, from keeping my butt dry whilst hiking the Tongariro Crossing in New Zealand to keeping my butt dry on outdoor rides at Disneyland Paris on a rainy day, but they were particularly handy in Iceland because I could throw them over any of my bottoms to keep dry whenever the snow started. They also act as an insulating layer and were welcomed at 1am between snow flurries whilst waiting for a chance to see the Aurora Borealis (Northern Lights).

    Waterproof over-trousers are also a good idea to have if you’re still not budging on wearing jeans in Iceland.

    Hiking socks or ski socks

    In Iceland and other cold climates I wear either a pair of regular socks or my thermal tights with a thick pair such as these outdoor socks from mountain warehouse or a pair of the same ski socks I’ve had since I was 13 years old over the top.

    Worn under hiking boots or snow boots, these have been enough to keep me warm. By wearing two pairs of socks, it not only provides an extra layer of insulation but it means I can take more regular socks which pack into smaller spaces and less thicker socks as I can get a couple of extra days wear out of them before they need washing.

    Snow boots

    Before going to Iceland I borrowed snow boots from my Mum and apart from the one pair of shoes I took to wear for dinner at Lava, the restaurant at Blue Lagoon, they were the only pair of shoes I wore all trip. It’s probably the only trip that I’ve only brought two pairs of shoes and I really didn’t need anything else.

    If you do find yourself needing more shoes, travel in your boots to save space in your luggage.

    Snow boots are my best recommendation because they insulate, they have good tread and they’re waterproof but if you don’t have them and can’t borrow them, rain boots or hiking boots will do the job with thick socks.
    Coat

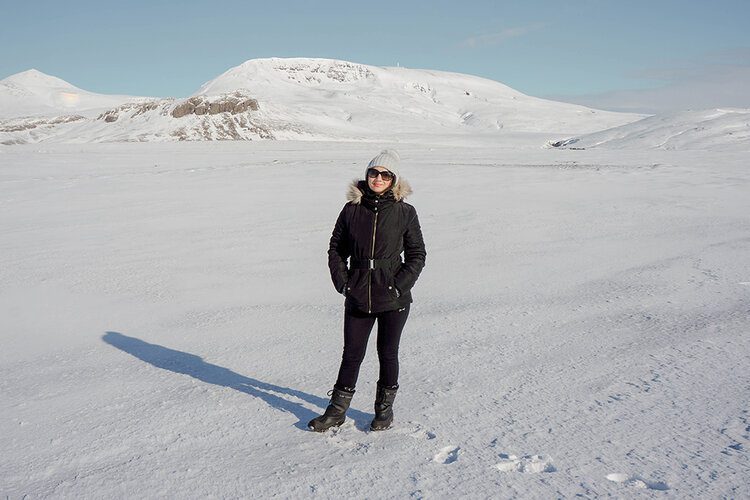
    You want to be pretty serious about your coat for a trip to Iceland if you want to be warm, comfortable and dry. You don’t want something thin like a trench coat or one that won’t dry quickly when it suddenly snows, so any kind of faux fur/teddy bear coat is out of the window. You want something with a hood to prevent snowflakes from getting down your neck and some kind of insulation against cold winds.

    The best coat choices for a trip to Iceland are:


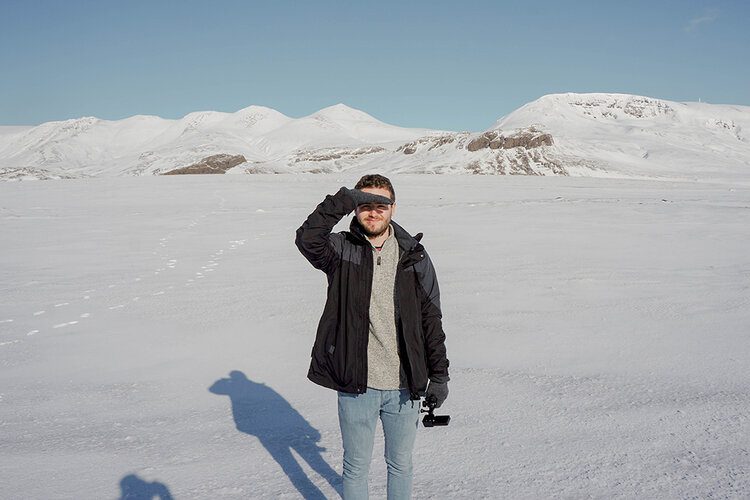
    • A waterproof coat that has a fleece lining, even better if it’s detachable so you have more options in one garment. Michael has this 3 in 1 coat from Mountain Warehouse and it has kept him dry all around the world.


    • A puffer coat that is waterproof, the longer the better.


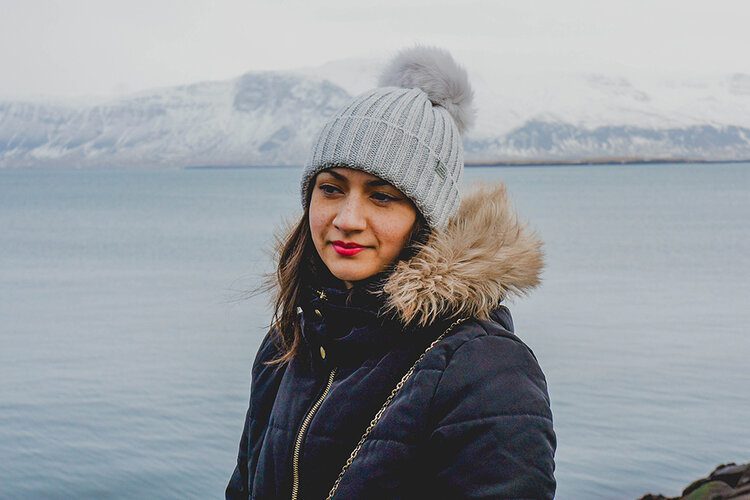
    If you have one with a faux fur trim around the hood that will do well in Iceland too as the furry trim will catch snowflakes around your face, keeping them out of your eyes.
    Hat and gloves

    Depending on the time of year you go to Iceland, you may not need gloves, but if you are travelling there outside of summer then my advice is just to pack ski gloves as anything less won’t really keep the chill out and I’ve found mine to be useful on so many trips or even just when it snows in the UK and I want to throw snowballs at Michael.

    Keep your head warm and ears protected from the wind with a beanie hat. 

    Want to know how to make your own wooly hat that’s perfect for your travels to Iceland or cooler climates? Check out my crochet beanie hat tutorial which has a free pattern, a step-by-step guide and a YouTube tutorial so you can stitch along with me.

    Planning a trip to Iceland? Take a look at my Reykjavik itinerary for inspiration including Blue Lagoon, the Golden Circle and spotting the Aurora Borealis.

    Do more on & for the planet, Gabriella

    Pin this post
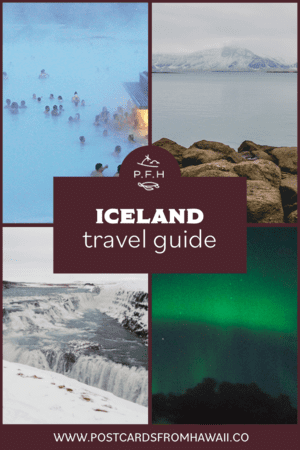


  • Iceland itinerary – a five day trip to Reykjavik

    Iceland itinerary – a five day trip to Reykjavik

    In March last year my wonderful boyfriend took me on a trip to Iceland to see the Northern Lights for my (belated) birthday. It was one of our shorter trips lasting just 5 days, but we planned those days well and easily checked off all the must-do things this beautiful insta-worthy country has to offer. Let me take you through what we did with tips for surviving the cold and making the most of your activities.

    Day 1

    Flight with WOW Air from Gatwick to Reykjavik.

    Check in to The Swan House.*

    Dinner out on the main shopping street, Laugavegur.

    Gray Line Northern Lights Mystery Tour.**

    Day 2

    Supermarket shop.

    Sólfarið – The Sun Voyager sculpture.

    Harpa Concert Hall.

    Hallgrímskirkj.

    Explore the little shopping streets in central Reyjavik.

    Day 3

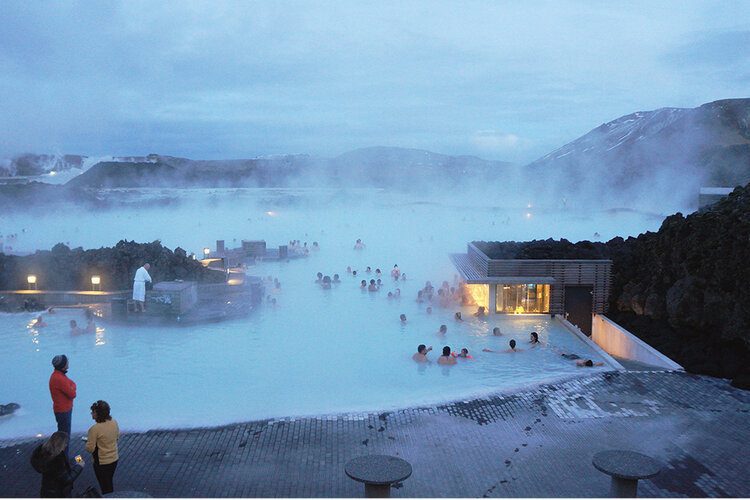
    Coach to Blue Lagoon.

    Blue Lagoon Premium Experience.***

    Dinner at Blue Lagoon Lava Restaurant.

    (We actually saw the Northern Lights a second time on the coach home)

    Day 4

    Hire a car at Procar to drive the Golden Circle.****

    Þingvellir.

    Geyser.

    Gullfoss.

    Grotta Nordurstrond public car park, after dark to catch the Northern Lights one last time.

    Return the hire car.

    Day 5

    Last bit of souvenir shopping.

    Flight with WOW Air back to Gatwick.


    *The Swan House

    Iceland is very expensive! On our first night we went out for dinner to a no-thrills Italian restaurant not far from our hotel, we had one alcoholic drink and a bowl of pasta each and the bill was close to £120. Considering it was equivalent to the likes of a high street chain restaurant, imagine what eating out every night will put you back by the end of your trip. The solution? Go self-catering. The Swan House is a conveniently located hotel full of beautifully furnished and fully equipped apartments. The closest mini-market is just a six minute walk away and sells everything you need to whip up breakfast, lunch and dinner for your whole stay, plus it will cost less than just one night’s dinner at a restaurant.

    **Aurora Borealis

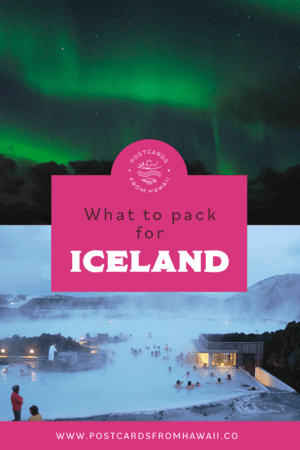
    Grey Line Northern Lights tours will take you every night until you either see the lights or your trip ends. We were incredibly fortunate to see them on our first night but don’t be fooled, it’s not an easy feat. The weather is freezing cold, the wind is sharp and unforgiving, it’s virtually pitch black and you’re in the middle of nowhere.

    PFH Top Tips for seeing the Northern Lights

    Clothing


    • Thermal base layers – leggings, vest and long sleeve top.


    • Sports tights over the thermal leggings because they are a quick dry fabric, should you get caught in a snow flurry.


    • Foldaway waterproof over trousers.


    • Socks with ski socks on top.


    • Snow boots or hiking boots with a sheep skin insole.


    • Fleece.


    • A waterproof, down filled puffer-coat that zips up to your nose. Preferably with a fur trimmed hood which is designed to not only look good but trap snowflakes before they land on your face.


    • Ski gloves, and if possible wear thin knitted woolen gloves underneath.


    • Fleece lined hat.


    • Thick knitted snood so the wind can’t pull it off, unlike a scarf.


    Photos

    Keep in mind these are tips we picked up on the trip, I am no professional photographer and I strongly recommend researching these tips further.


    • Bring a camera where you can manually change the settings.


    • Charge that baby to the max and bring a spare battery.


    • Bring a tripod, we didn’t and because you need a slow shutter speed to capture that light our photos came out a little shaky (which you have undoubtedly noticed) despite our makeshift stabiliser or for a more technical term, a pile of rocks.


    • Drop your aperture to the lowest number you can. This is really important because you can’t always see the true colours of the lights with the naked eye but by doing this your lens is taking in more light than you can see.


    • Extend your shutter speed so your lens is open for longer to absorb the light I mentioned before.


    • You won’t get it perfect the first time and you can’t test it until your lens is pointing up at that display, so don’t be disheartened if the first few come out crappy. Just keep fiddling with those settings and you’ll get there. The best thing you can do is familiarise yourself with those settings before your trip so you know where they are when you need them.


    Tour:


    • You could be in for a long night and your short trip means you will be up early the next day so sleep on the bus. The tour guide will wake you up when the lights come out, just be ready to roll.


    • Though you are surrounded by other tour groups, you are still in the middle of nowhere and there is a lot of waiting so bring a bag of snacks – go easy on the liquids though because the only relief is your bus toilet and it’s not easy to get in and out of those layers in such a cramped environment.


    ***Blue Lagoon

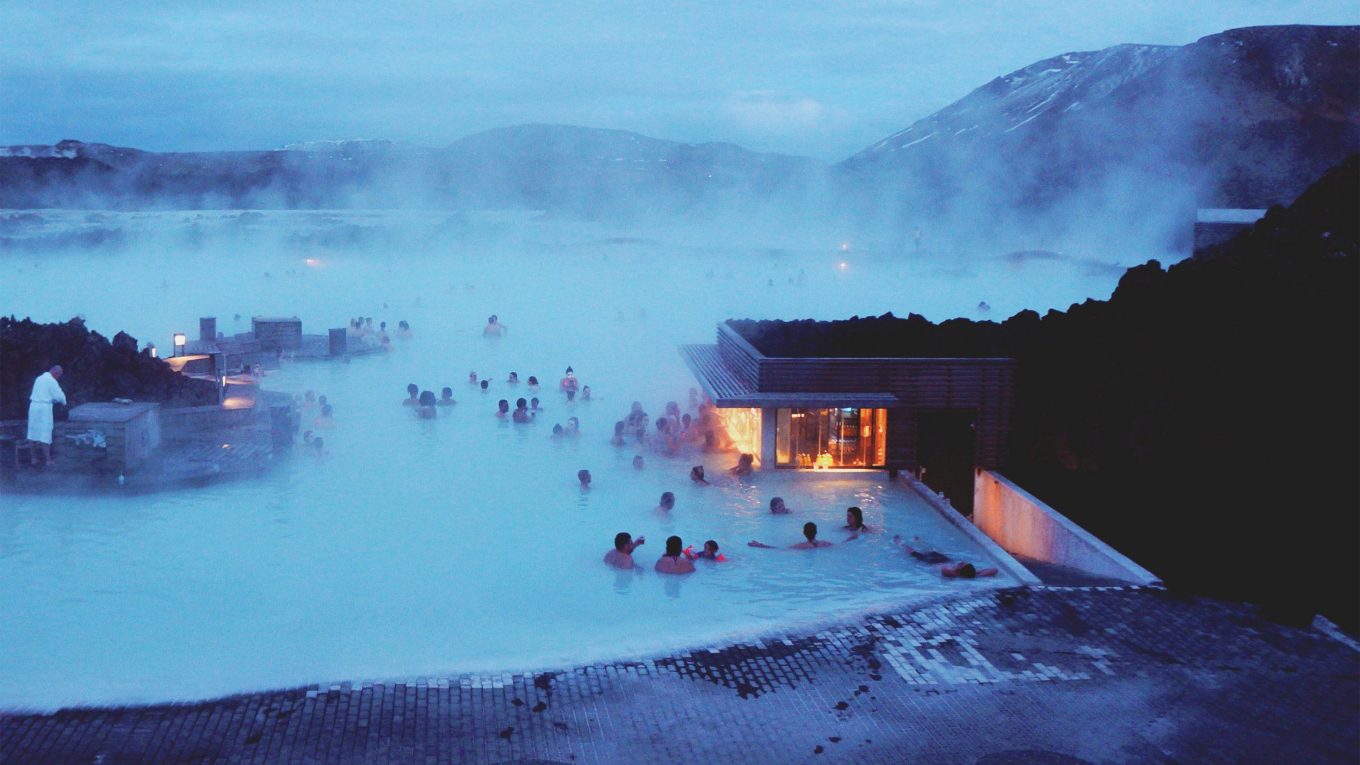
    Listen to me very VERY carefully and if you take anything from this post let it be this. That geothermal water will damage your hair, it will dry it out and make it a texture that resembles knotted tacky straw. Trust me no matter how much conditioner you put on that hair – and considering it’s free in the showers so I used over half a full-sized bottle – it isn’t likely to settle for days. I even borrowed someone’s coconut oil but nothing was taming my barnet. You see I did what you are thinking of doing, I prioritised my photos at the expense of my hair. I have at least 100 photos of me pulling and flicking my hair in various poses and the only advice I can give you is: 


    • Tie up your hair the moment you are done.


    • Go back to the changing room and run as much conditioner as you can through it.


    • Bring every protective/conditioning product under the sun for afterwards.


    • Don’t apply heat to it until the next day, at the very least.


    Don’t panic for the long term though, a few washes and conditioning masks over the following couple of days will eventually sort it out.

    I also know that if you’re anything like me, you want makeup on in your snaps so get your photos first thing with your makeup on and then take your makeup off in the changing rooms (bring makeup remover) to return to the lagoon for face masks. Whilst you’re in the changing room, return your camera/phone to your locker because you will want to relax and not worry about holding it. On that note, dear Lord please put a wrist strap on your camera/phone, I genuinely know someone who forgot they had their gopro in their pocket, dropped it and spent the day scouring for it across the gummy floor beneath opaque water. Someone must have been looking out for him that day because he recovered it, but please don’t take that risk.

    Speaking of that opaque water, be prepared to wash out your swimsuit like a bajillion times because the silica is going to cling on for dear life, rinse that thing until it drips clear and not white. 

    ****Golden Circle

    The Golden Circle is a driving route that takes you through snowy peaks to explosive geysers, tranquil national parks and a magnificent waterfall. Though you can take a guided tour, I highly recommend driving it yourself so that you can enjoy the beautiful surroundings at your own pace and stop to take photos whenever you please. 

    As you can see in the itinerary above, we set aside a whole day for this road trip. That’s because, depending on how thorough you are, it can take somewhere between 4-10 hours. Thankfully the roads are very well maintained so this will not not be a delaying factor on your trip. The rental company will provide you with the route map but I suggest downloading the area for offline use on google maps. 

    Pack up lunch and flasks of hot drinks in advance, this is not only useful if you get stuck somehow and need sustenance (again, very unlikely), but also the food choices en route are few and far between and honestly not that great. The three main points of interest are Þingvellir, Geyser and Gullfoss:

    Þingvellir

    Is a historical national park which hosts the site where Vikings settled in the 10th century to build the world’s oldest parliament. It is also where the North American and Eurasian tectonic plates meet, both of which are being pulled apart at a rate of 2cm per year and has thus created the Þingvellir rift valley.

    There is no entrance fee for the park but parking costs 500 ISK. However, this is an all-day ticket and is valid in all the Þingvellir car parks.

    Geyser

    The Great Geyser is located on a geothermal field and is surrounded by hot springs and sporadically bubbling mud pits boiling away beneath the surface. It is the oldest geyser to be documented with the first known account written in 1294. The most active geyser in the area is Strokkur which ejects water up to 30 metres high every couple of minutes.

    There is no entrance or parking fee for this tourist hot spot – pun intended. Speaking of hot spots, please don’t do an Ed Sheeran and ignore the warnings to stay within the marked pathways. The barriers are there for a reason, the ground is literally boiling hot and you will burn the skin off your foot should you go wrong, which is exactly what happened to Mr Sheeran.

    Gullfoss

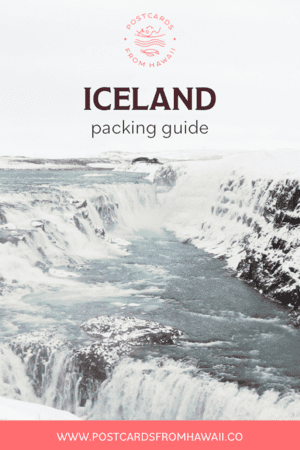
    Gullfoss is the iconic 32-metre-drop waterfall fed by the second largest glacier in Iceland. Be prepared with waterproof clothing as the spray travels. The site hosts the biggest gift shop of all those on this excursion featuring all sorts of handmade trinkets including a selection of Lopapeysa, Iceland’s traditional knitted jumper (come with deep pockets if you wish to purchase one of these though). There is no entrance or parking fee for this end-of-trail destination.

    .

    Hit me up here if this has been a useful read for planning your Icelandic adventures or if you just want a sympathetic ear for your Blue Lagoon hair scare story!

    Aloha, Gabriella 

    Pin this post