Whether you’ve been sewing for years and are looking for a quick project or you’ve just started and you want an easy sewing project to start with, this sewing tutorial for how to make hair scrunchies is perfect.
In this hair scrunchie sewing tutorial I’m going to be giving you a step-by-step guide for making your very own hair scrunchies, complete with photos of every stage plus I’ve created a YouTube tutorial to make it even easier for you to follow along. You can find my YouTube tutorial for how to sew hair scrunchies below.
I originally created this blog post back in 2020 when I was looking for fun projects that we could do whilst we also safely kept indoors during the pandemic. With the help from my best friend, Amy-Olivia, (we graduated together with our fashion degrees) we came up with the easiest sewing tutorial for making hair scrunchies for you. These hair scrunchies are so easy to make that it might even become addictive and before you know it you’ll have a collection in every scrap of fabric you can find.
Actually, that’s the best part! You only ned a small strip of fabric measuring 55cm long and 12cm wide (21.5” long x 5” wide) for making hair scrunchies so you can easily use offcuts from previous projects to save wasting that fabric.
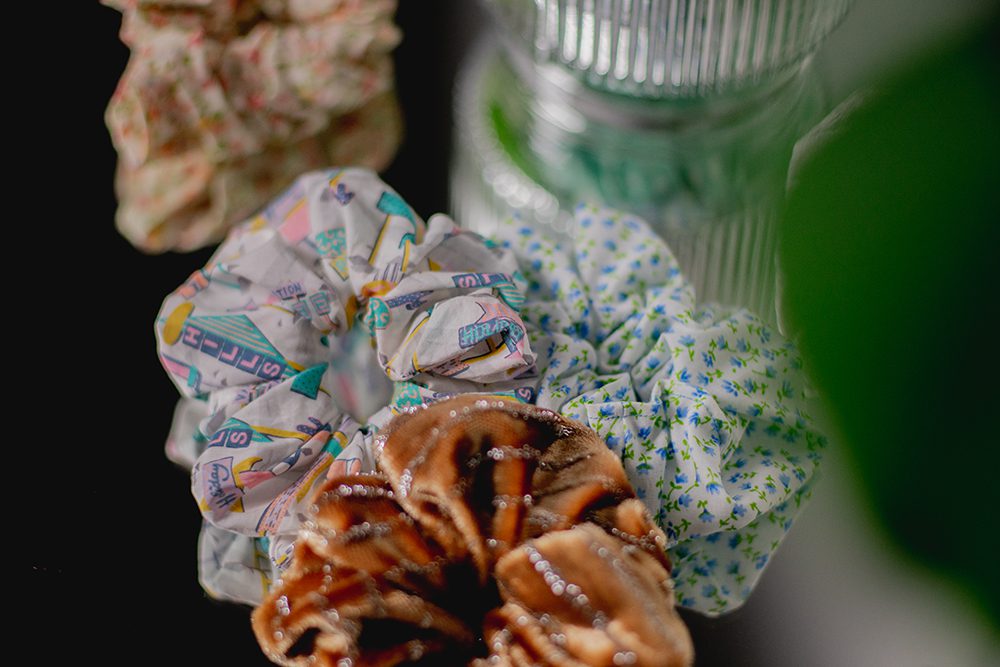
You can get creatively sustainable too by cutting up old garments to up-cycle them into hair scrunchies or you could sew fabric scraps together to make a sort of patchwork hair scrunchie if you don’t have enough scraps of the same fabric. Not only is getting a second life out of your fabric and clothes a fun challenge but it’s also better choice for the planet.
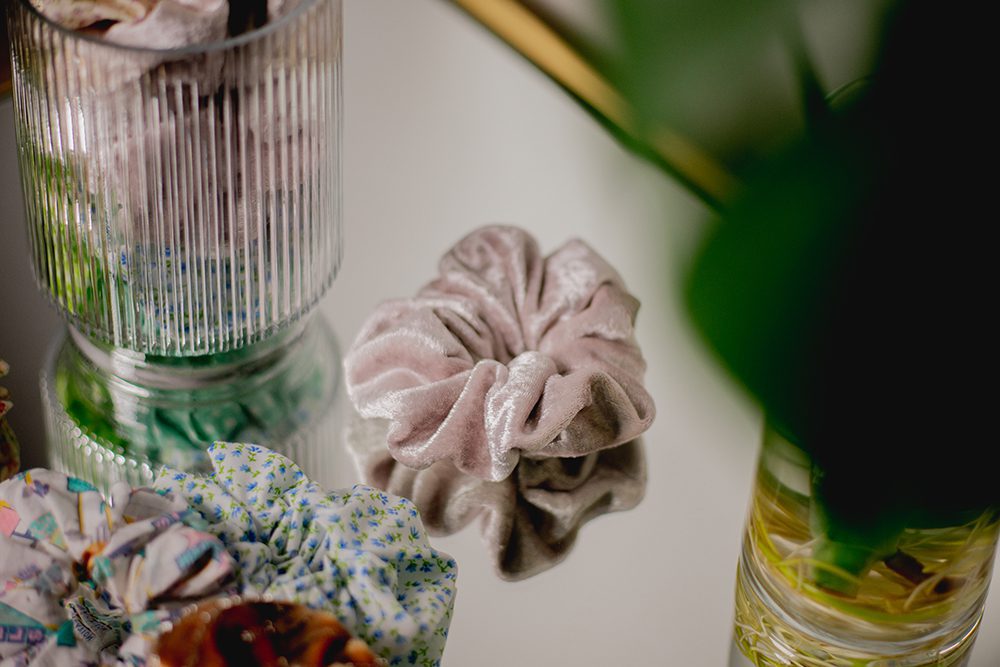
If you enjoy this sewing tutorial for how to make hair scrunchies then you might also be interested in my other sewing step-by-step guides for How to make a drawstring laundry bag and How to make a hanky (reusable tissue).
These DIY hair scrunchies make great gifts and stocking fillers too! I make them every year for my friends and family. They’re personal, from the heart and super cheap to make!
Ok let’s get creating!
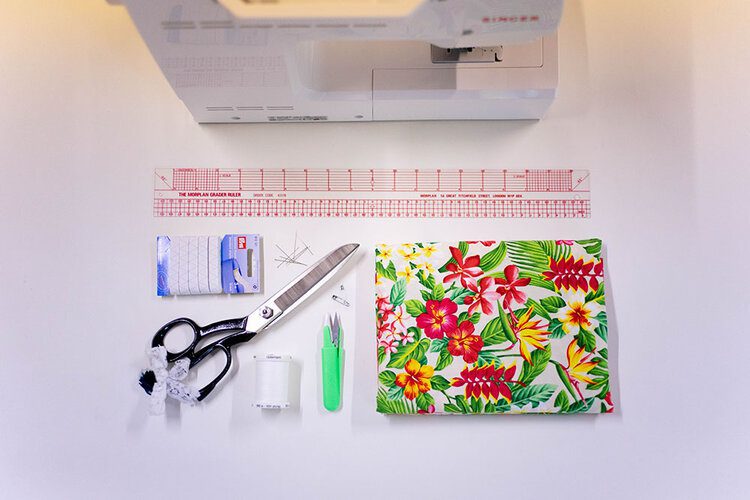
What you need to make hair scrunchies
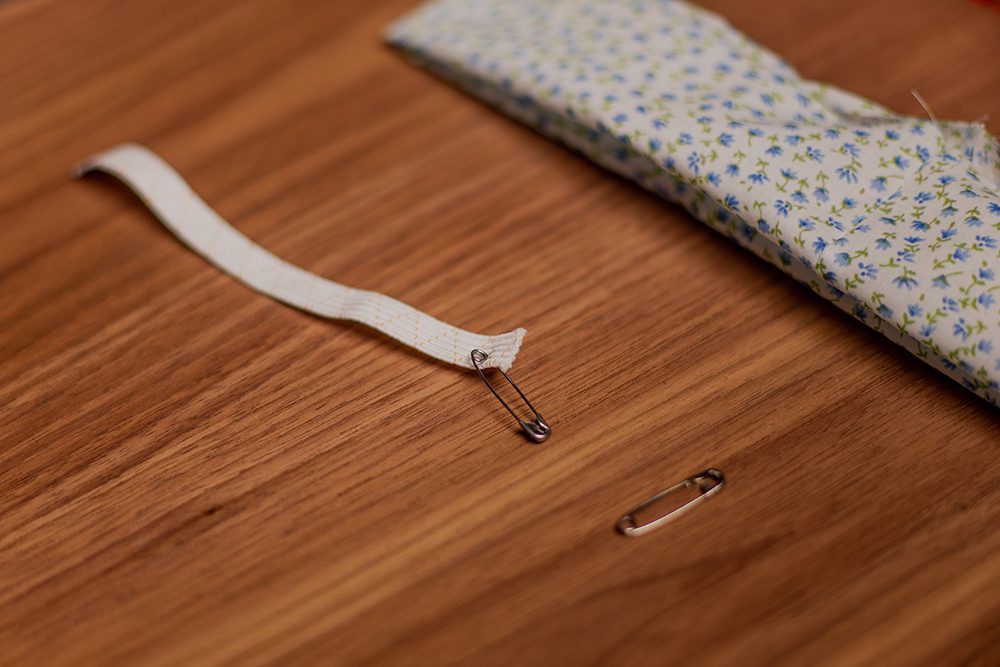
Fabric measuring 55cm long and 12cm wide (21.5” long x 5” wide)
Elastic measuring 14cm long (5 1/2” long)
Sewing machine (I’m using my Singer SM024)
Snips (you can use your fabric scissors if you don’t have snips)
X2 Safety pins
Ruler/tape measure/pattern master
Step-by-step guide on how to make hair scrunchies
Set up your sewing machine and make a bobbin in the matching thread to your scrunchie.
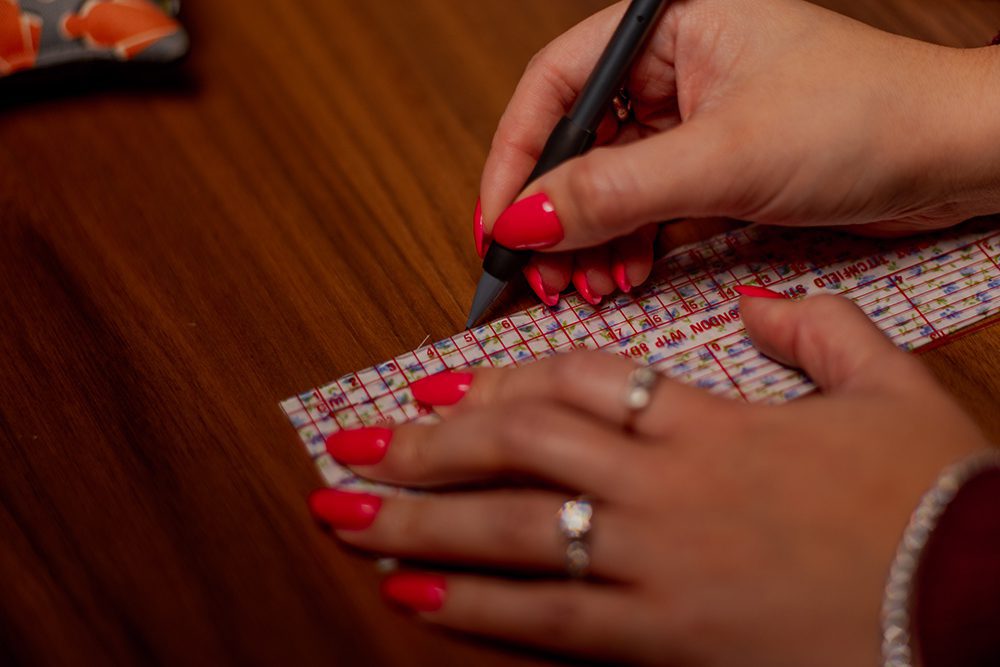
1. Iron your fabric before starting then measure out and cut your fabric.
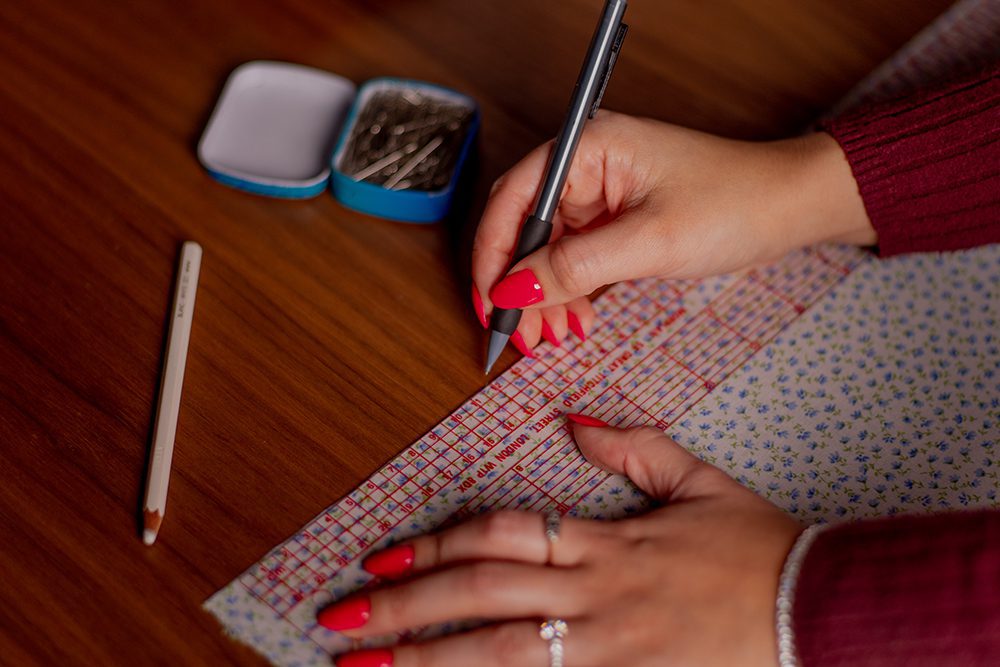
2. Fold the fabric in half, lengthways with the right side facing in and pin it.
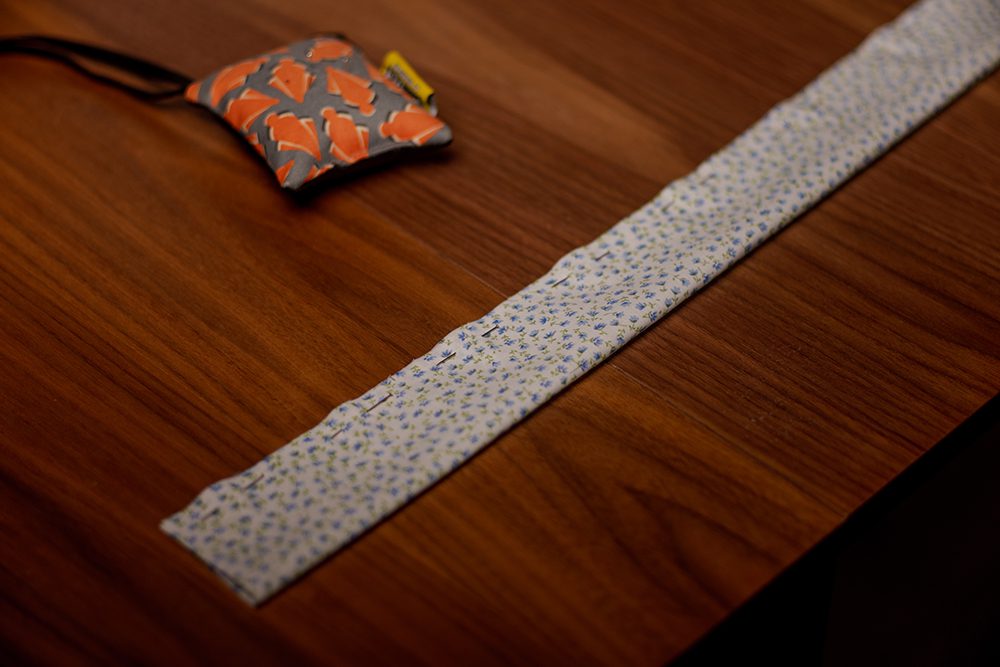
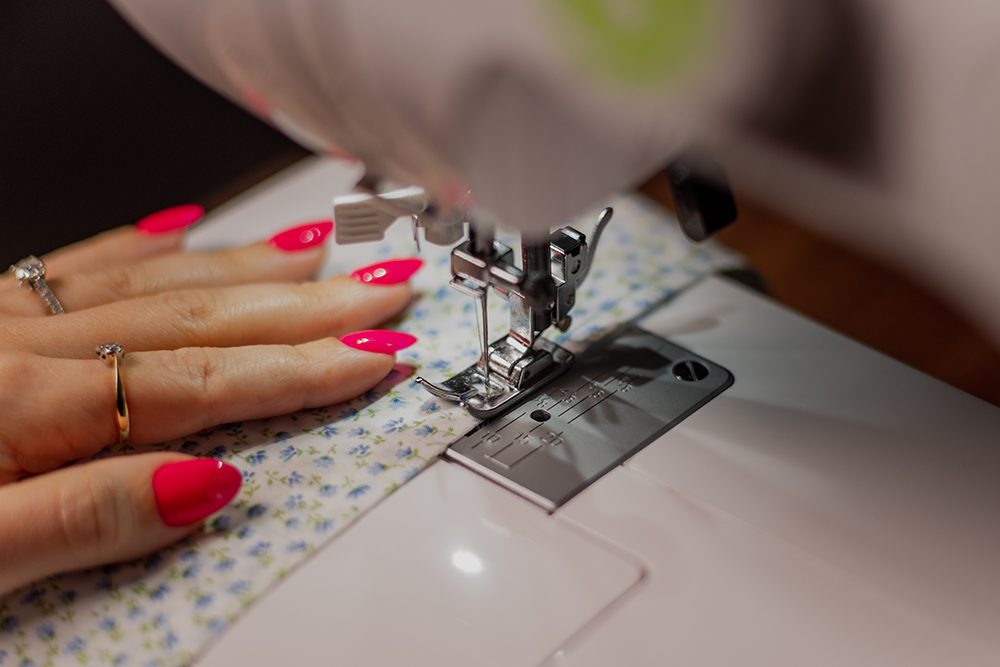
3. Sew where you’ve pinned starting about 5cm/2” from the top edge and ending about 5cm/2” from the bottom. Use the edge of the foot as your seam allowance guide and make sure you backstitch where you start and end your stitching to stop it from unravelling. Snip your thread.
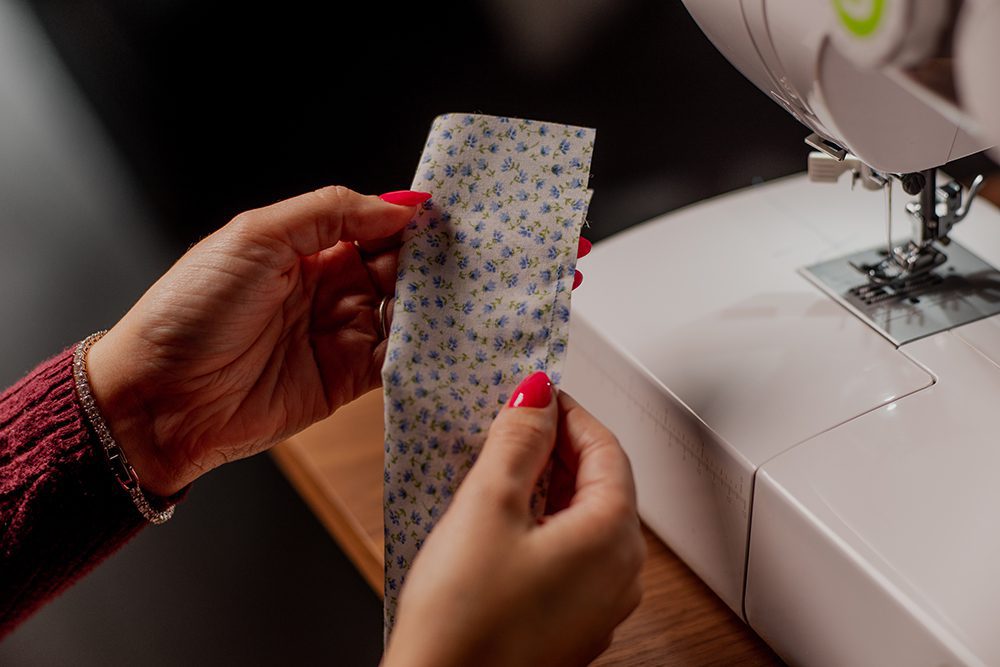
4. Turn your piece inside out so the fabric is the right way around.
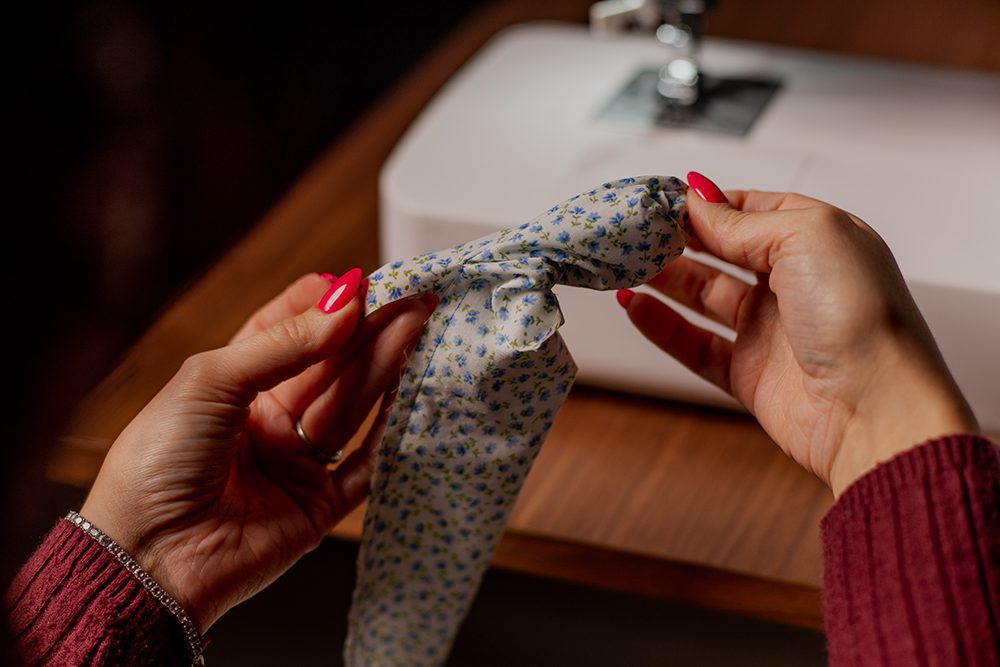
5. Fold your piece in half and take the two ends and pin them together, right sides facing in.
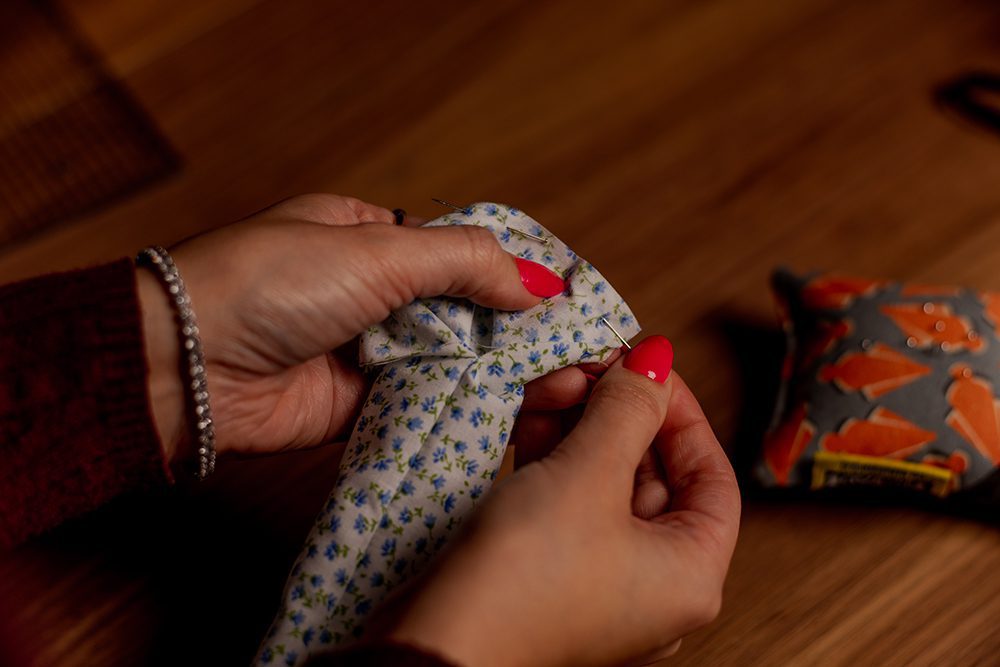
6. Sew along where you’ve pinned, from top to bottom, backstitching at both ends to secure the stitching. Again, use the edge of the foot to guide your seam allowance. Snip your thread.
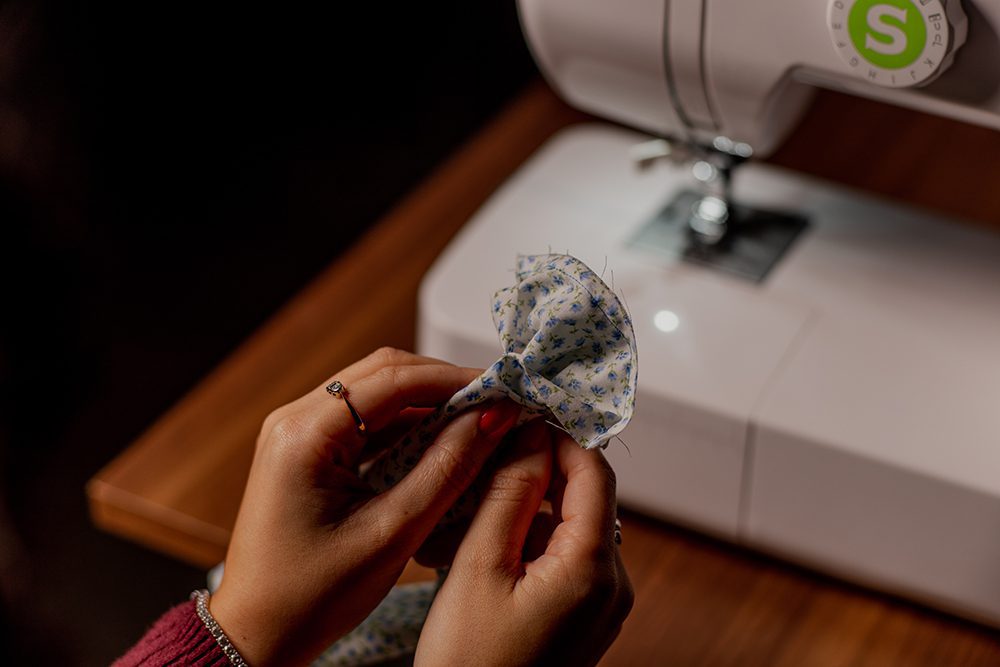
7. Push the new seam in so you have a circular tube with a little opening at the top.
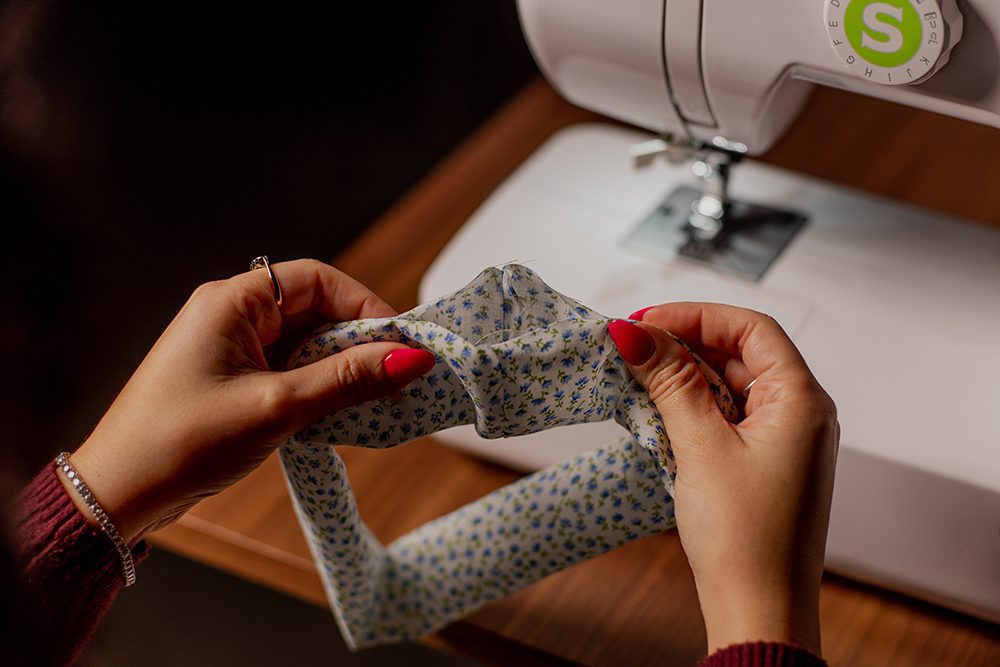
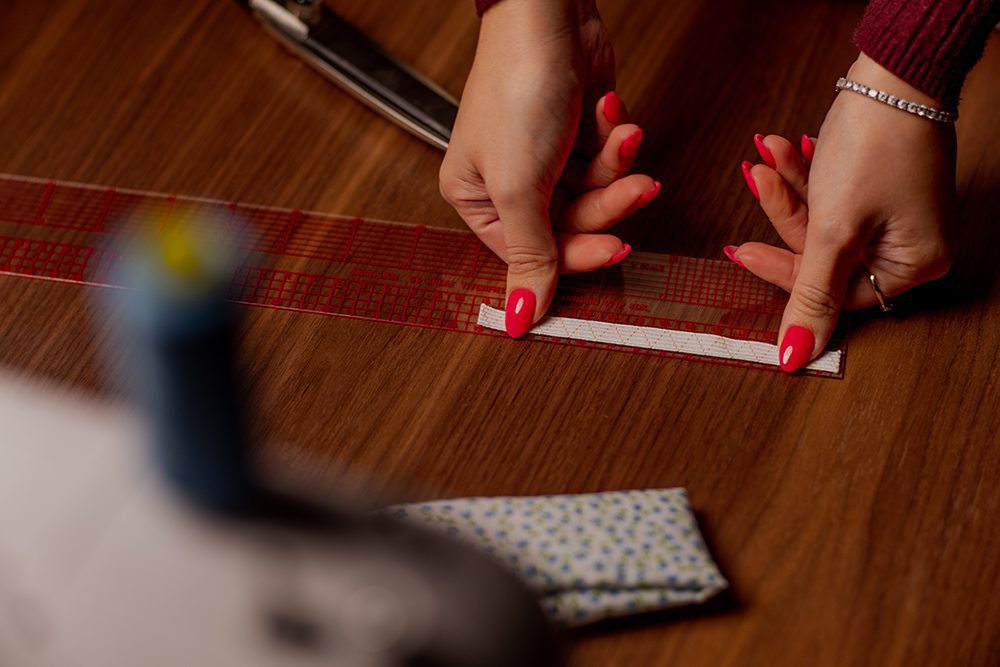
8. Measure out and cut your elastic.
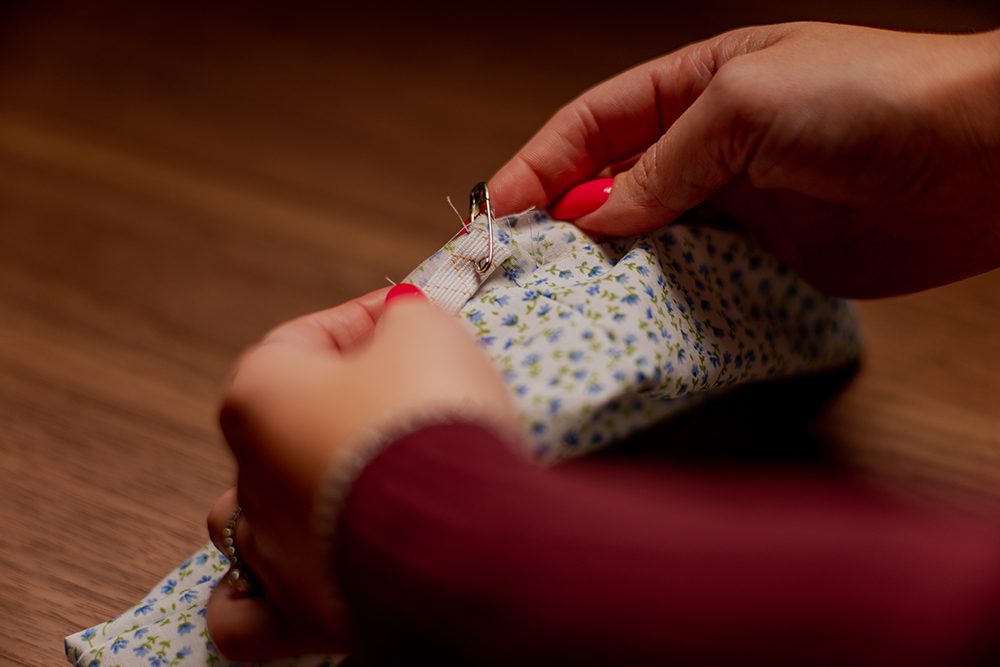
9. Take your safety pins and pin one to one end of the elastic, then use the other safety pin to secure the other end of the elastic to your scrunchie fabric. This is to hold the elastic in place whilst you thread it through the scrunchie.
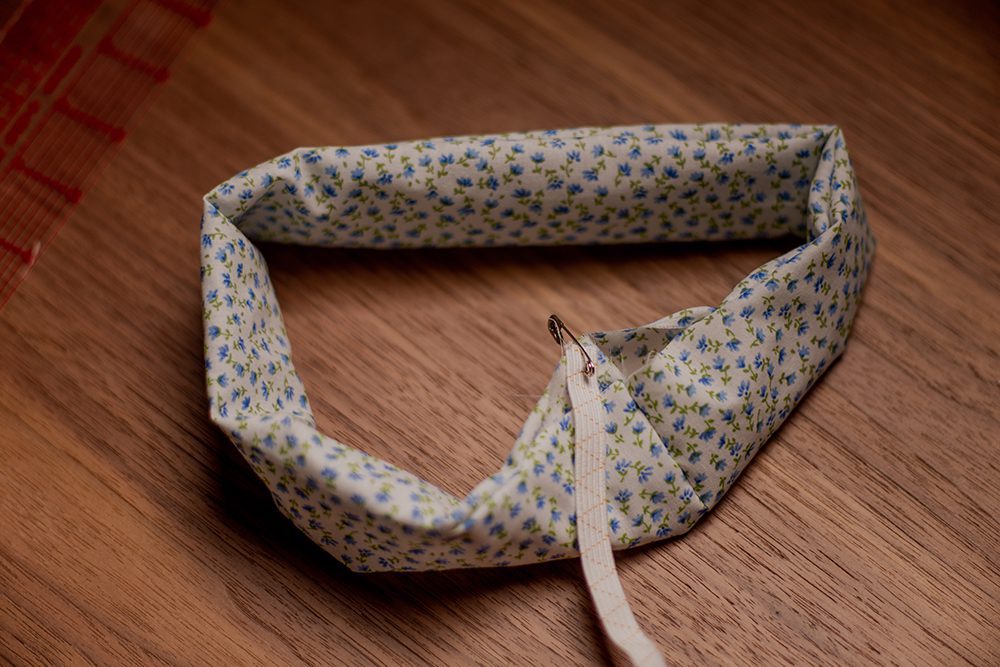
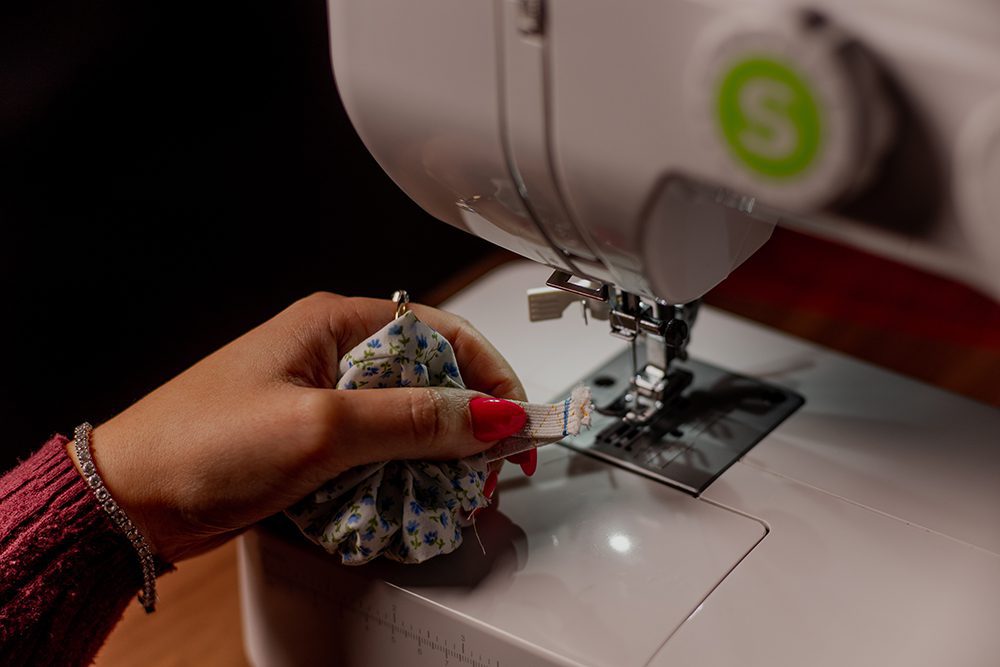
10. Take the loose end of your elastic (that you didn’t pin to the fabric) and thread it through the scrunchie. Use the safety pin to push the elastic through, gathering the fabric as you go and pulling it back so you move through the ring of fabric. Keep going until the safety pin is back where you started.
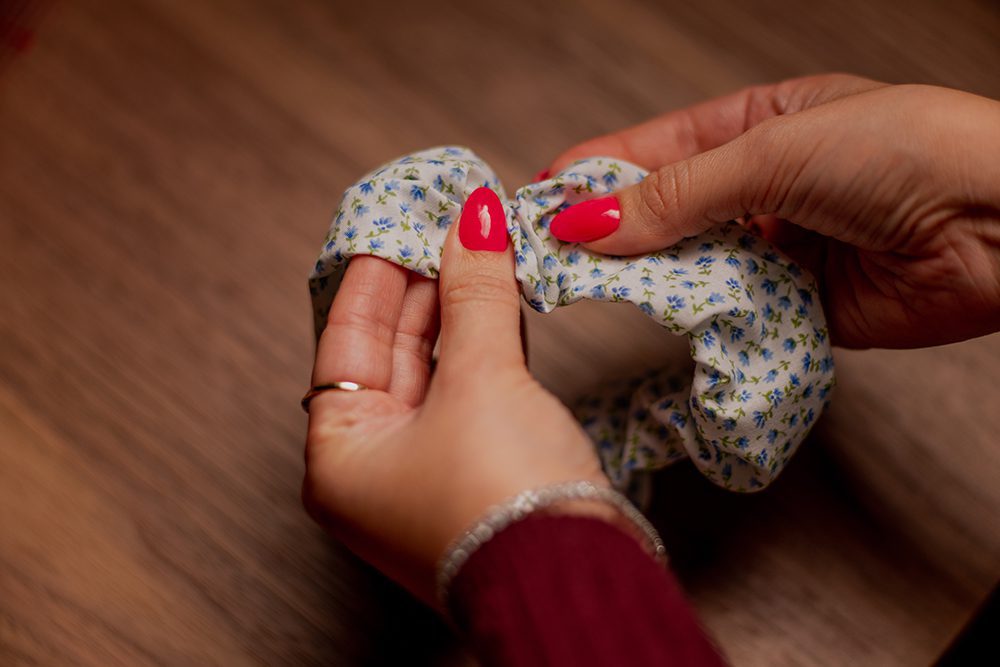
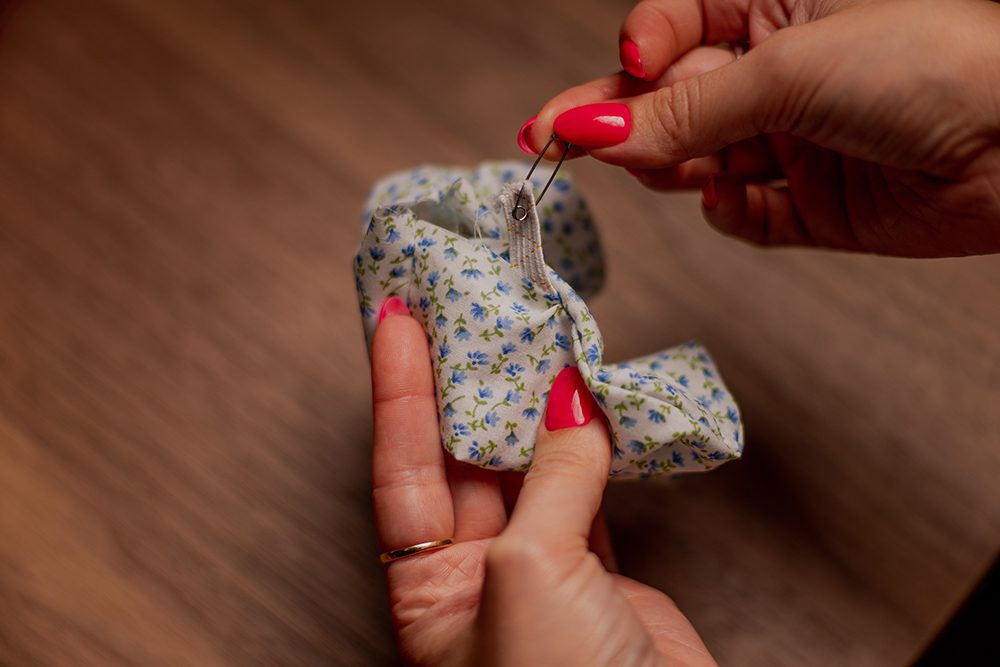
11. Keeping hold of both ends of the elastic, remove the safety pin from the scrunchie then both from the elastic. Hold the ends of the elastic together.
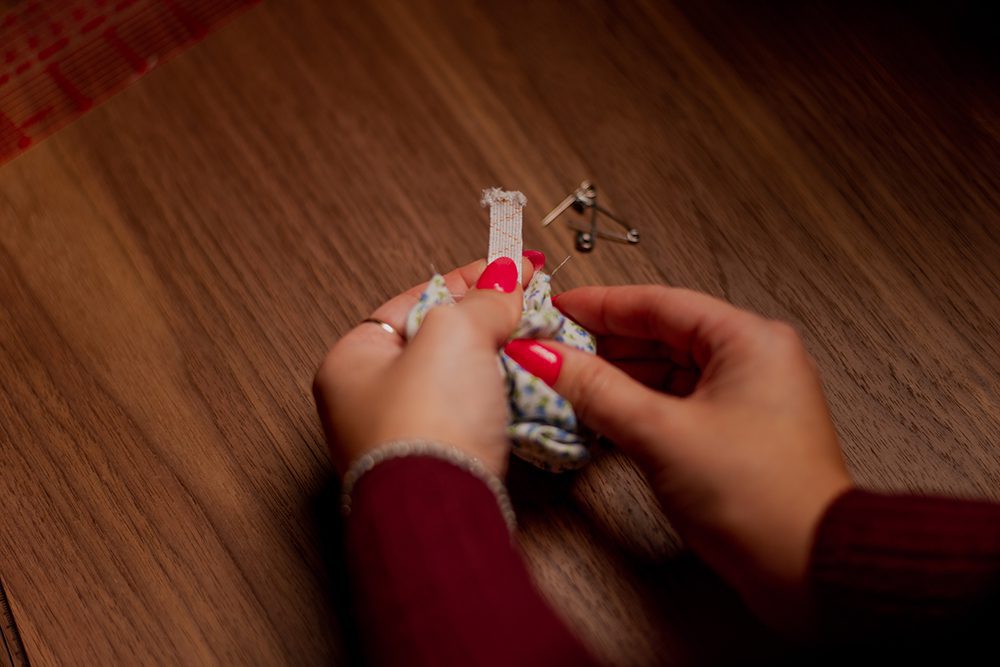
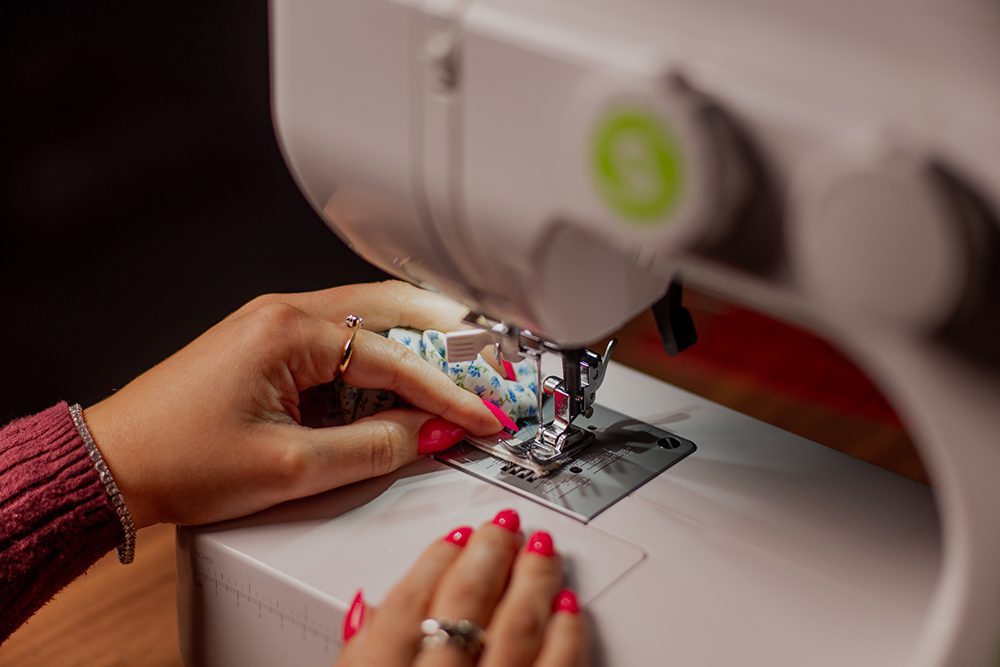
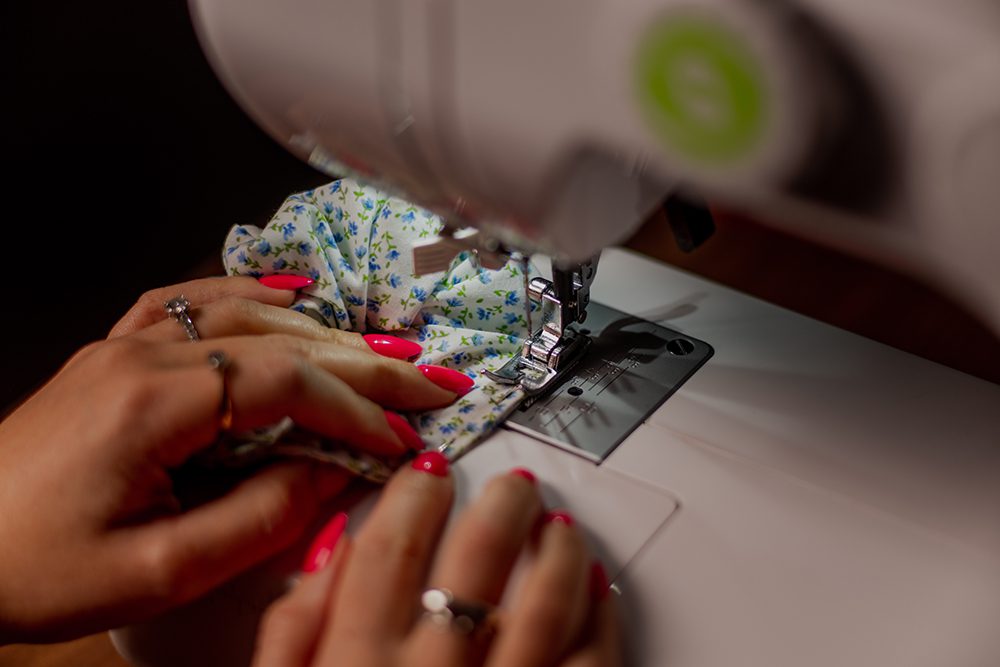
12. Being careful not to let go, place the ends of the elastic under the sewing machine foot, one on top of the other, and sew back and forth a few times to stitch the ends together and secure the stitching. Snip your thread.
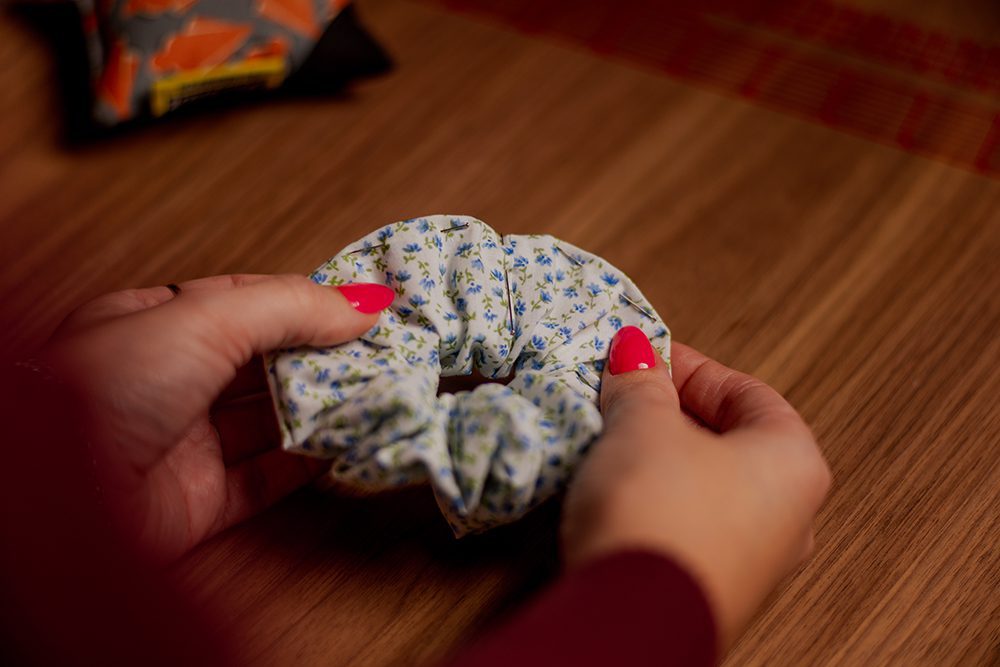
13. Take hold of your scrunchie where it’s open and fold in the raw edges closing them together until it matches the existing seam.
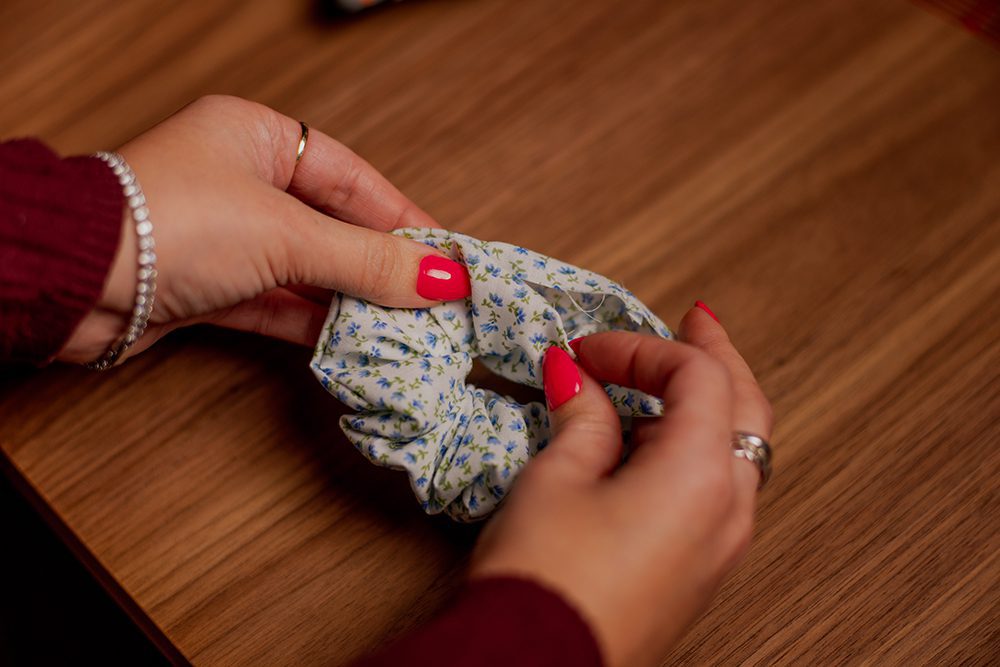
14. Pin it closed and top stitch along where you’ve pinned to close the hole. Keep the stitching close to the edge of the scrunchie and make sure you don’t sew the elastic that’s within. Back stitch both ends and snip away your thread.
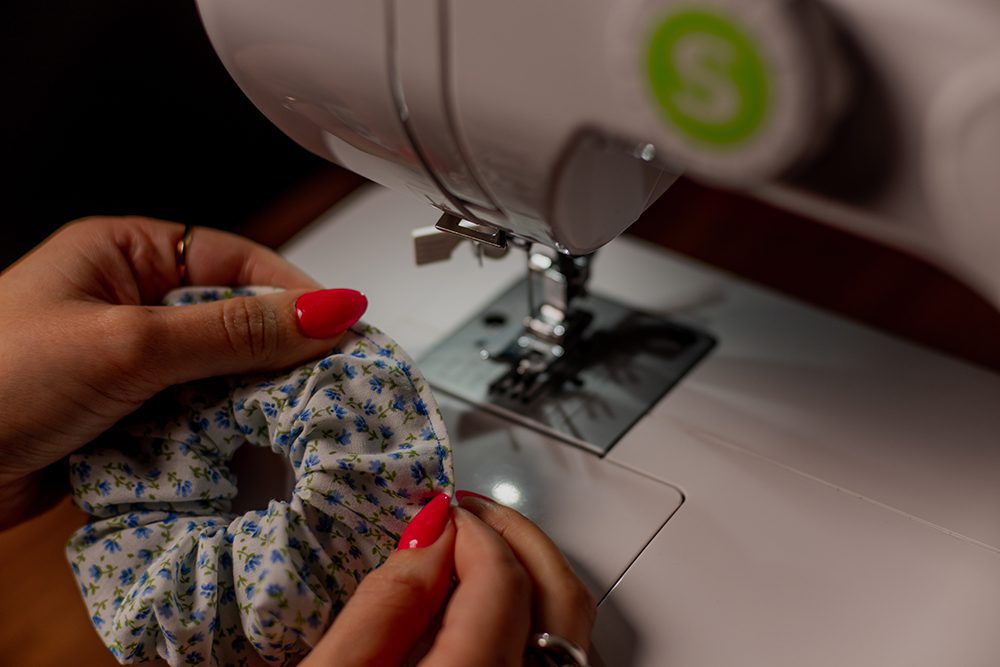
15. The last step before you can wear your scrunchie is to twist the fabric around the elastic so that the seam, and where you’ve just stitched the hole closed, is now on the inside of the scrunchie, this way you can hide the stitching when it’s worn.
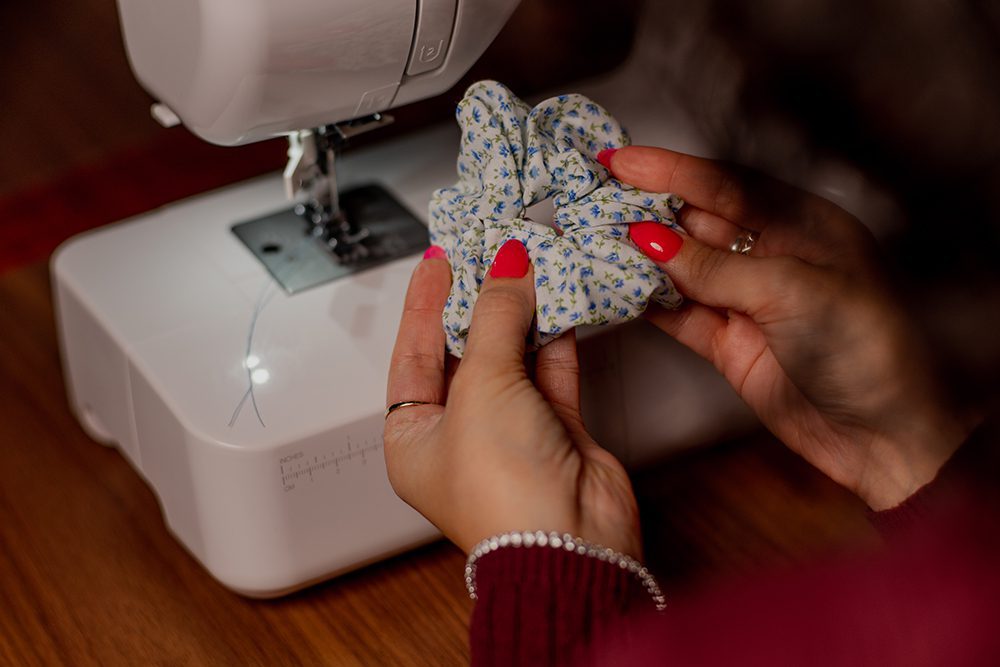
I hope you enjoyed making your very own homemade hair scrunchie with this easy sewing tutorial. I would love it if you tagged me @gabriellawisdom in any images or videos you share online! If you found this helpful or want to share what you made please leave a comment on this blog post below!
Be sure to check out my other sewing tutorials, How to make a drawstring laundry bag and How to make a hanky (reusable tissue).
Do more on & for the planet, Gabriella


