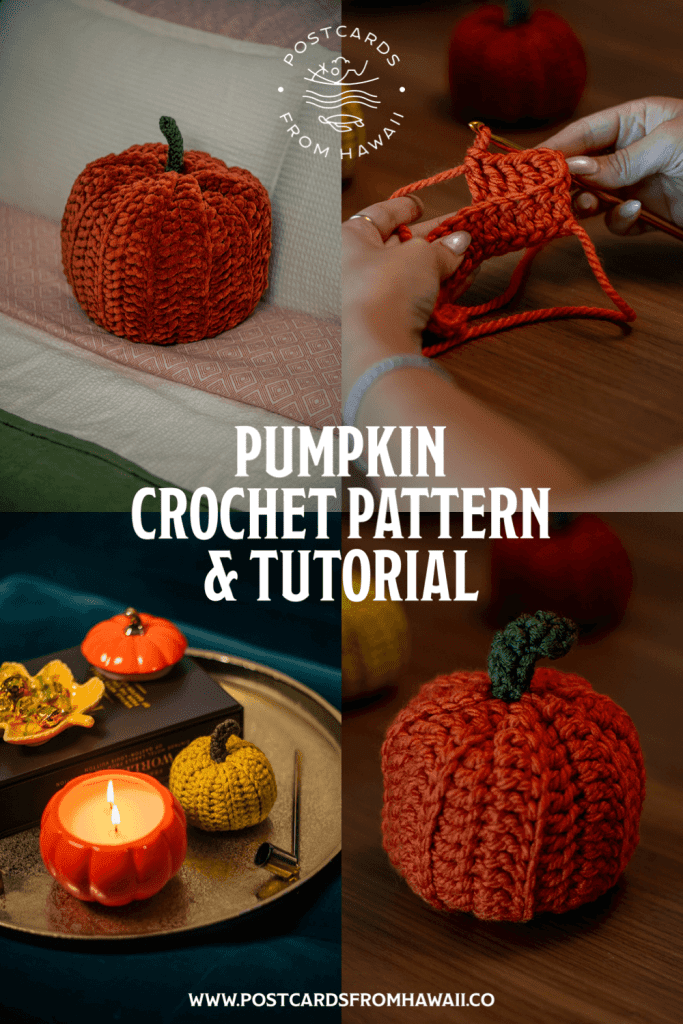
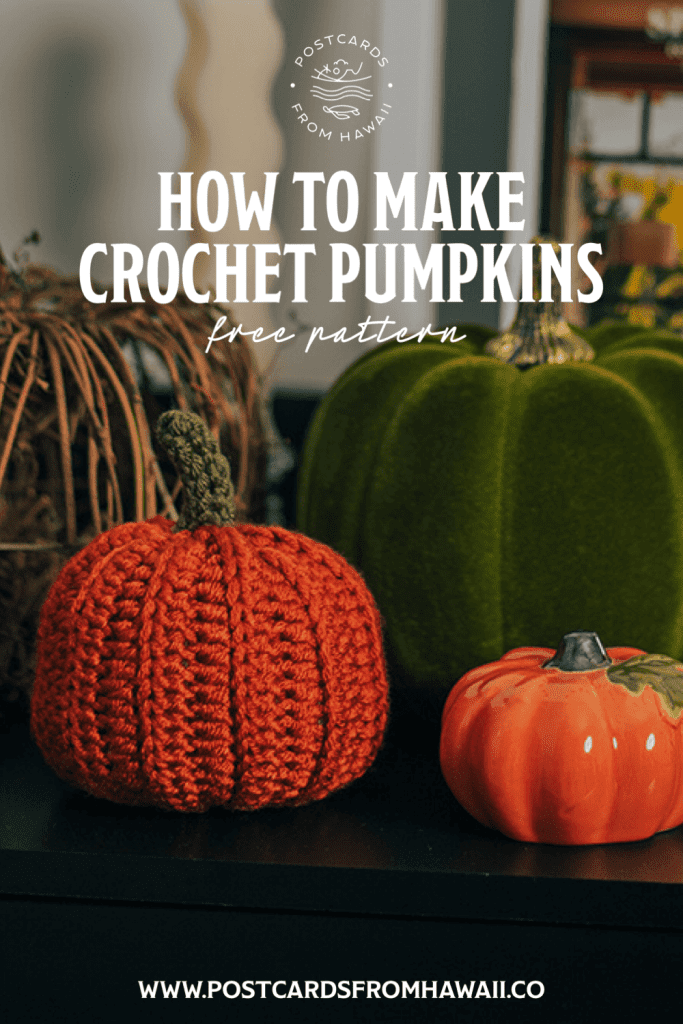
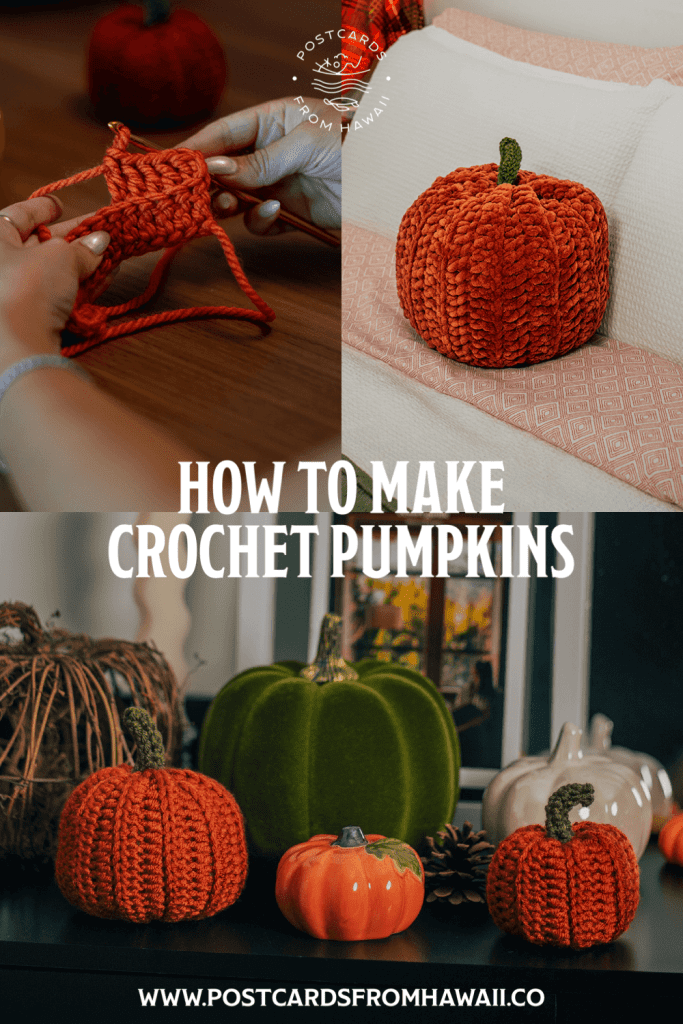
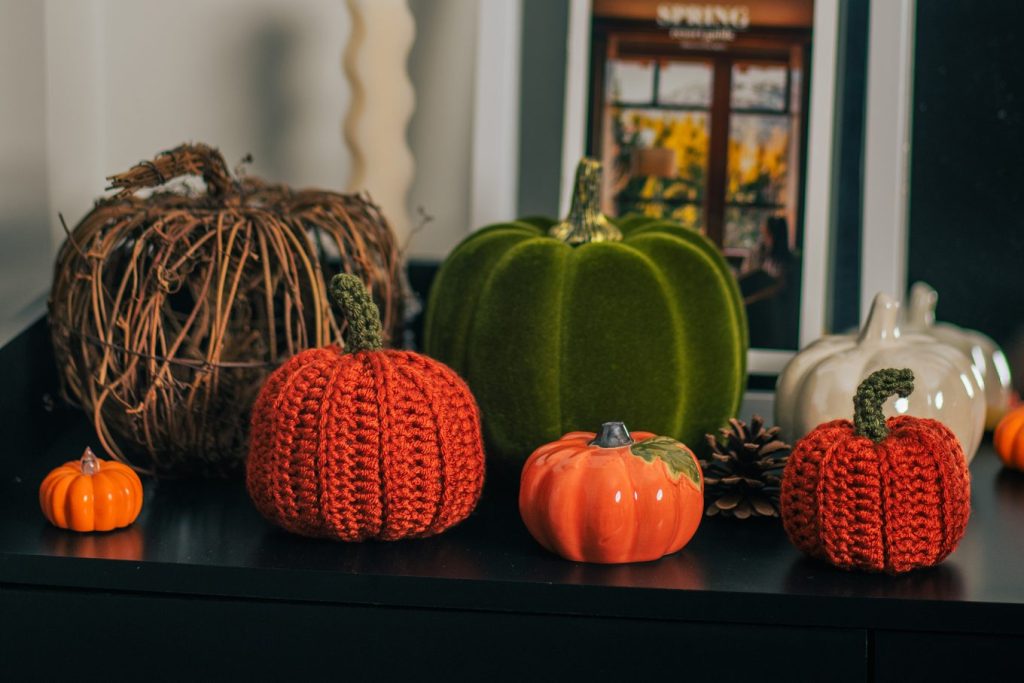
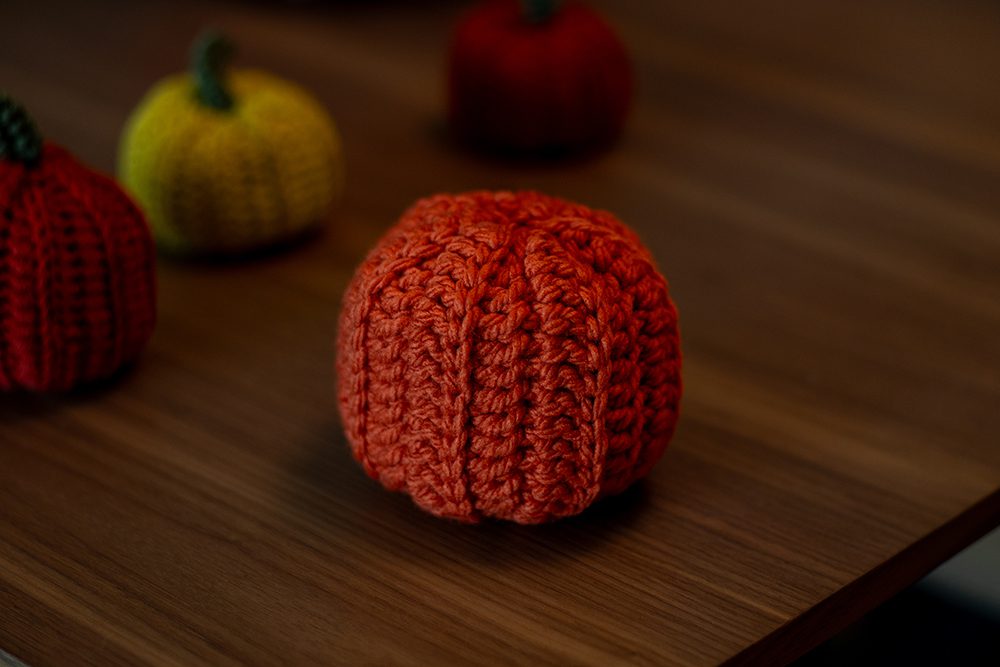
Want to learn how to make crochet pumpkins for Fall/Autumn? This free crochet pattern and tutorial is super easy to follow and makes the cutest stuffed pumpkins to use as autumnal décor, place settings for Thanksgiving dinner, plush toys for children, cushions and more!
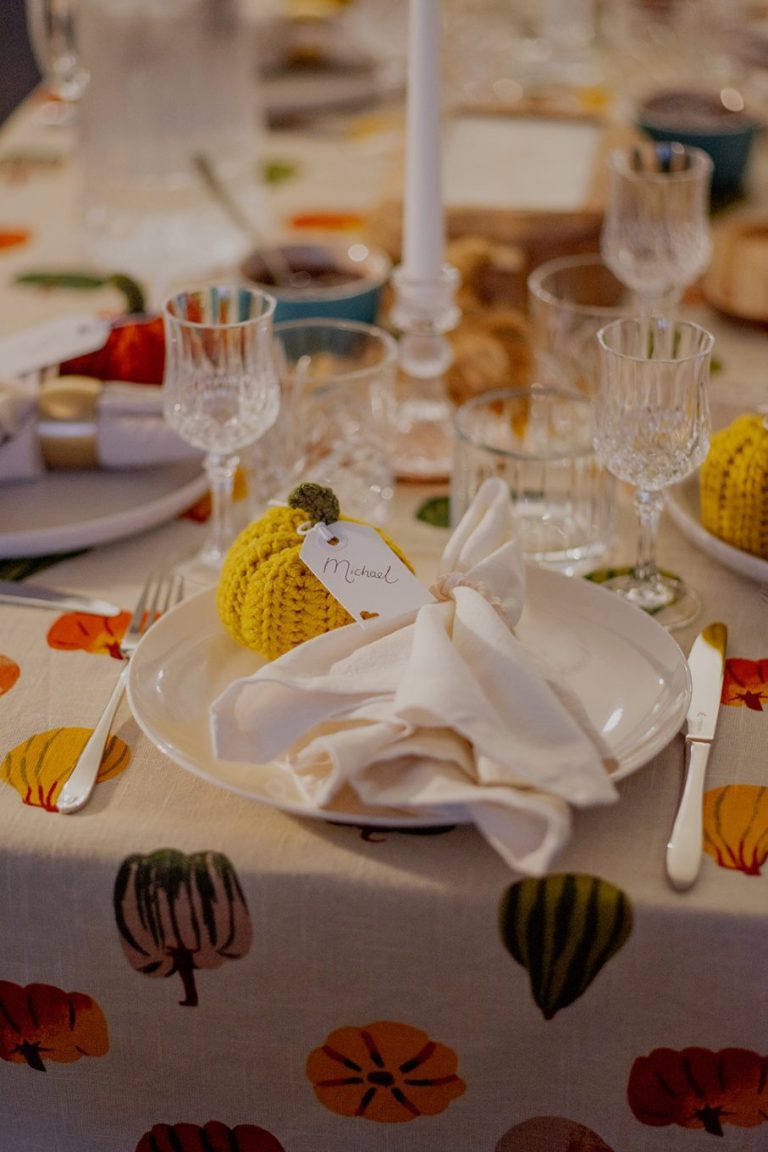
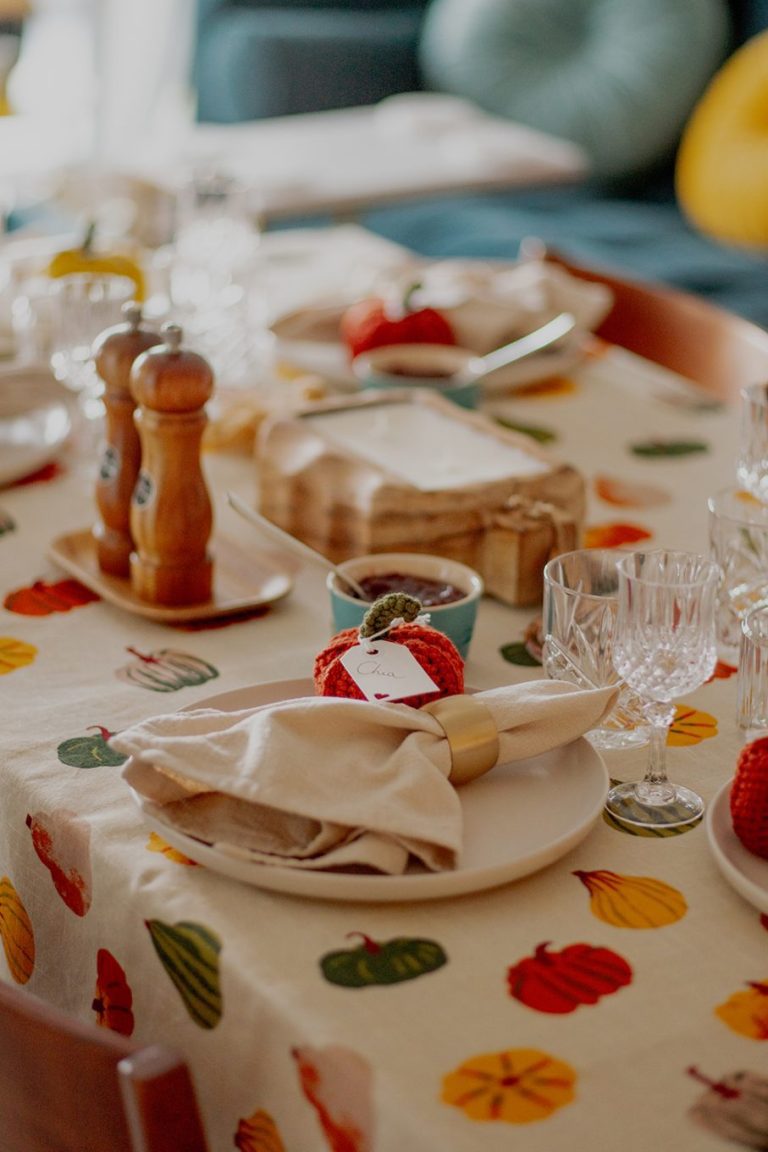
I was hosting my first Friendsgiving for my first Canadian Thanksgiving after moving to Canada when I first came up with the idea to make these little crochet pumpkins. I wanted to make one for each of my guests as a party favour that doubled up as a place card at the table.
I simply took my chunky beanie crochet hat pattern and adapted it by stuffing the hat and closing the open end. I added a little crochet stalk and found I had the perfect pumpkin.
It might sound like a lot of effort to make these crochet pumpkins as party favours for Thanksgiving or Halloween parties but this crochet pumpkin pattern is so quick and easy. You’ll be able to make a bunch in very little time.
What yarn is best for making crochet pumpkins
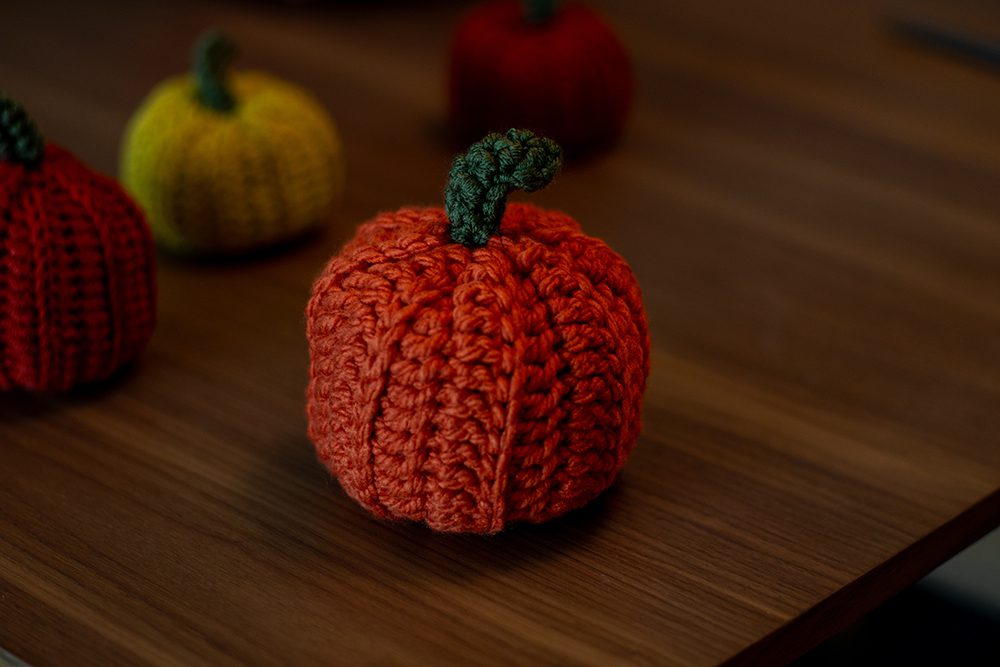
I prefer to use a chunky yarn because not only does it gets the project done faster but it better mimics the wide set grooves of a real pumpkin. We achieve these grooves in this pumpkin crochet tutorial by crocheting in the back loop only to create a ribbed texture.
In this crochet pumpkin tutorial the yarn I use is Charisma™ Yarn by Loops & Threads® in the colour Pumpkin Yarn and for the stem I always use Scheepjes Chunky Monkey in the colour Moss Green because it takes so little to use that I’m on the same ball of yarn many, many crochet pumpkins later.
For some of the other crochet pumpkins featured in these images of this blog post I used Scheepjes Chunky Monkey in colours Ochre and Flame.
How to make a crochet pumpkin cushion
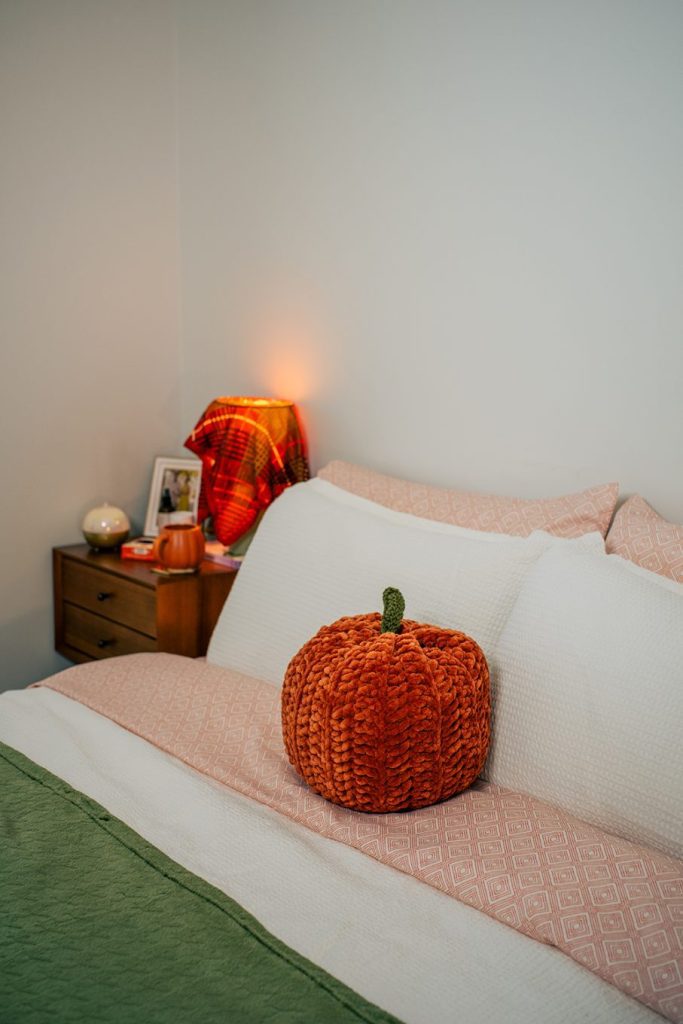
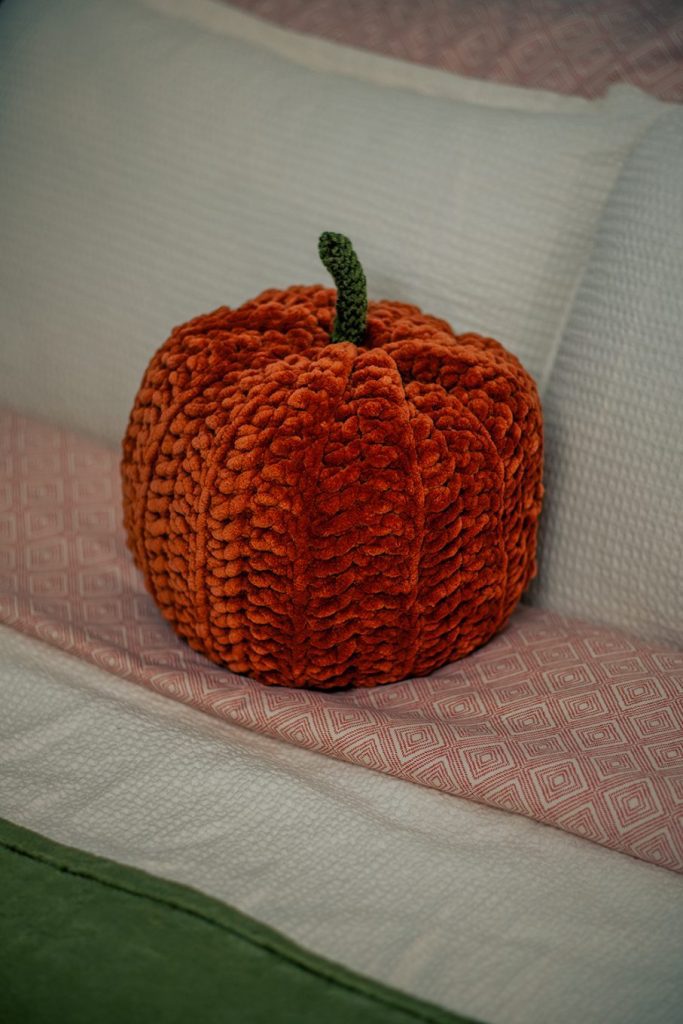
Why spend $35 on a pumpkin cushion from Michaels when you can crochet an even better pumpkin shaped cushion for less than half the price!
I picked up one skein of Chenille Home™ Yarn by Loops & Threads® in the colour Terracotta for under $15 from Michaels and use the whole skein to make one crochet pumpkin cushion. To do this I used a 10mm crochet hook and made a fountain chain of 24 st.
My formula for making the perfect round pumpkin, no matter what size, is to make the length double the width. By following this you can make whatever size crochet pumpkin you like.
How to change the shape of the crochet pumpkin
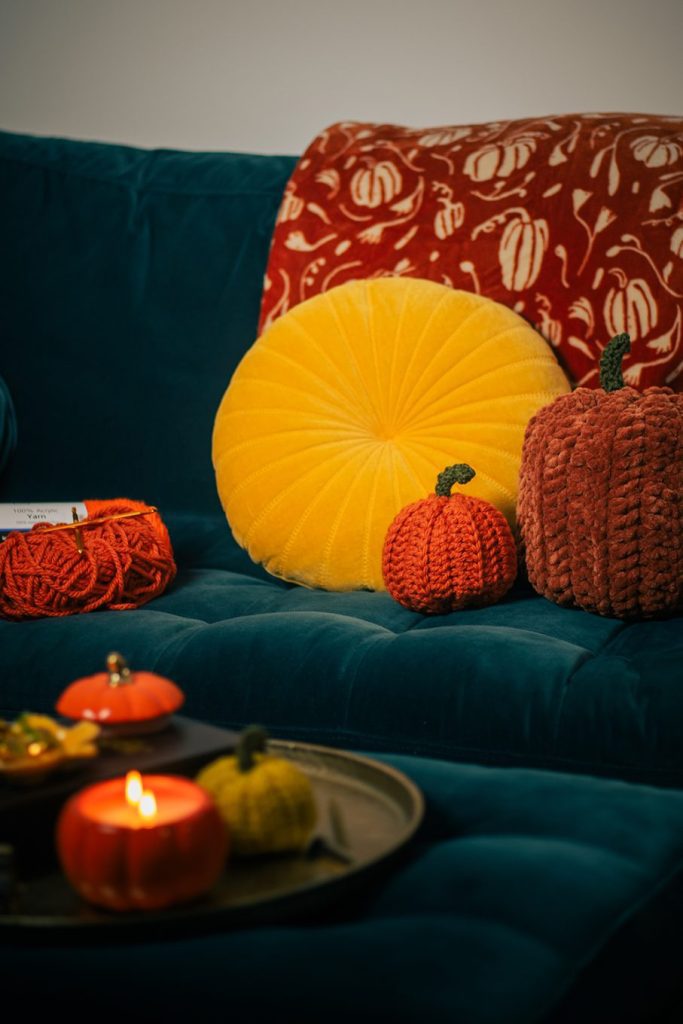
I encourage you to play around with different textures and weight of yarn. Whenever I change the yarn the pumpkin comes out slightly different and the more I make the more they resemble a pumpkin patch of all sorts of shapes and sizes. Don’t forget to change your crochet hook size when you change yarn weight.
If you want to make your crochet pumpkin taller then crochet less rows so that your length is less than double the width.
What you need to make crochet pumpkins
Medium weight chunky yarn/wool in two colours, one for the pumpkin and one for the stem.
5mm or 6mm crochet hook
Scissors
Easy pumpkin crochet pattern
This pattern uses US terms (because that’s what I learnt to crochet in) but here’s a quick translation to UK crochet stitches:
Double Crochet (US) is a Treble Crochet (UK)
Abbreviations
ch = chain
dc blo = double crochet in the back loop only
st – stitch
sl st = slip stitch
My chunky beanie crochet hat pattern tutorial breaks down these stitches if you’re new to crochet and there’s a YouTube tutorial which you can follow too for extra visual help with the stitches in this free crochet pumpkin pattern.
Pumpkin pattern
Make a slip knot leaving a 20cm/8” tail and ch 18.
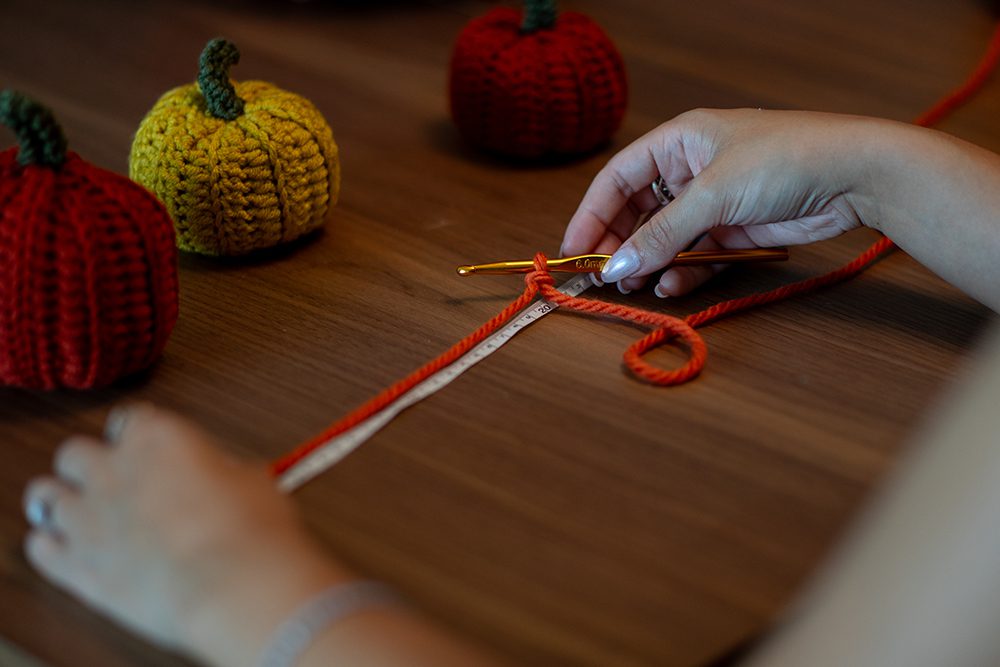
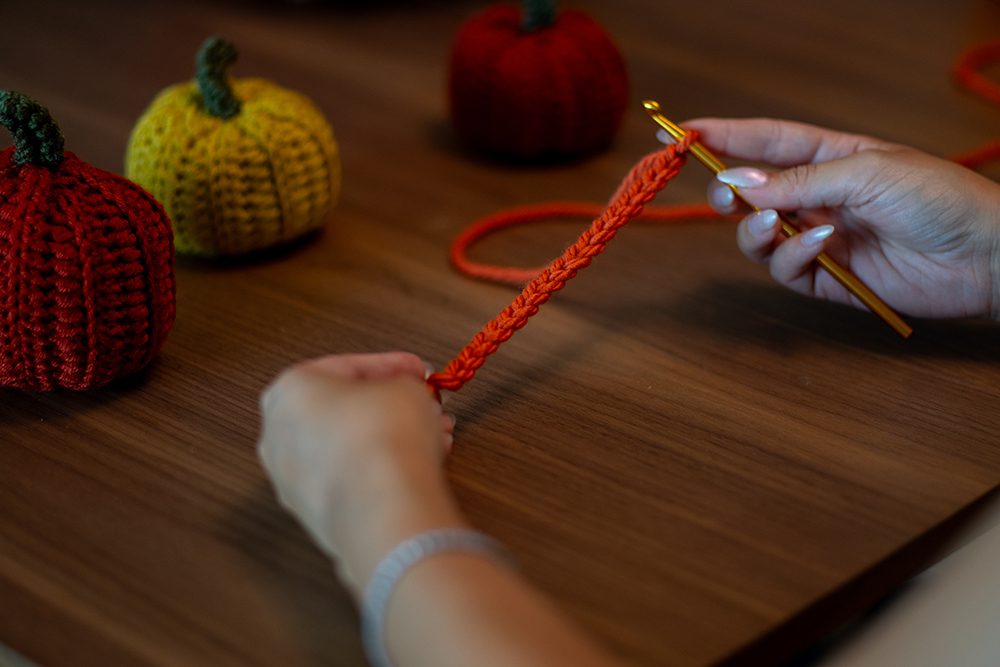
1st row: 1 dc in 3rd ch from the hook (the first 2 st on the hook act as your turning ch which lifts you up to work on the next row). Continue dc across remaining 15 st. When you reach the end you should have 16 stitches.
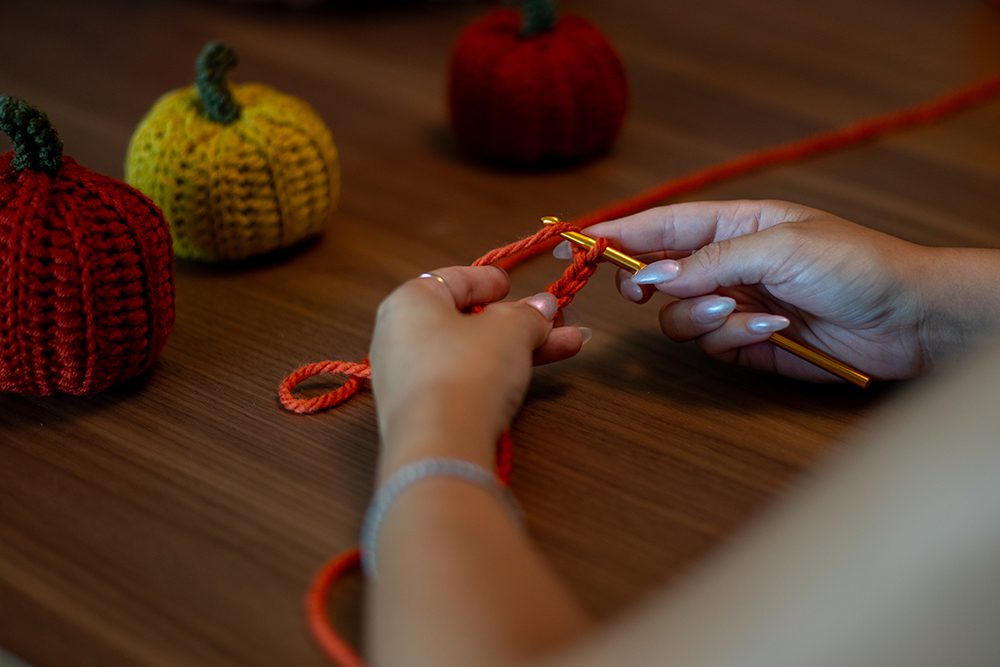
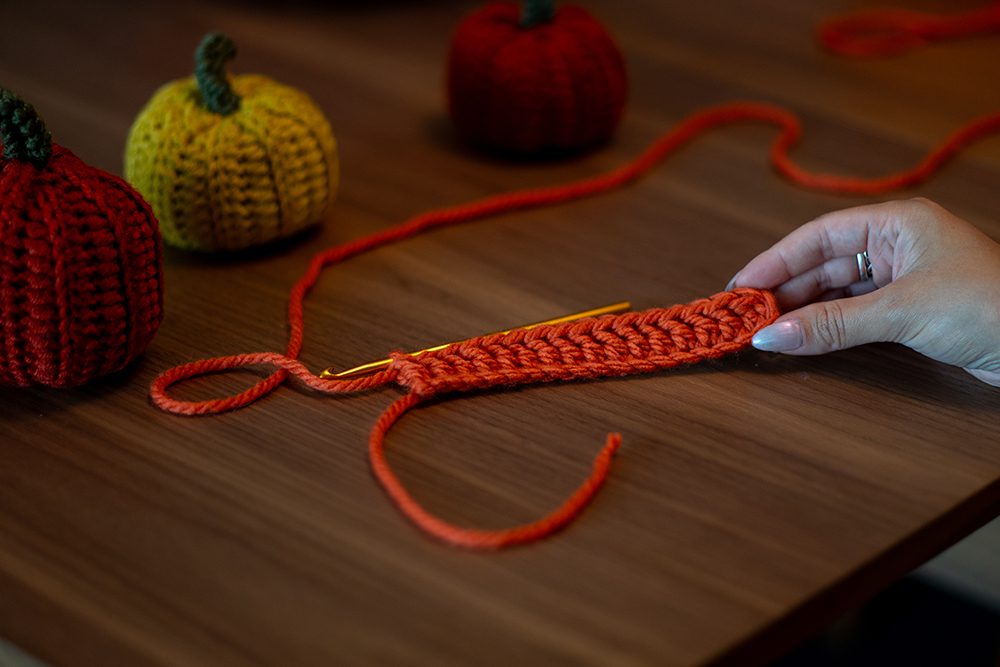
2nd row: Ch 2 to create turning ch. Turn your work and dc blo 16 st.
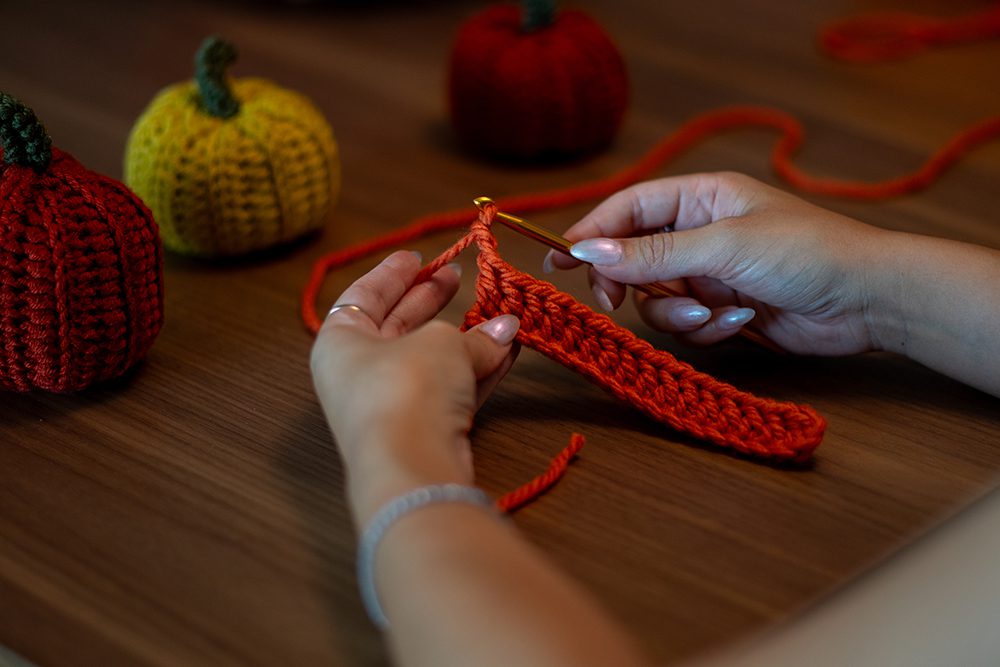
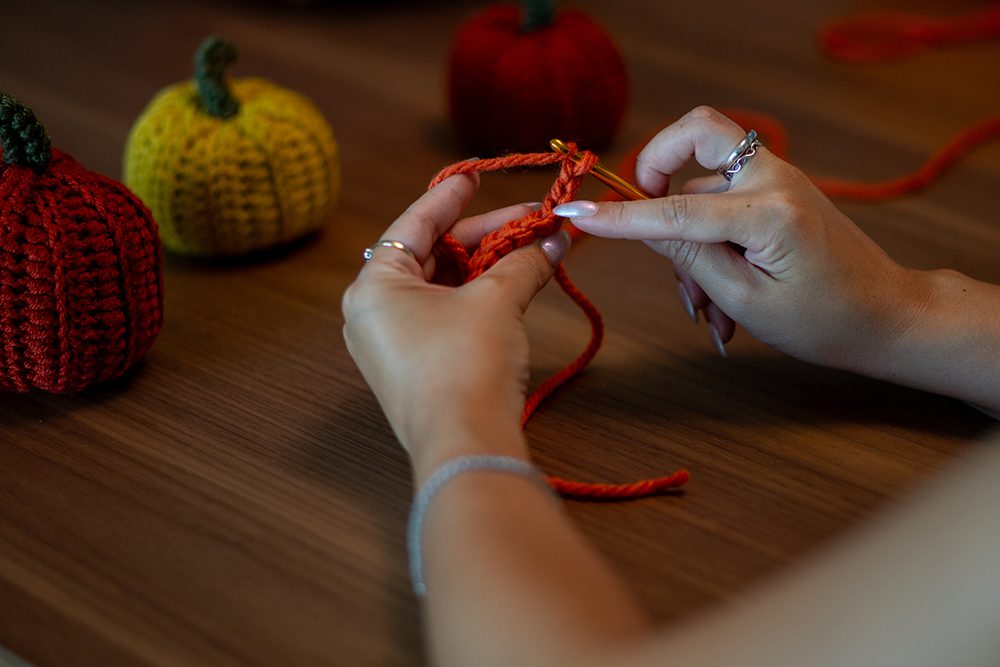
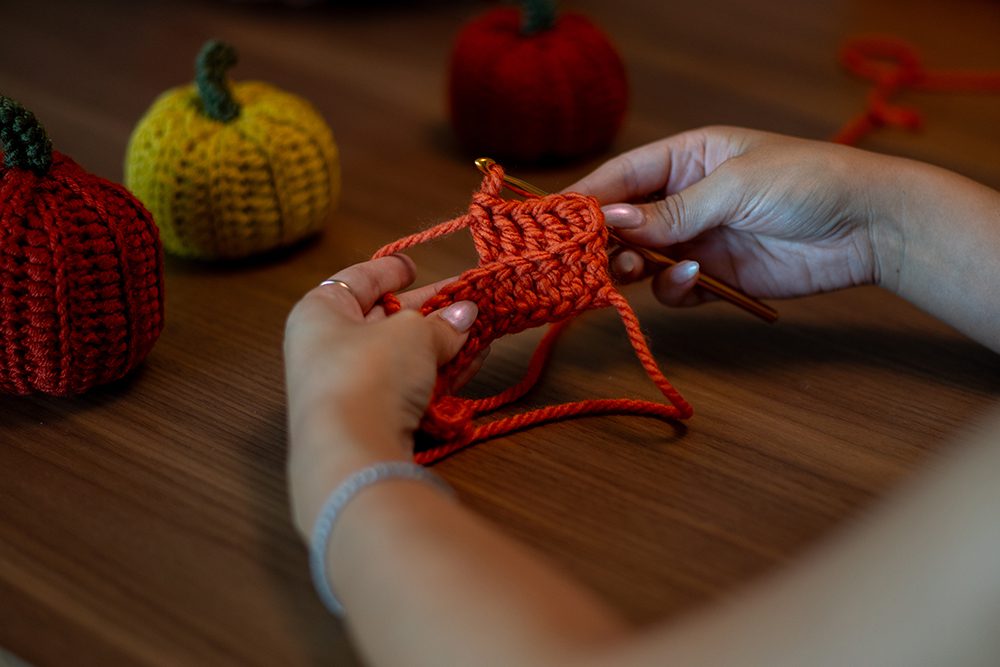
3rd row – final row: repeat 2nd row until the length of your crochet is double the width of your row. For a foundation ch of 18 st in a medium weight/chunky yarn this will be about 15 rows. Always end on an odd number of rows.
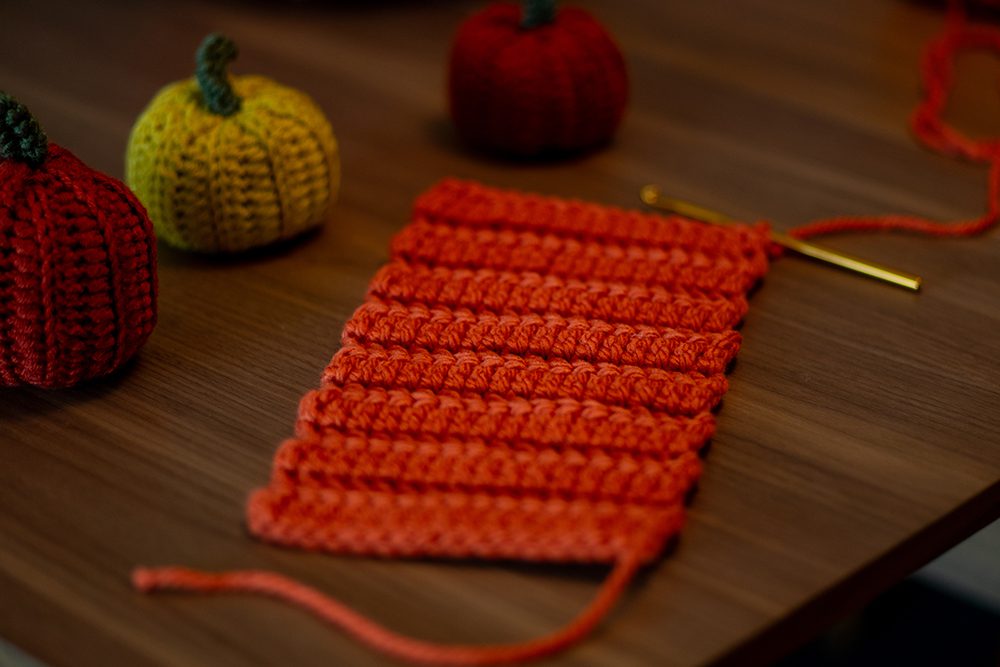
1. Fold the rectangle in half taking the two short edges together. Join the two short ends together by working slip stitches in each st from one end to the other.
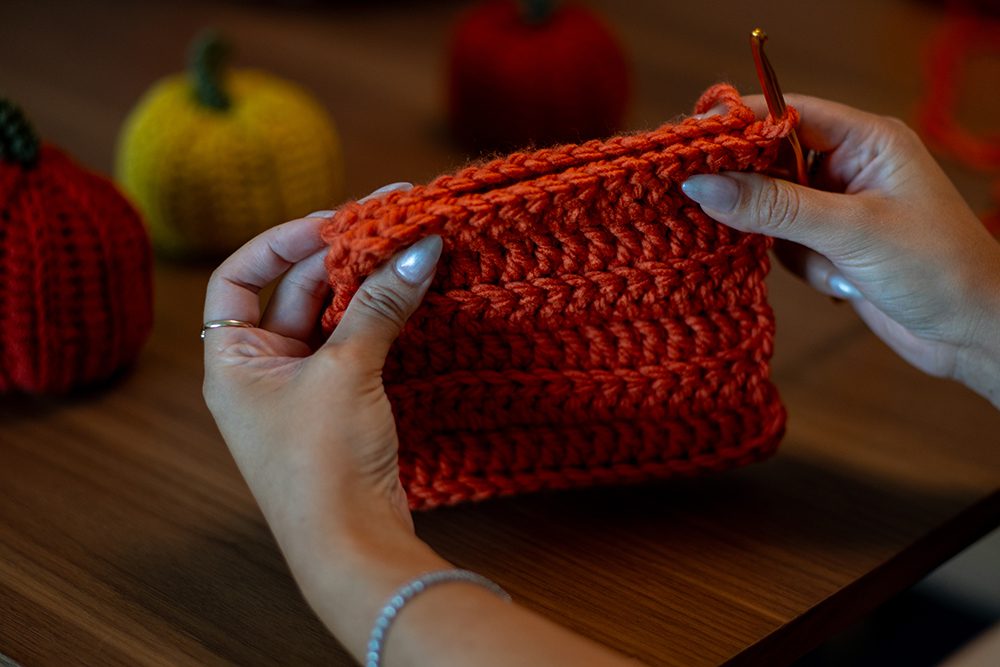
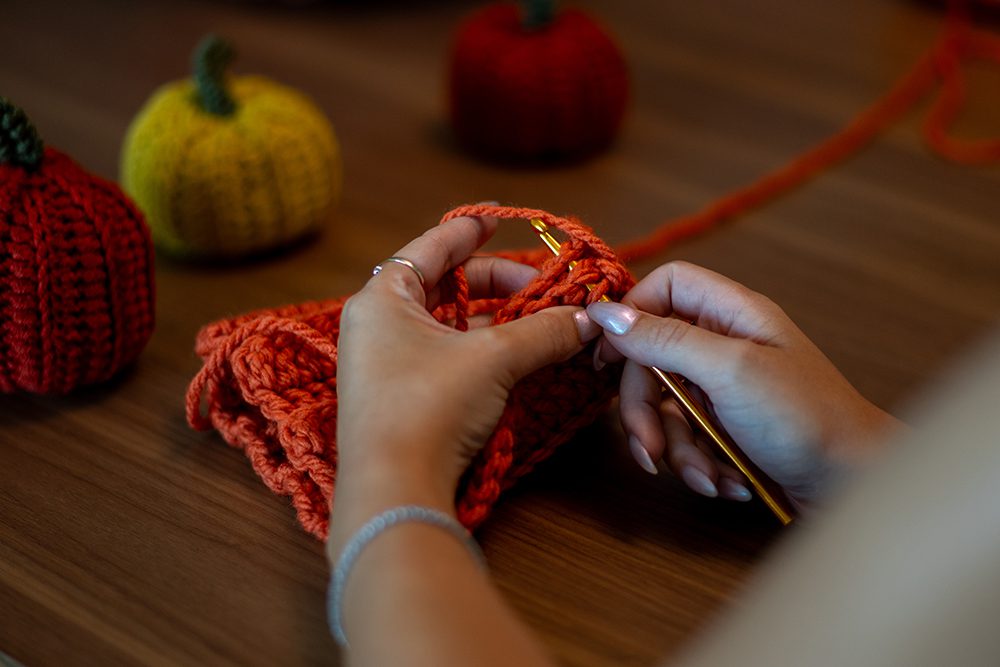
2. Fasten off leaving a 20cm/8” tail.
3. Thread one tail of yarn onto a darning needle. Weave the needle in and out of the open edge, keeping the thread close to the top edge. Pull the yarn taut as you go, drawing it in until you’ve closed the hole. Place a few stitches back and fourth to close the hole if there’s still a gap (which is likely with a chunky yarn). Weave in the end.
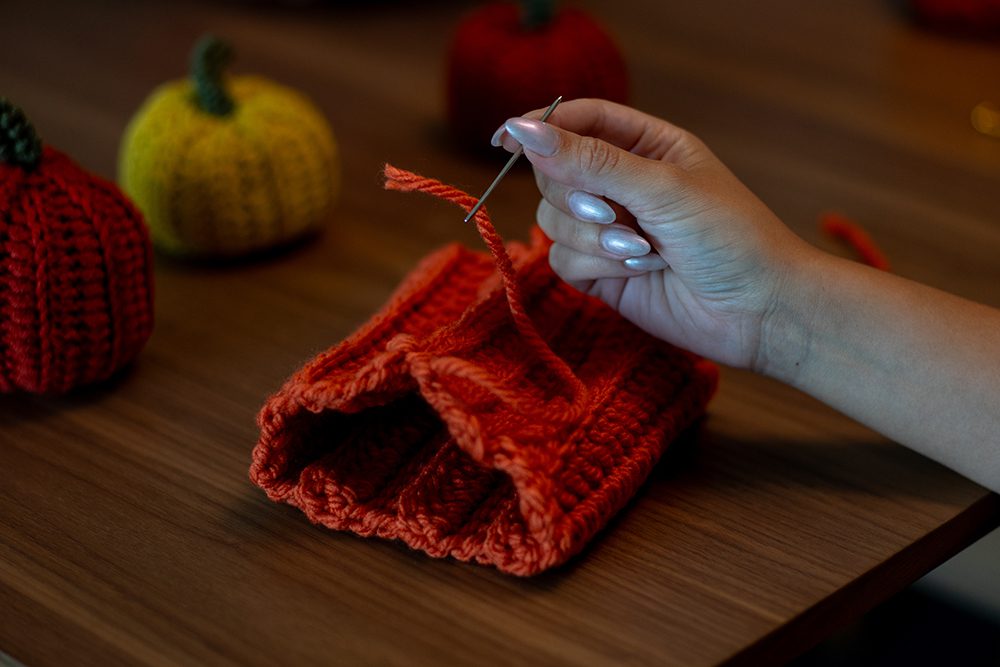
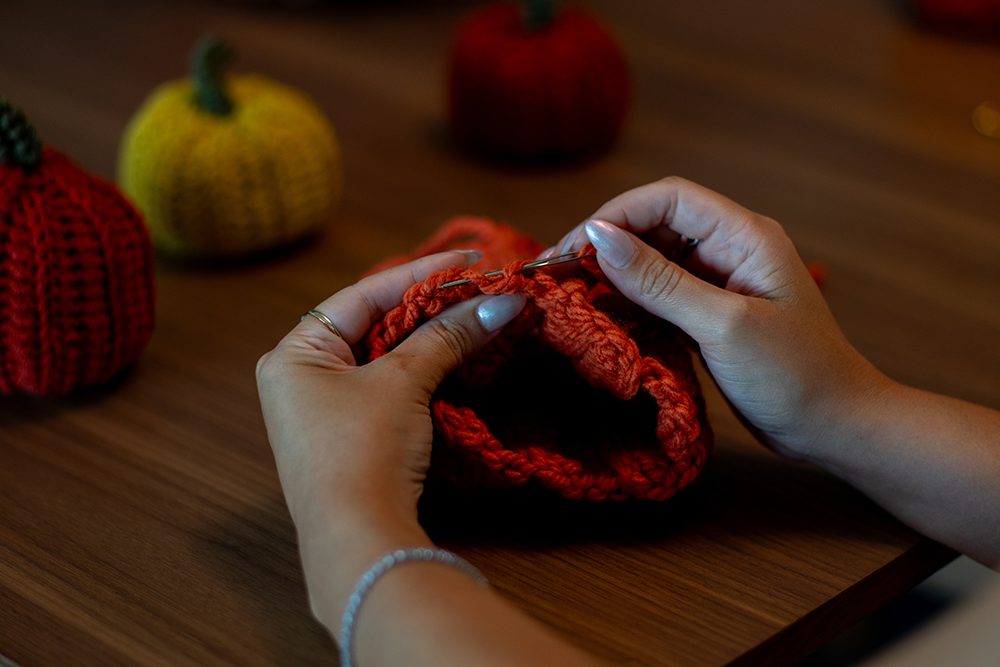
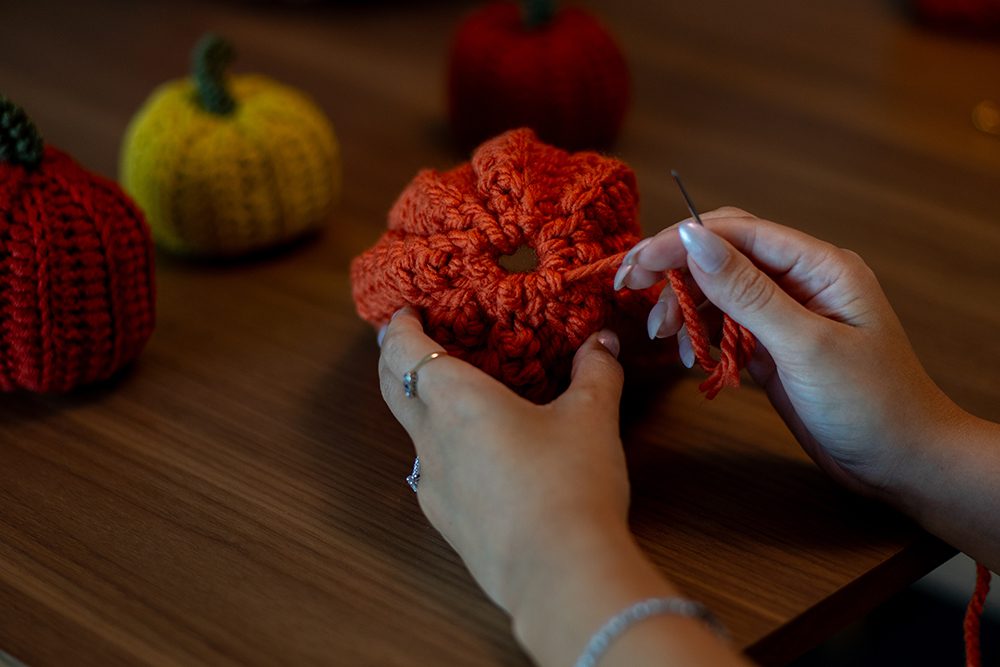
4. Turn your pumpkin inside out and fill with stuffing. The more you stuff in, the more full and plump your pumpkin will be.
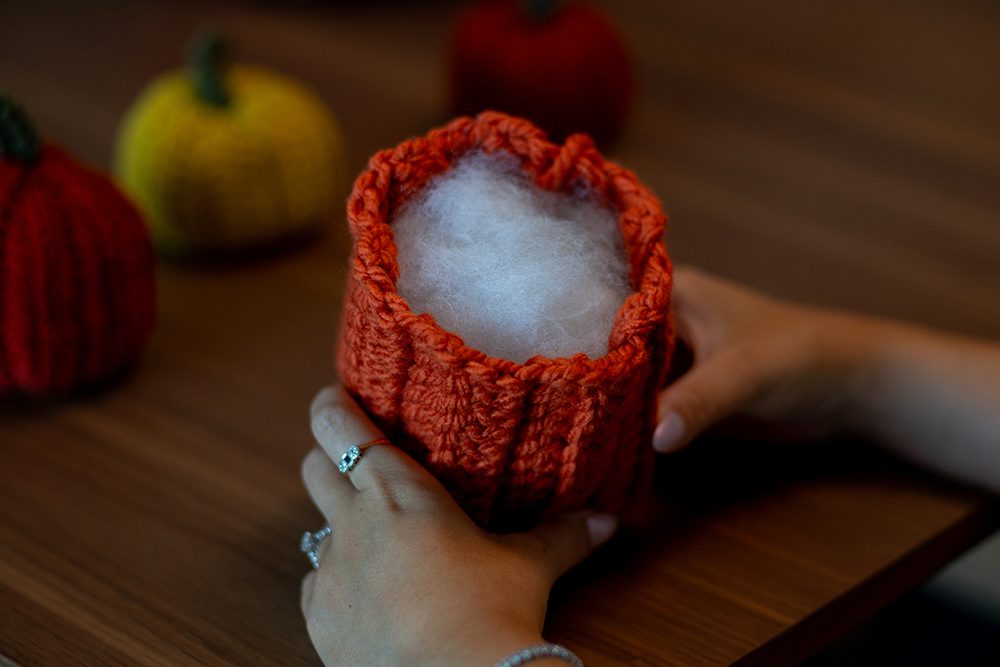
5. To close the remaining open end, repeat step 3.
Pumpkin stalk pattern
Make a slip knot leaving a 10cm/4” tail and ch 8.
1st row: 1 dc in 3rd ch from the hook, continue dc across remaining 5 st. When you reach the end you should have 6 stitches.
2nd row: Ch 2, turn your work and dc 6 st.
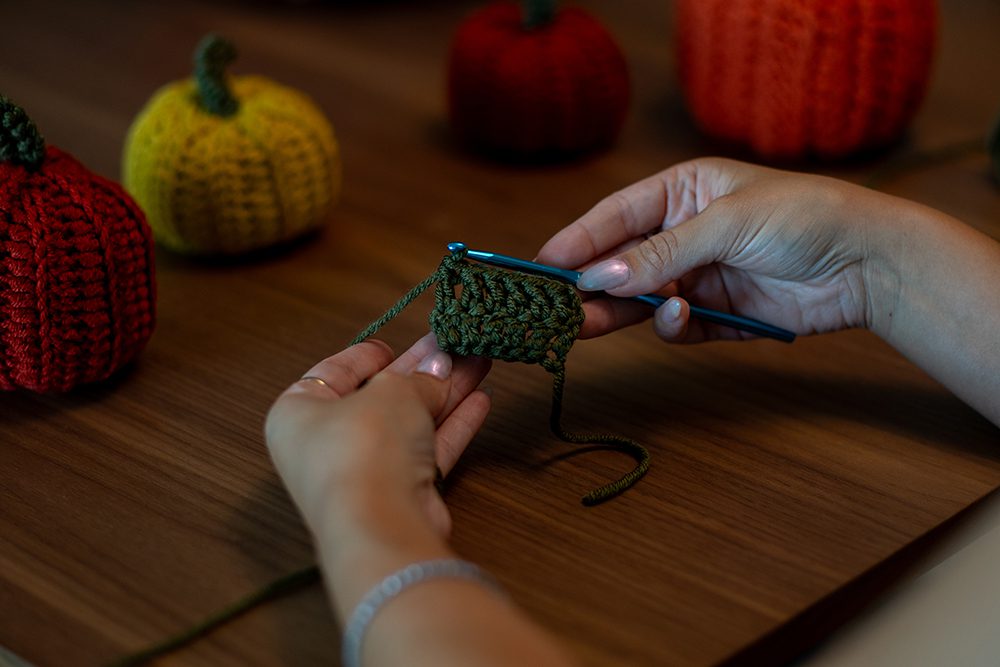
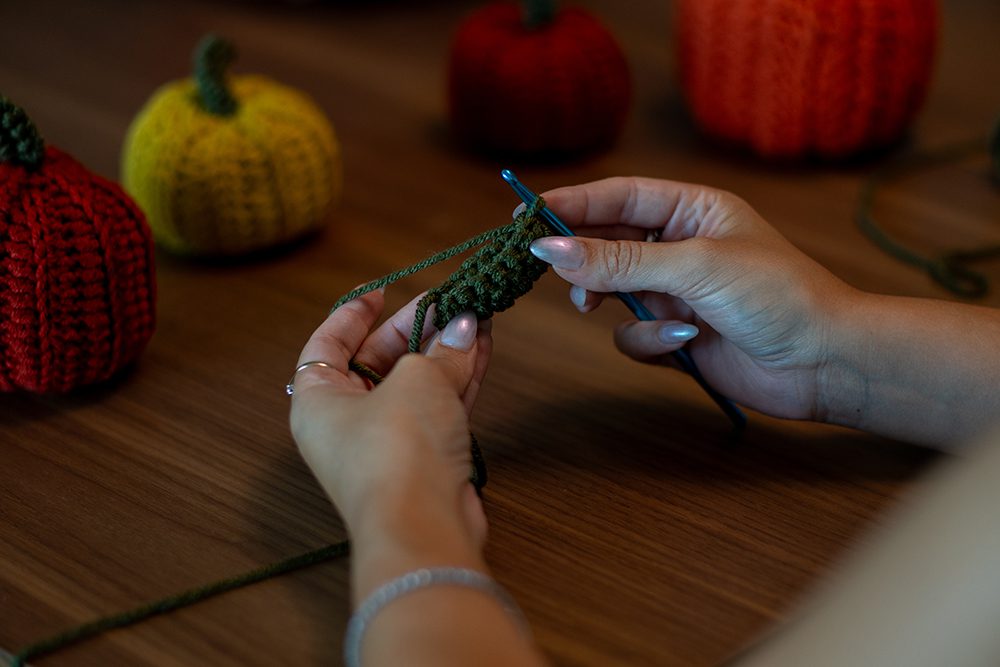
1. Fold the rectangle in half taking the two long edges together. Join by working slip stitches in each st from one end to the other.
2. Fasten off leaving a 10cm/4” tail.
3. Use each tail of yarn to sew the stem to the top of your crochet pumpkin. Weave in ends.
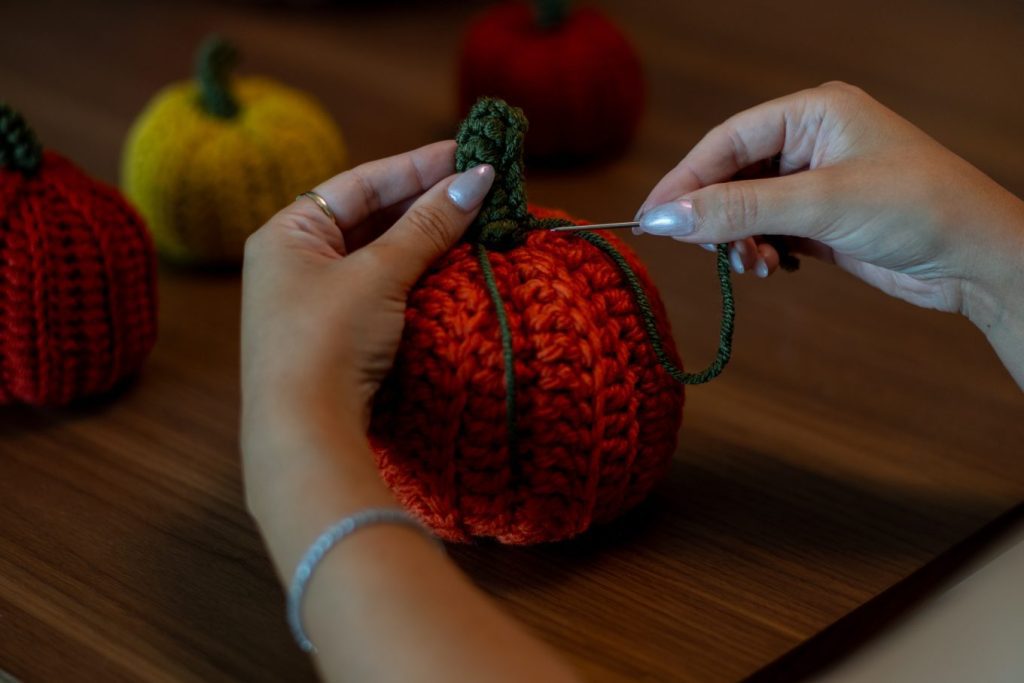
You should be able to manipulate your stem to have a little curve if you choose.
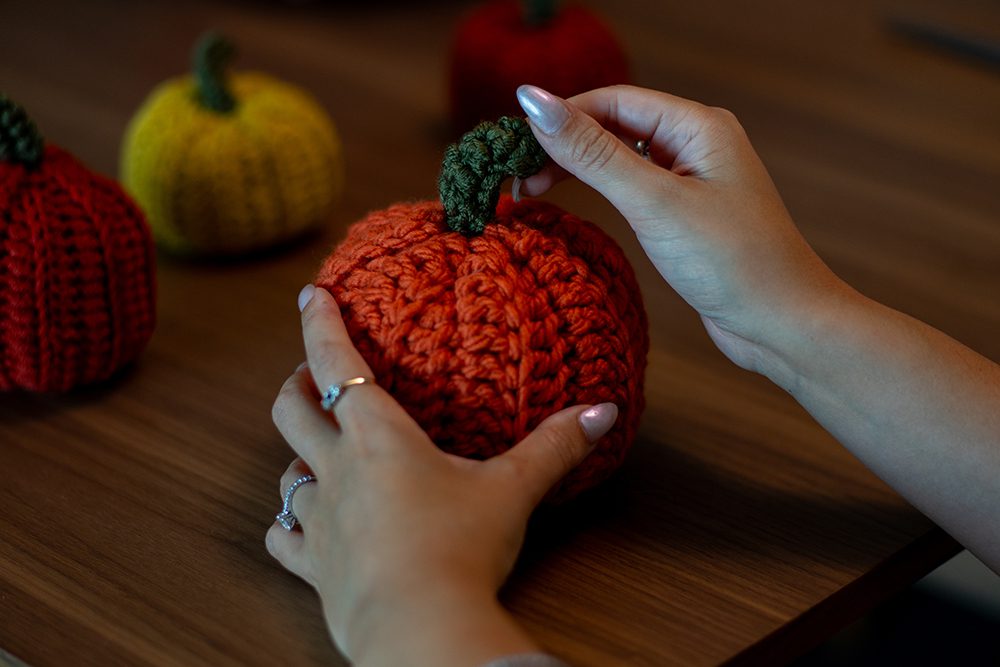
Congratulations you have now learnt how to make crochet pumpkins with my free crochet pumpkin pattern and tutorial.
I hope you enjoy your adorable crochet pumpkin as much I love mine. If you do, please leave me a comment on this blog post below. Thank you!
Please tag me online @gabriellawisdom if you use this free crochet pumpkin pattern, I’d love to see your pumpkins!
Do more on & for the planet, Gabriella
This blog post contain Amazon affiliate links.
Pin this post
