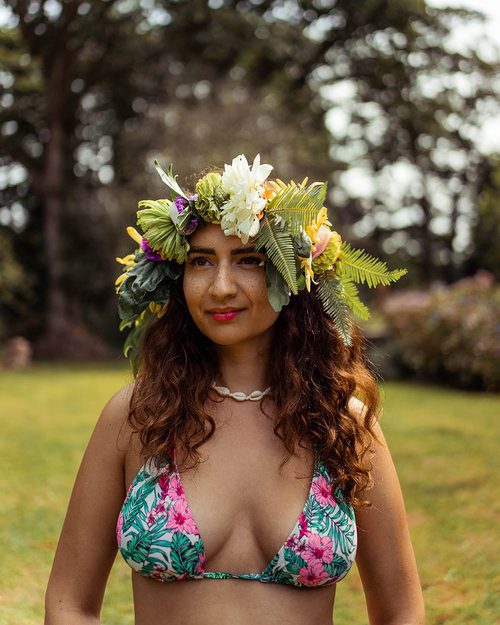
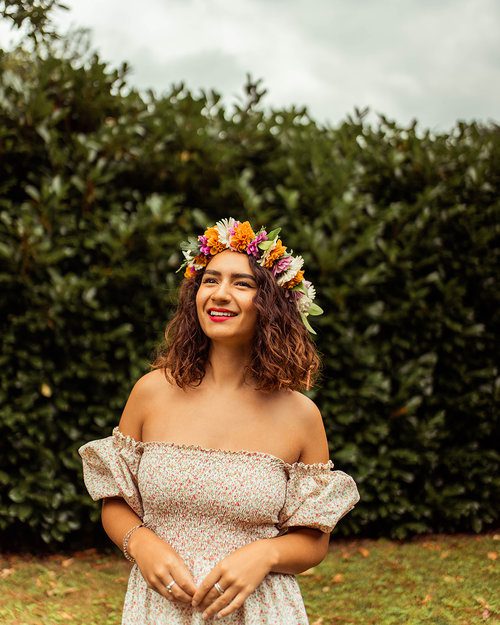
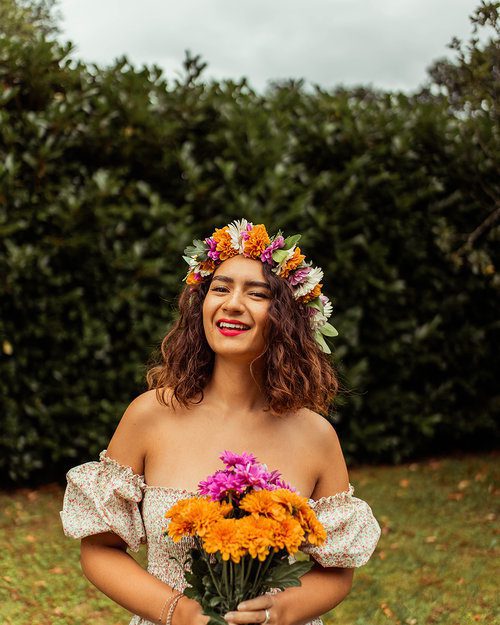
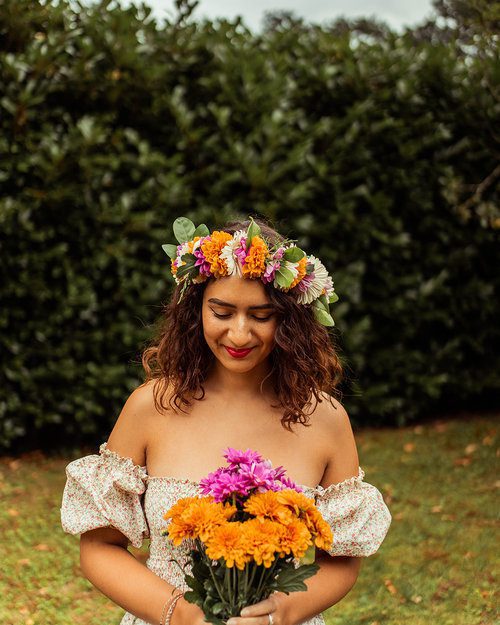
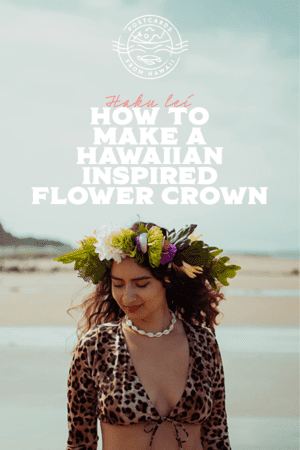
A haku lei is a Hawaiian lei worn around the head, otherwise recognised as a flower crown. Usually they are worn on special occasions such as luaus, weddings, graduations and so on.
** updated **
Haku lei meaning
“Haku” refers to the technique in which the flower crown is made either by braiding or weaving flowers and foliage together, “Haku lei” means weaver of lei. When I first published this post I was under the impression the threading technique used in this blog post was also for a haku lei, as this was the technique used for the “haku lei” I was given as a gift from an independent florist on the island of Maui. I have since learnt that the threading technique used to make the flower crown I received and learnt in Maui is used to make lei worn on the neck (lei ‘ä’ï) and head which are called Lei Po’o not haku lei. So really this blog post is a tutorial on how to make a lei po’o.
This threading technique is far easier than weaving a hawaiian head lei, lei po’o, or flower crown so if you’re interest in learning keep reading on.
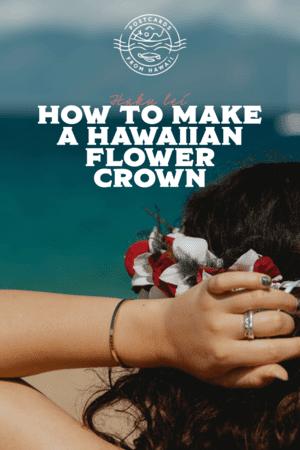
In 2020 I celebrated Postcards from Hawaii’s first birthday in Hawaii on the island of Maui, I also celebrated my birthday for which I had asked Michael just for one gift: a haku lei. Using a local florist on the island he chose a really simple crown made from white plumeria, red rose petals and a few sprigs of something green. It was the first time I had seen a haku lei or flower crown that wasn’t woven or made with wire and tape, as I mentioned above I have come to learn that this is because of a miscommunication and it was a lei po’o not a haku lei. This one was made in the same traditional way as a lei that is worn around the neck (see image below) but it was finished on each end with a ribbon so it was adjustable to the wearer.
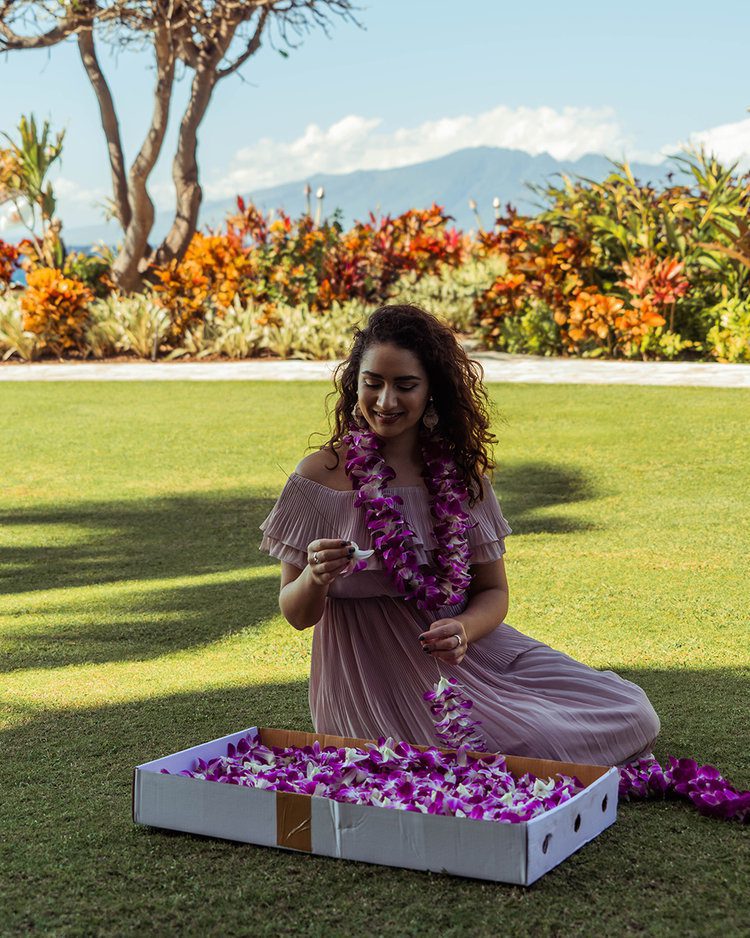
During my time spent in Hawaii I have taken classes on how to make lei ‘ä’ï, lei worn on the neck and ti leaf lei, braided lei made with ti leaves. The technique for making the lei po’o in this tutorial is what I learnt in Maui.
Flower crowns are a popular accessory for weddings, christenings, baby showers, wedding showers, birthdays and more. If you are interested in learning how to make really quick and simple yet stunning flower crown. This threading technique is cheaper, easier and less time consuming should you need to make more than one before your special occasion.
In this blog post I have featured two different types of lei po’o so that you can decide which aesthetic you want. One is more elaborate; a tropical statement piece made with flowers I had hand selected from independent florists Crown House Flowers and The Rose Garden in Norfolk, England. The other is much smaller, more practical, and cost effective lei made with flowers from the supermarket.
As I mentioned this technique is a lot quicker and very simple, but it does include the use of a needle so please make sure that any children who wish to make this are accompanied by an adult.
Choosing your flowers and foliage
The four main points that you want to keep in mind when selecting your flowers are:
1. Weight
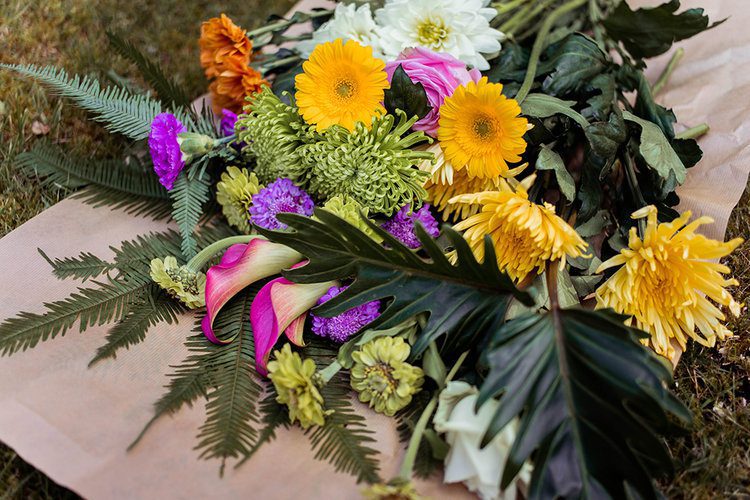
You don’t want the flowers to be too heavy. I learnt this after using large chrysanthemums in my larger head lei, they will weigh down the crown and with little to support it, it will slip down your face. This doesn’t mean you can’t go for big flowers, just make sure you don’t select too many heavy ones.
2. Structure
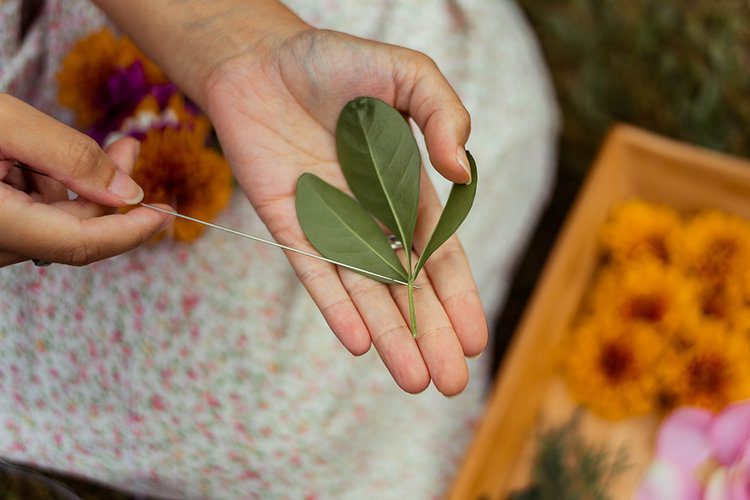
As you are pushing a needle through them, you want your flowers to be quite firm. You will notice how fragile the rose petals are once they are pierced with the needle, they are ok because they will be sandwiched quite tightly, but you want your main flowers to stand strong. Example of flowers with structure are small chrysanthemums, germini, gerbera or scabiosa. Also keep in mind how big the base of the head is, for example: carnations. Although they have a beautiful flower, they have large heads which are hard to cover, leaving you with a big green gap. Look for flatter bases such as germini or small chrysanthemums. Speaking of structure, the same applies for the leaves. Try to pick strong leaves or ones that have a thick stem so they don’t fall apart when you put a needle through them.
3. Be thrifty
Take advantage of what you have around you. I’m not at all suggesting you decapitate your neighbour’s rose bush, but be more aware of the leaves on trees and bushes. Picking a selection of leaves from your garden or the park will save you money. They don’t even have to be particularly interesting ones either, they can be pulled off the stems of the supermarket flowers if need be! Of course, if you are going for a big, bold tropical look, I strongly recommend going to a florist because they are your best chance of finding philodendron or umbrella fern.
4. Quantity
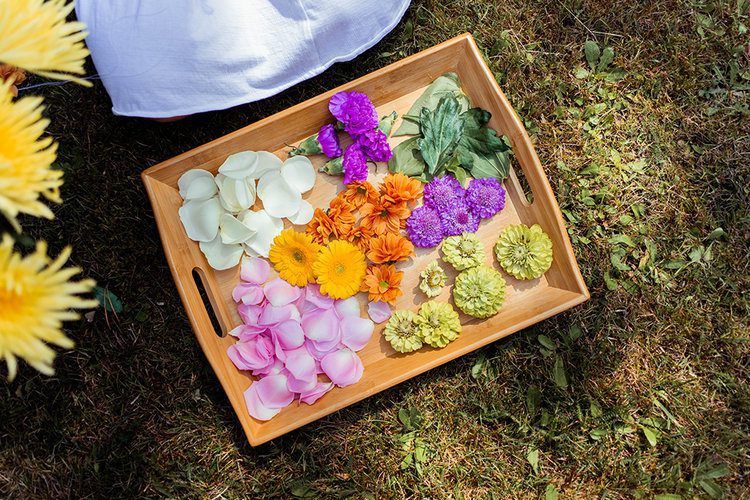
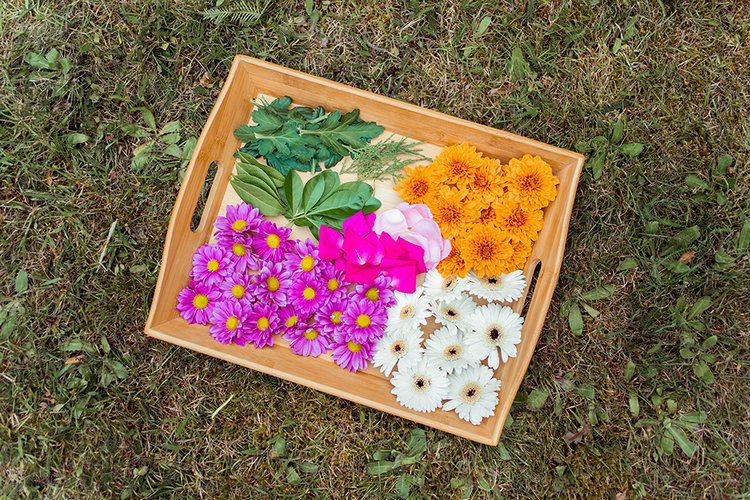
Don’t get too carried away! It’s so easy to do, especially if you are buying them in a florist, and it will surprise you how little you need. For the smaller of the two head lei that I made, I only bought three bunches of flowers and made the rest up with petals from two different coloured roses and leaves from my garden, these three bunches could easily have made two Hawaiian flower crowns.
5. Cost
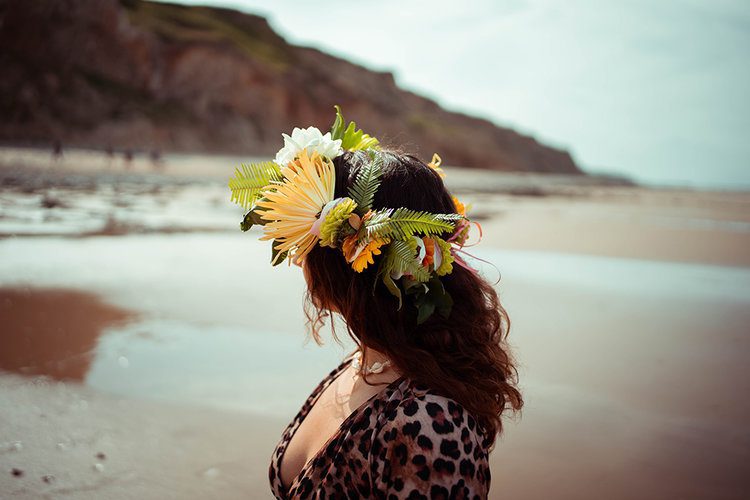
For the larger haku lei I wanted bigger flowers and tropical leaves that would make a statement. I bought a selection of flowers that featured zantedeschia, dahlias, zinnia and more from two florists and together that cost £30. I am aware that this is costly and really only viable for a special occasion, but they did make a wonderful statement haku lei that reminded me most of the ones in Hawaii. I didn’t use all of the flowers so I put the remaining together in a vase to make the most of the money spent.
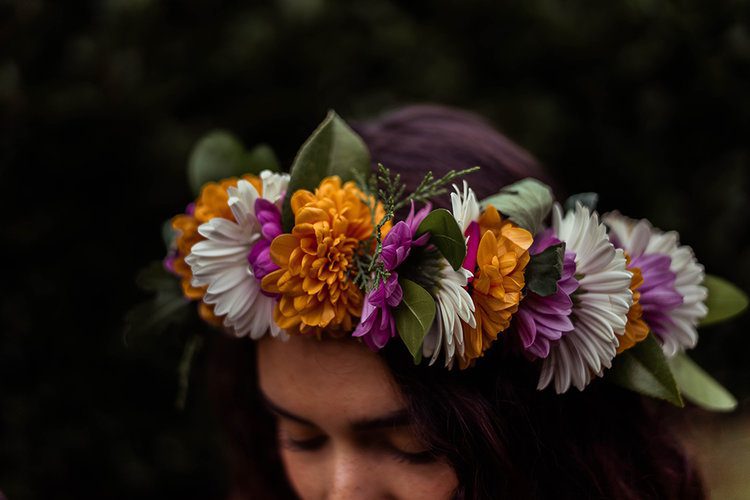
For the smaller and cheaper haku lei, I used flowers from my local Morrisons supermarket. I bought two bouquets of small chrysanthemums in pink and orange and one bouquet of white germini, to accompany these I used the remaining rose petals I bought in the florist and a selection of leaves from the garden. The bouquets were £3.50 each or two for £5, so collectively I spent £8.50. I know, much more reasonable, that’s why I’ve made two versions for you!
What you need to make a flower crown
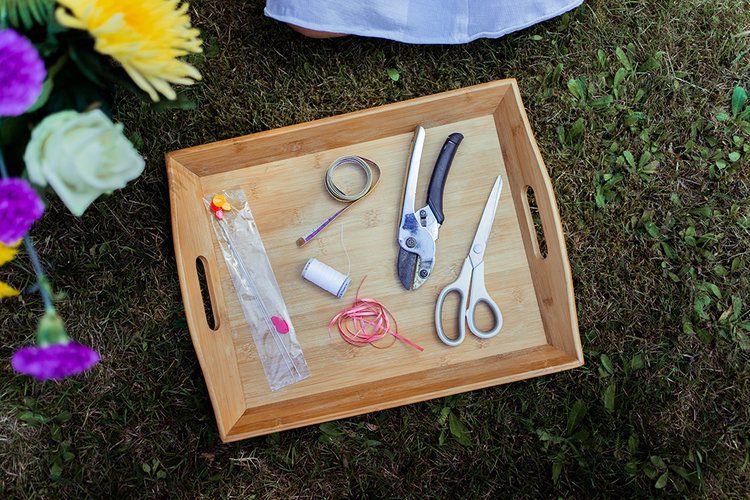
Scissors (for cutting the ribbon and thread)
Secateurs (for cutting the flowers and leaves)
Tape measure (for measuring the thread)
6 or 9 inch upholstery needle (to pierce and sew the flowers)
2 metres of extra strong thread (to hold the lei together)
1 metre of ribbon (to tie the open ends of the lei together)
A selection of flowers and leaves
Step-by-step tutorial for how to make a Hawaiian lei po’o (flower crown)
Whether you have bought your flowers from a florist or the supermarket, make sure that you sit them in water until you are ready so they remain fresh for as long as possible.
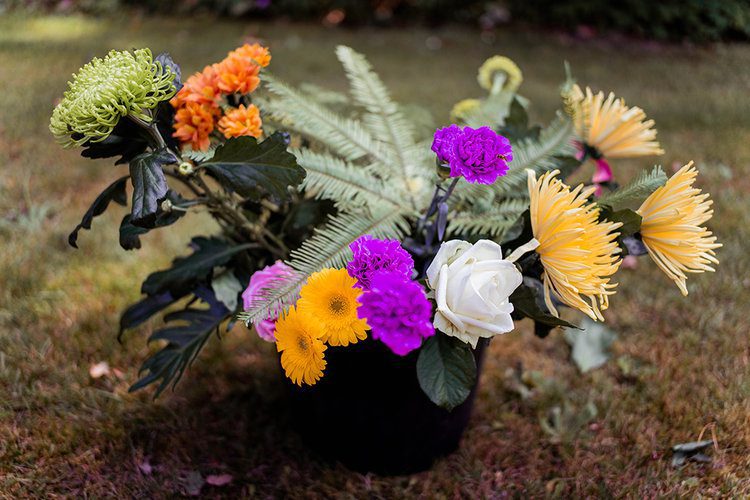
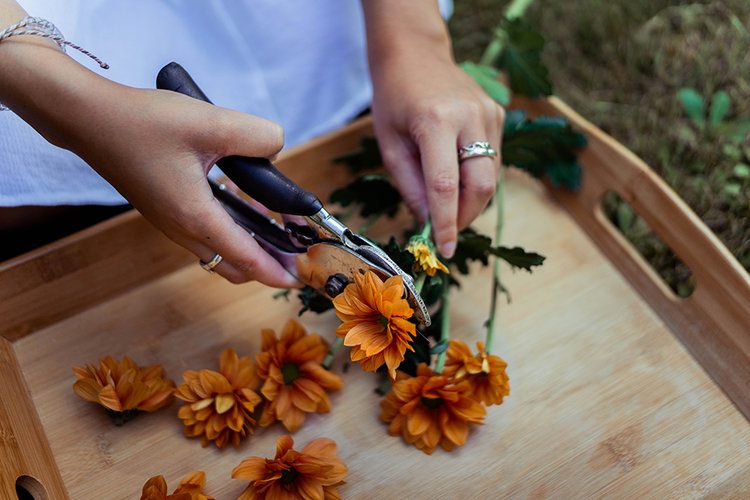
1. Start by beheading your flowers with care using the secateurs. You want to cut as close to the bottom of the head of the flower as possible, removing all of the stem. Don’t cut all of them, start with a few and cut as you go, this way if you don’t use them all, you can put the remaining flowers in a vase.
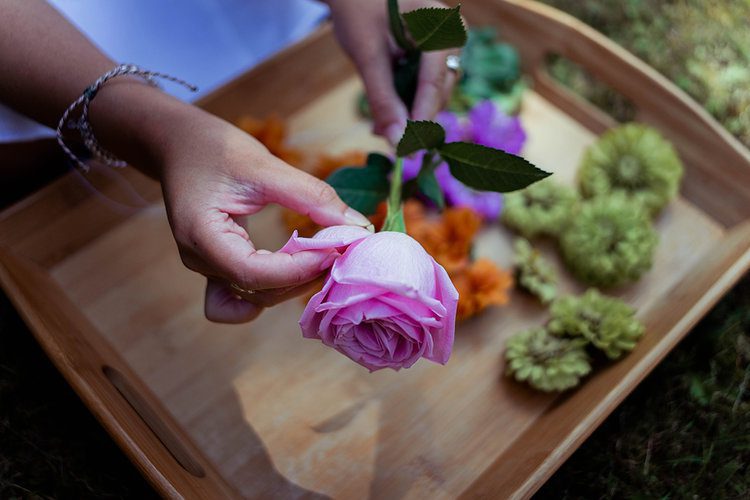
2. If you are using rose petals, gently pluck the petals off the head.
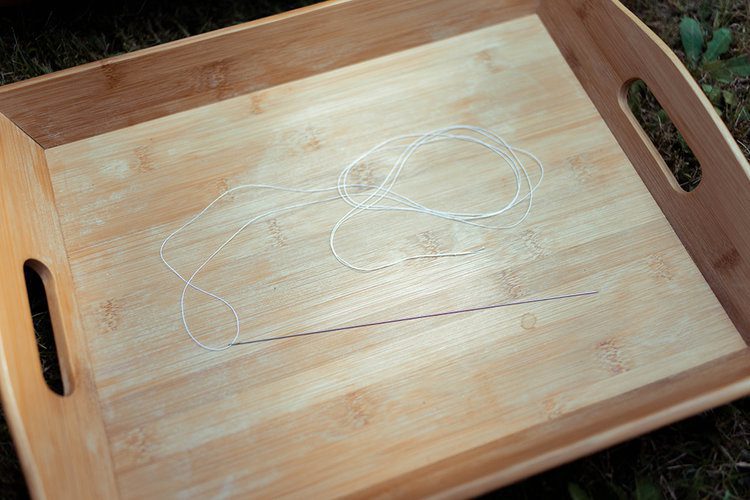
3. Using the tape measure, measure out and cut 2 metres of the thread.
4. Thread it through the needle so that the thread is doubled (the needle is in the middle of the thread).
5. Tie the ends together with a couple of knots.
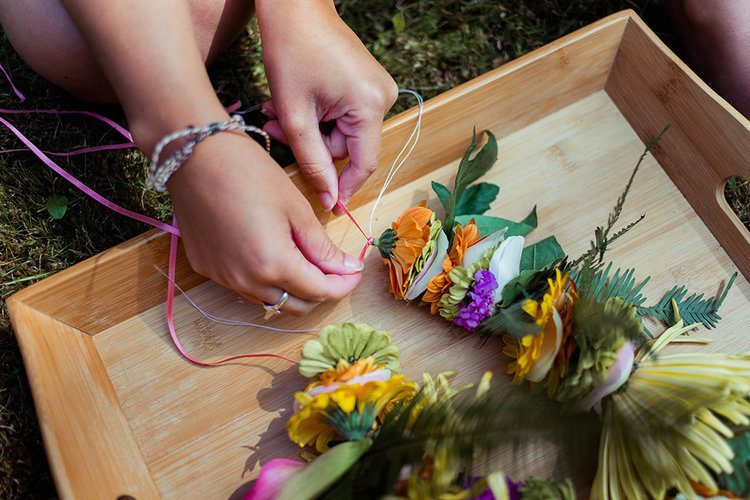
6. Begin to thread the flowers on in the order you want, being careful with the point of the needle as you do. As you push the first flowers down the thread towards the knots, leave about 10cm of the thread so the flowers don’t fall off and that you have enough thread to tie the ribbon to.
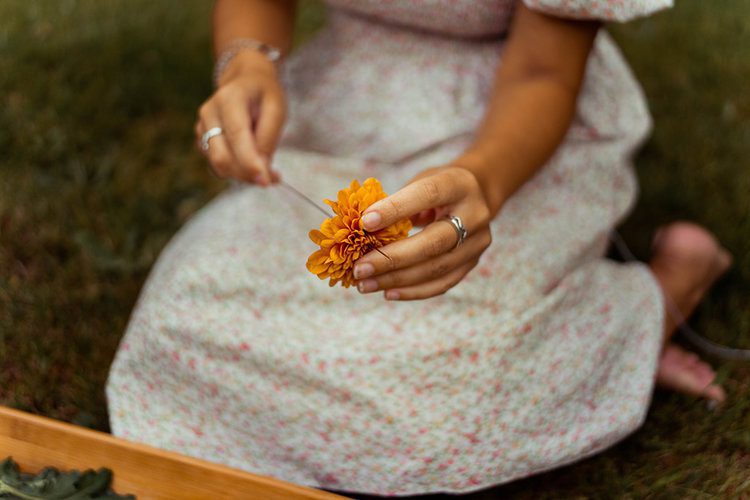
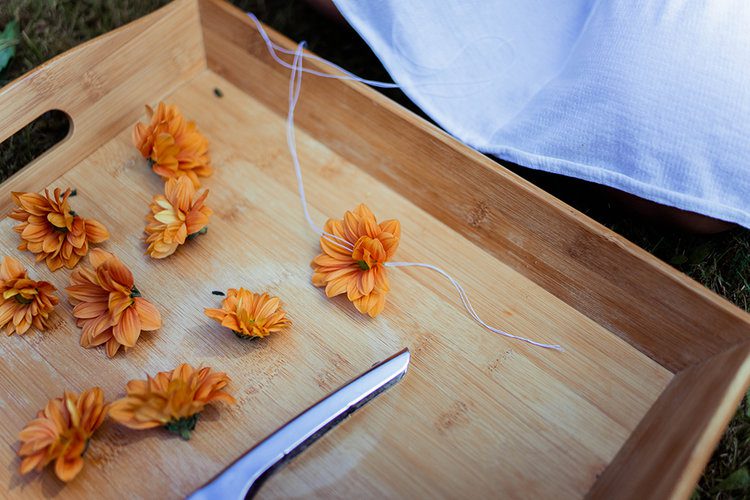
7. Thread on your flowers and leaves in whatever order you fancy. It is up to you if you want to create a pattern or not, but if there are certain flowers that you want to use at the front, be aware of how far you have worked down the thread. Also every head size is unique so keep holding it up to yours to gauge how much further you have to go.
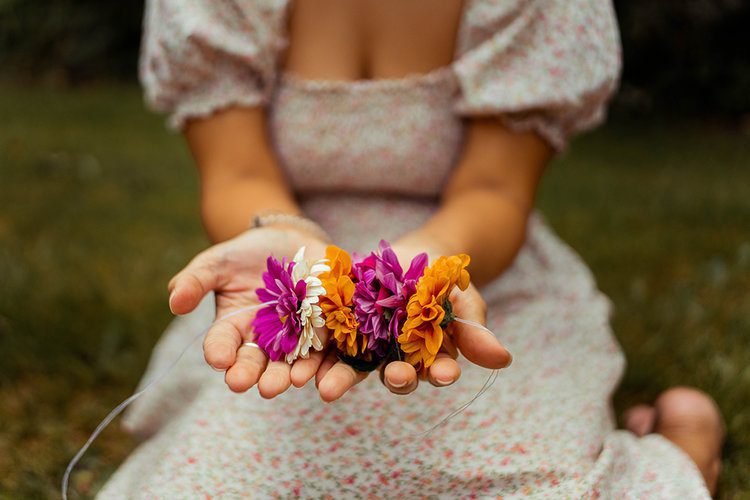
8. The reason I recommend using a longer needle is because lei are made with one (unfortunately I couldn’t find any at a reasonable cost) because they make the process quicker. With a longer needle, you can thread on multiple flowers and then push a larger section down the thread.
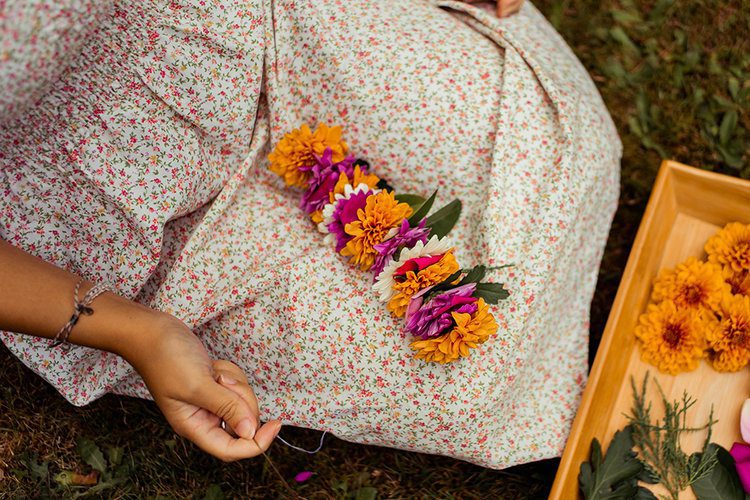
9. Once you have your desired length in flowers, cut the thread at the eye of the needle.
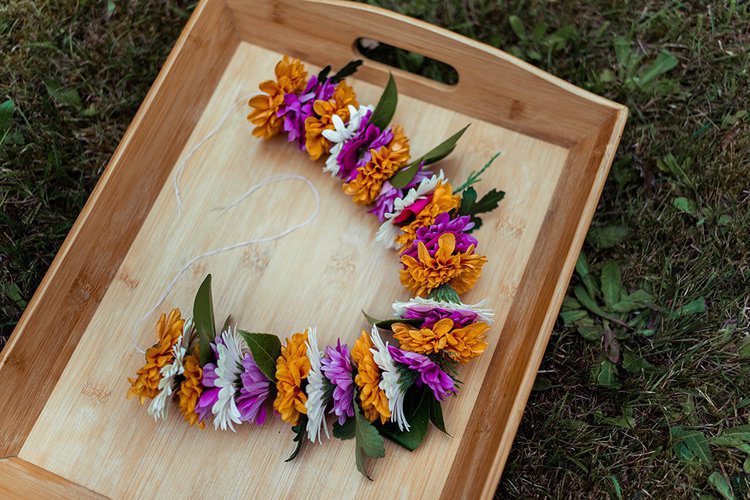
12. Make sure the ribbon and thread is securely tied to each other before cutting the excess thread.
13. All you have left to do is carefully lift your Hawaiian flower crown, lei po’o, to your head and tie the ribbons together at the back of your head. A bow with a double knot will secure it.


If you are making your haku lei for an occasion it is best to make it on the day so that the flowers are their freshest selves. If you want to make the most out of, sprinkle it with water and store it in the fridge. Depending on the flowers you chose it can last a couple more days.
.
Now you know exactly how to make your very own Hawaiian head lei inspired flower crown you can make them for all sorts of occasions: weddings, baby showers, birthday parties and more.
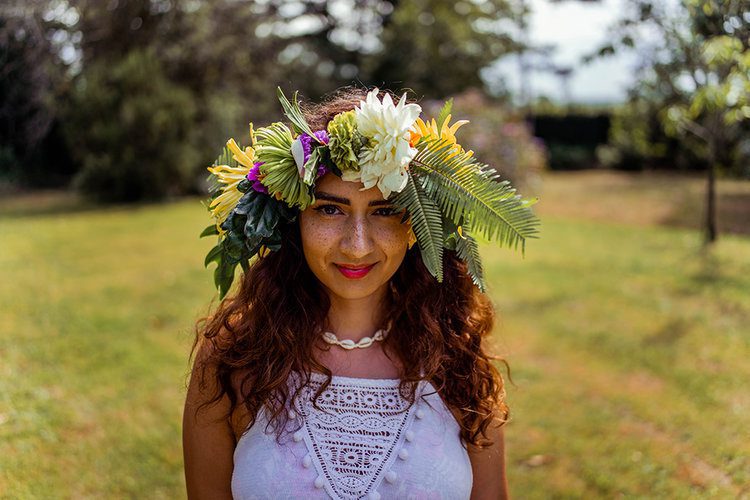
If you do make one please share them using #postcardsfromhawaiiblog and I will share them on my Instagram stories.
Do more on & for the planet, Gabriella


