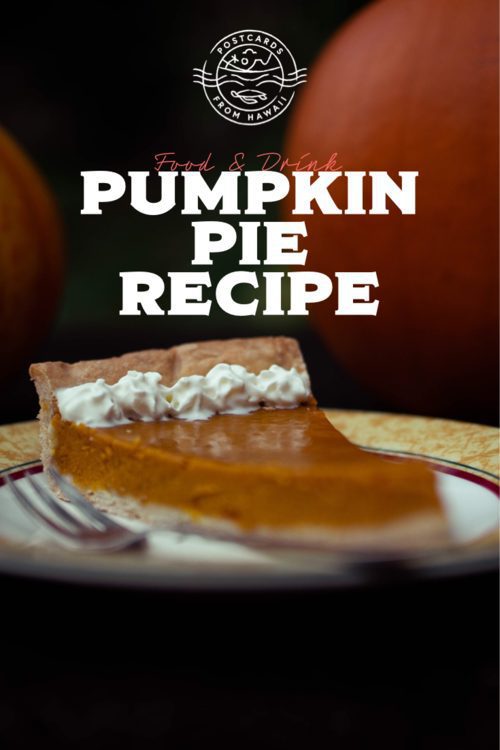
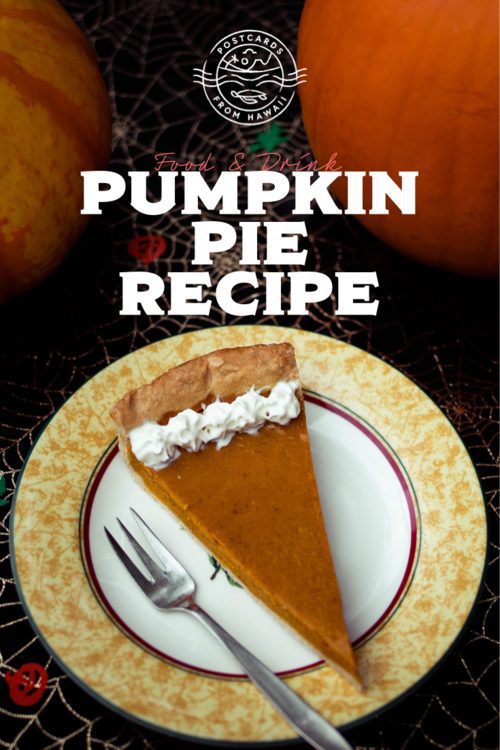
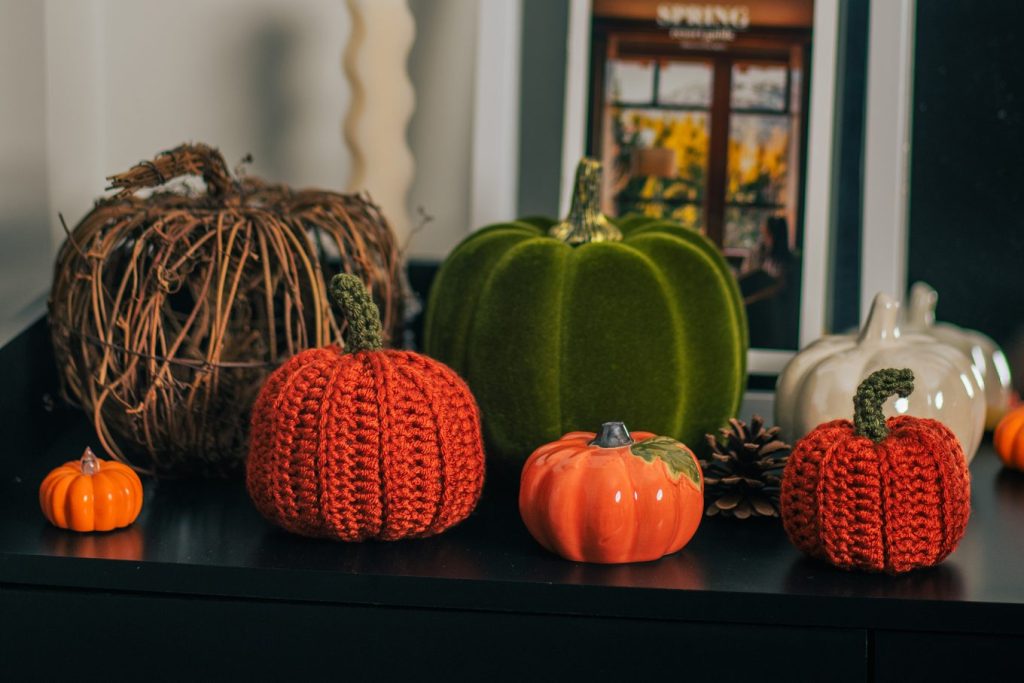
With 2.9 million posts on Instagram using the hashtag #pumpkinpatch, pumpkins are more popular than ever. Is it even Autumn/Fall if your feed doesn’t have someone holding a pumpkin with a pun in the caption? If it doesn’t, just go follow me, I’m one of those people! We can’t just go running through pumpkin patches without taking one or two home though and sure we can carve them, it’s one of my favourite things to do this time of year, but we could MAKE PIE!
I’ve never been to America during fall/autumn, I’ve always wanted to though as it’s no secret that they take the holidays very seriously from pumpkin drinks to pumpkin decorations. Alas, I’m just going to have to bring that spirit into my home instead, and you can too with this classic American dessert.
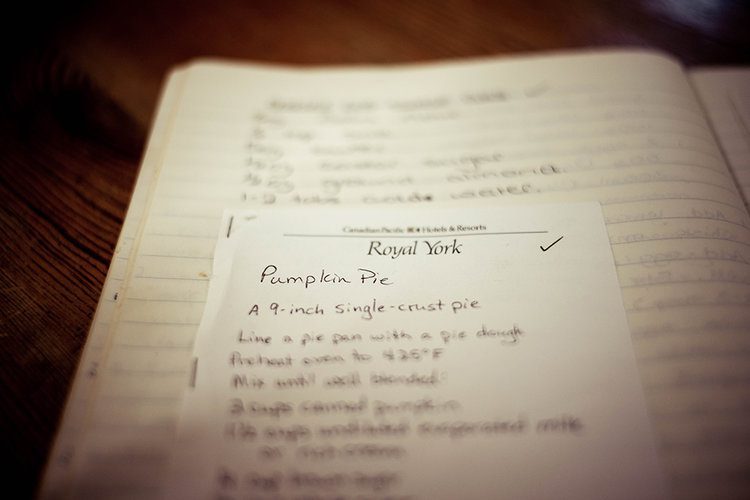
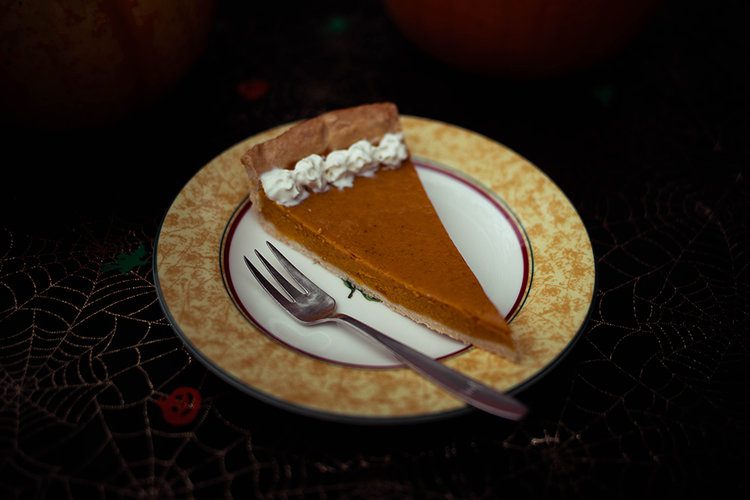
Pumpkin pie is THE dessert for the holidays across North America and is consumed on both the Canadian and American Thanksgivings. The recipe below actually comes from an American friend of the family, and has been in my Mum’s recipe book for decades, but it has been adapted to make the pumpkin filling and pastry from scratch as the original recipe asks for a pre-made pastry and tinned pumpkin which is then seasoned, so you get extra bragging rights for using this recipe! There’s even a couple of quick recipes at the end on what to do with the seeds, so nothing goes to waste!
This recipe will make two pies as even a small pumpkin like the one I used will make enough filling for two. This way you can eat one and freeze the other for Friendsgiving or Thanksgiving if you’re making these for Hallowe’en.
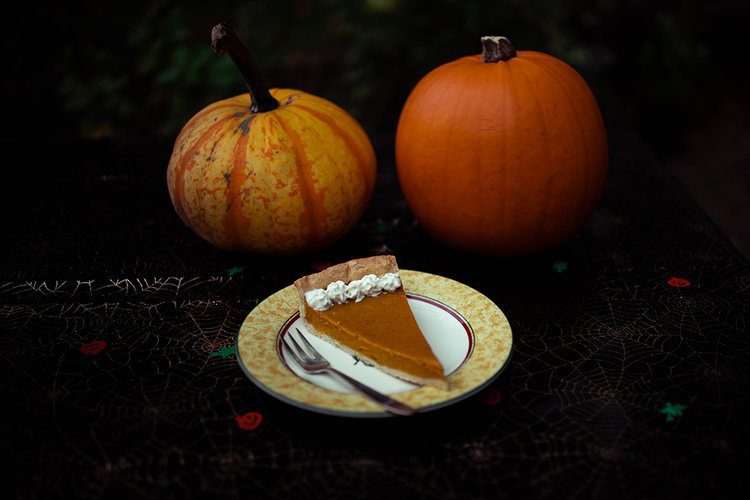
PFH Fun Fact: Pumpkins are a fruit, I googled it.
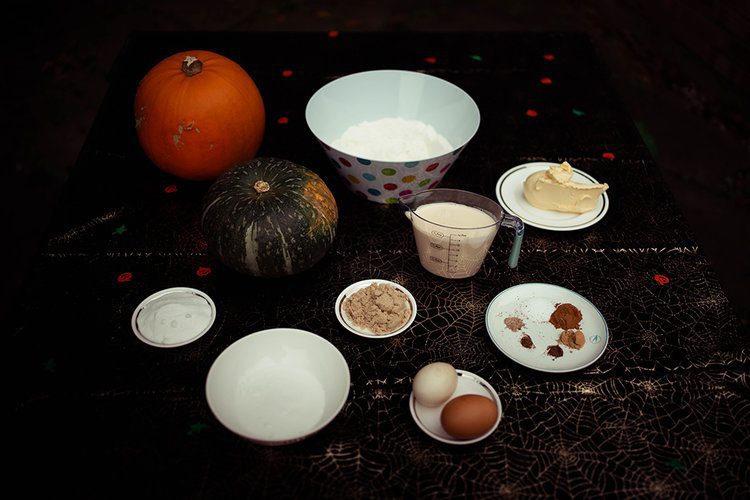
Ingredients
Pastry
142g Butter
284g plain flour
56g caster sugar
2-4 tbsp water
Pumpkin filling
The flesh of one medium pumpkin
1/4 cup golden caster sugar
1/4 cup white caster sugar
1 1/2 cups of undiluted evaporated milk
1/2 tsp salt
1 tsp cinnamon
1/2 tsp ginger
1/4 tsp of nutmeg
1/4 tsp allspice
A pinch of ground cloves
2 eggs
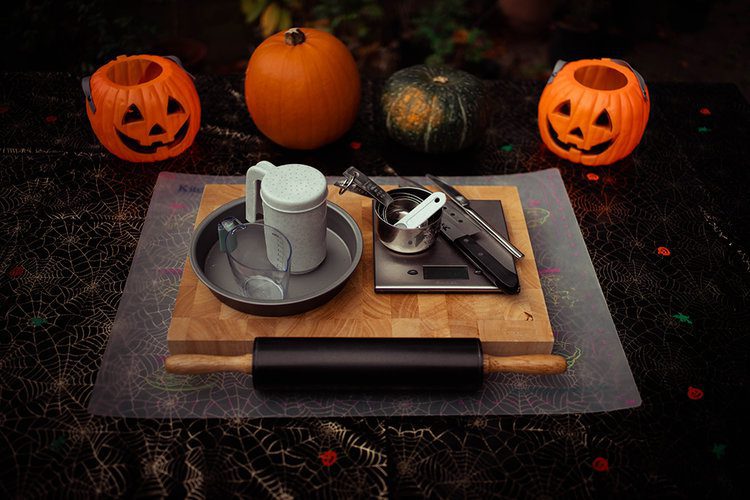
Equipment
Wooden spoon
2 mixing bowls
Flour dredger
Knife
Sharp knife
Chopping board
Scales
Rolling pin
Pastry mat (or a clean and flat surface)
2 20cm (8”) round tins
Blind bake beads
Measuring cups
Ladle
Tsp measurement
Method
Pastry
1. Preheat the oven to 180°C (356°F).
2. Measure out ingredients.
3. Add the butter to the flour and rub with your fingertips to create a crumble like texture.
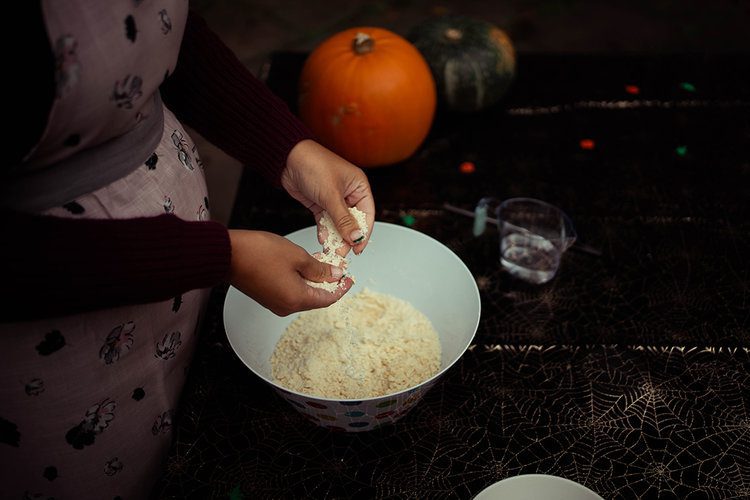
4. Stir in the sugar.
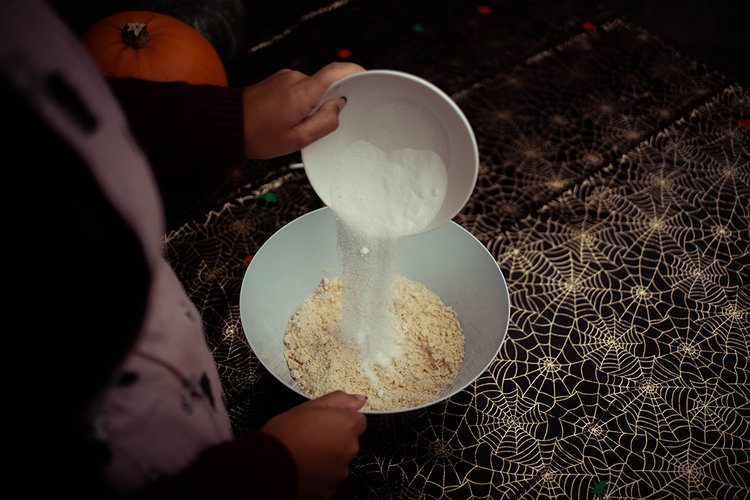
5. Add 1 tbsp of water and stir through, keep adding water in small amounts and stir through until the mixture becomes a dough. Do not add all of the water at one time because you don’t want a wet dough.
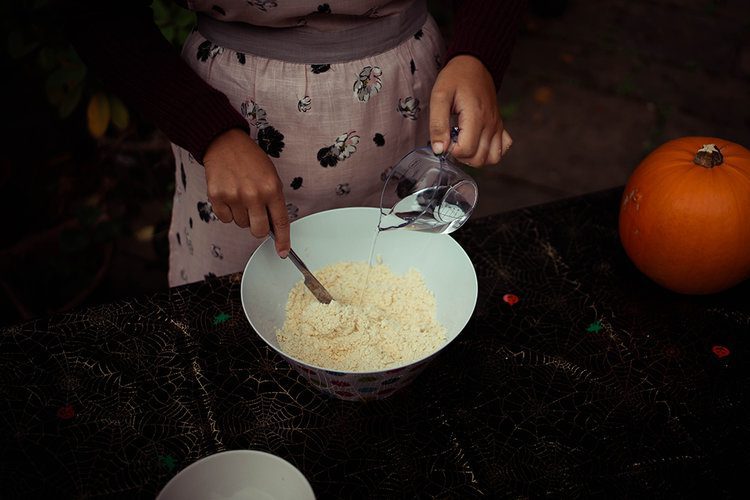
6. When you are able to, use your hands to roll your dough into a ball.
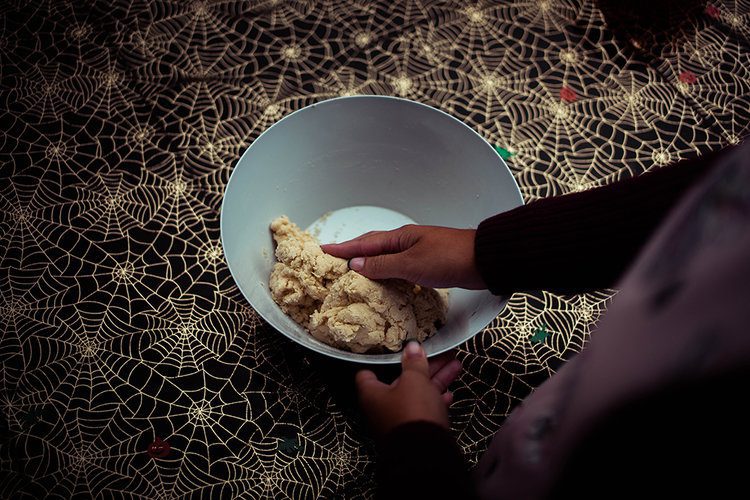
7. Using the flour dredger, scatter some flour over a flat surface (either a table, kitchen counter or a pastry mat) and rolling pin, then place dough upon the surface.
8. Cut the ball of pastry in half and round off each half.
9. Roll out one half of the pastry, turning and flipping it whilst re-flouring the surface and rolling pin as you go until the pastry will fit one of the tins at a thickness of 5mm (1/4”).
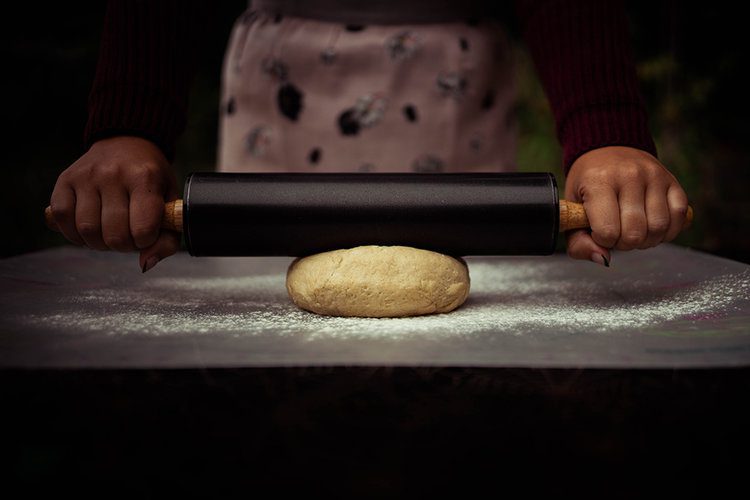
10. Lightly grease the tins with butter and dust with flour to prevent the pastry from sticking.
11. Place the pastry over the round tin and gently press it in.
12. Lift up the tin and using a knife, trim the excess pastry from the edges.
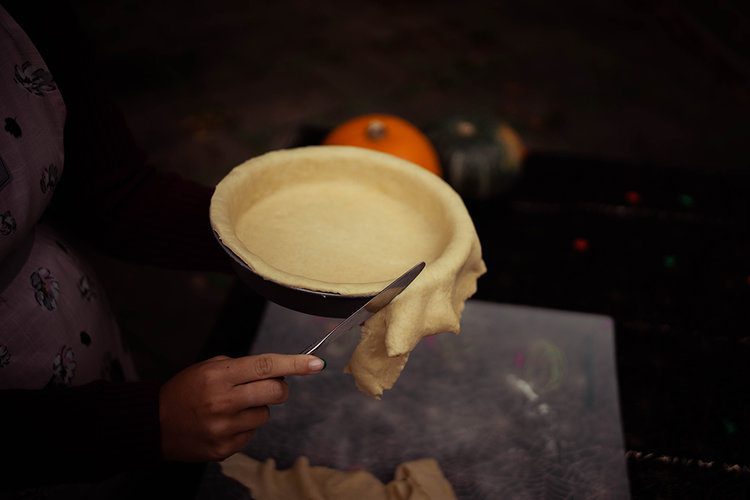
13. Repeat steps 7 – 11 with the other half of the dough.
14. Line the pastry with a scrap of parchment paper and, if you have them, evenly place the blind baking beads into the two round tins to weigh down the pastry as it bakes. If you don’t have them then use the excess pastry that you trimmed off to create small balls to weigh down the pastry.
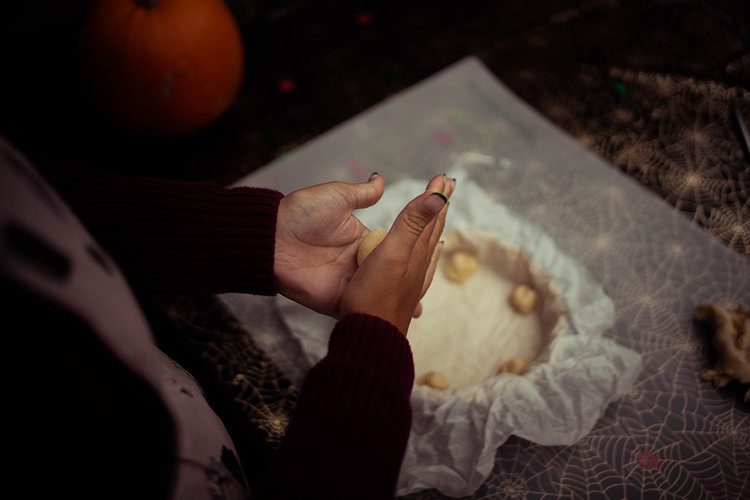
15. Place them into the oven, putting your best one on the middle shelf and the other on the lower.
16. Bake at 180°C (356°F) for 15mins then turn the heat down to 150°C (300°F) for a further 10mins.
17. Remove the beads and check if the pastry has dried out beneath them. If it has, remove the tins from the oven and let them sit. If they aren’t dry after the beads have been removed, place the tins back into the oven (without the beads) for a further 2mins or until they have dried.
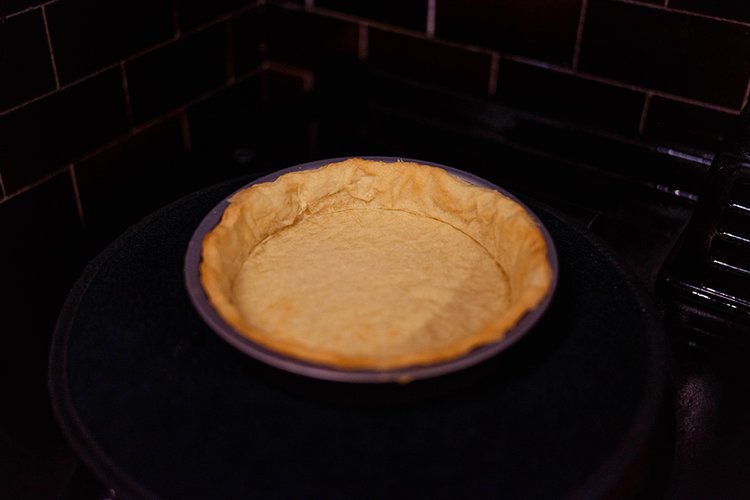
18. You can now move onto the filling.
Pumpkin filling
1. Turn the oven down to a lower heat whilst you prepare the pumpkin. Depending on how soft your pumpkin is, peeling and preparing it could be time-consuming so you don’t want to lose the heat from the oven, but you also don’t want to waste energy.
2. Measure out the ingredients.
3. Cut the pumpkin into more manageable chunks.
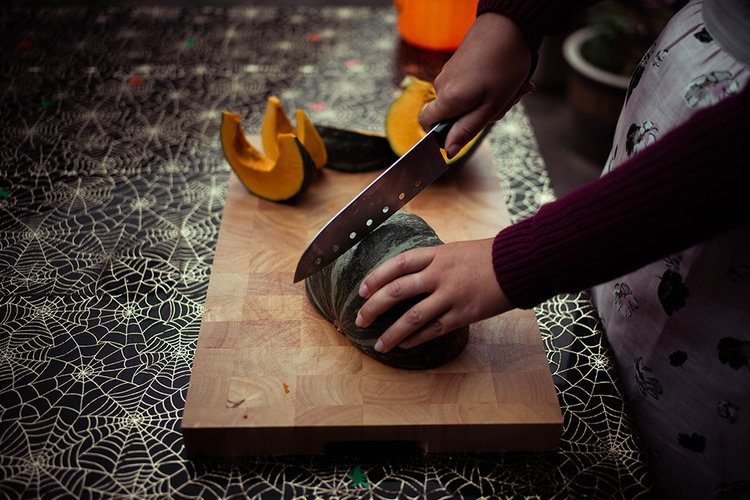
4. Remove the seeds and general mush (put aside for later, see below).
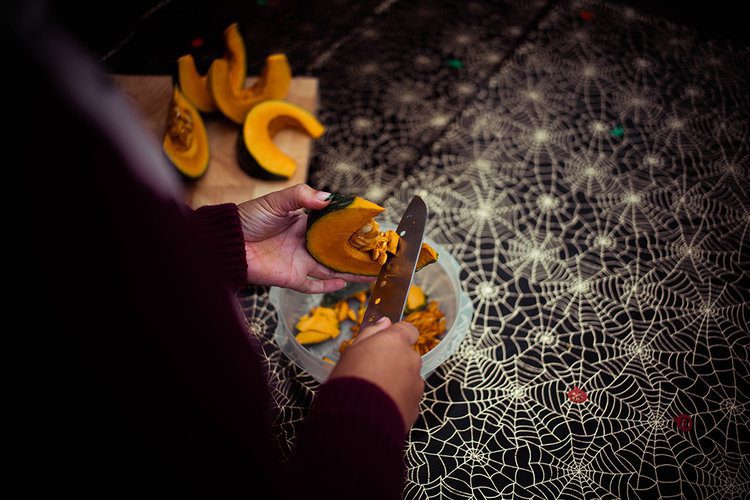
5. Peel the skin off, making sure to remove all of the tough exterior.
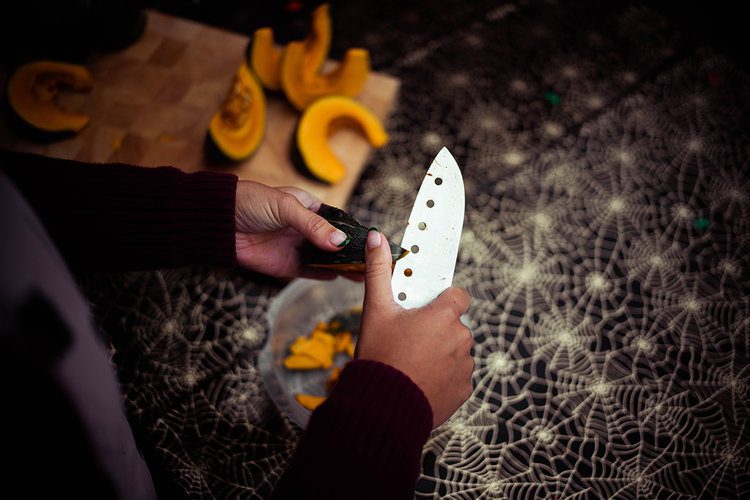
6. Chop the pumpkin into chunks.
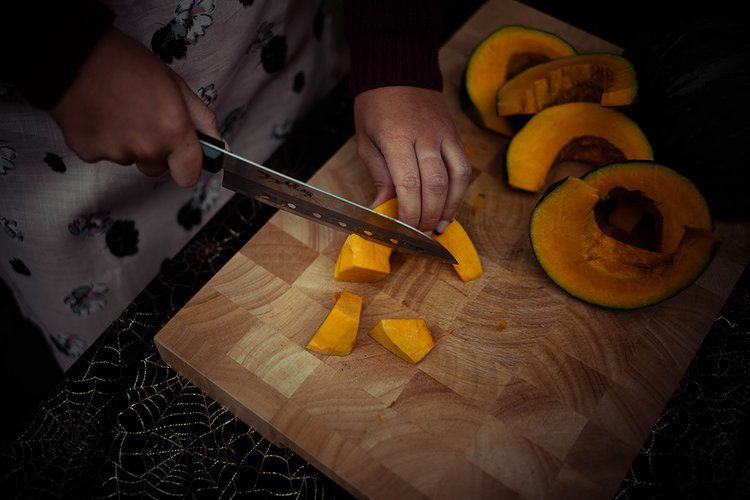
7. Add the chunks into a saucepan with 1 cup of water.
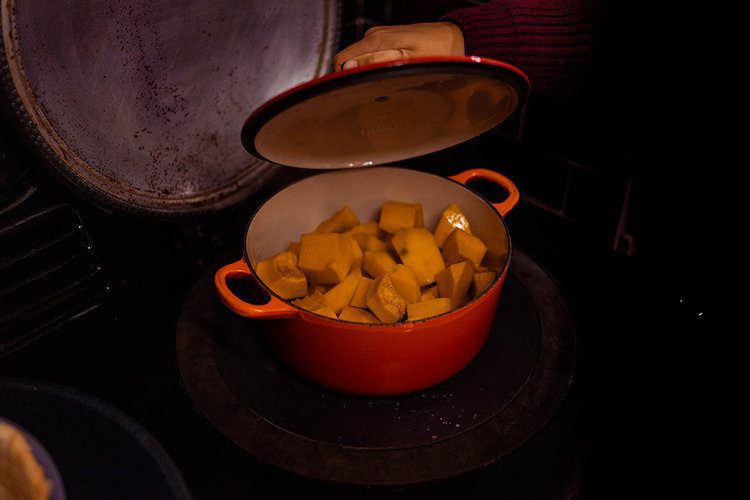
8. Place the saucepan onto a medium heat until the pumpkin is soft and mushy, regularly stirring it to make sure it isn’t sticking to the bottom. You want to cook it like you’re making mashed potato.
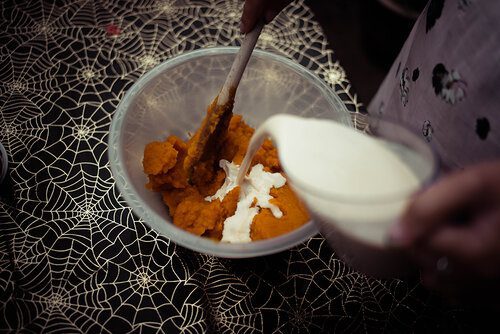
9. When the pumpkin is really mushy, stir it with a wooden spoon to make a smooth purée.
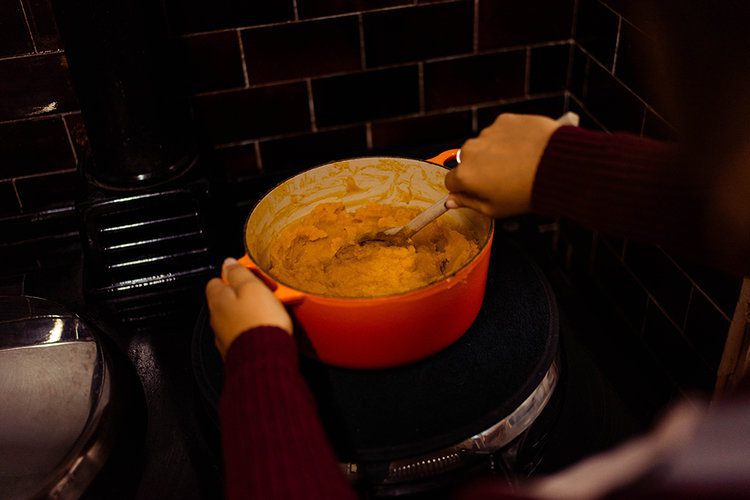
10. Add the pumpkin to a mixing bowl.
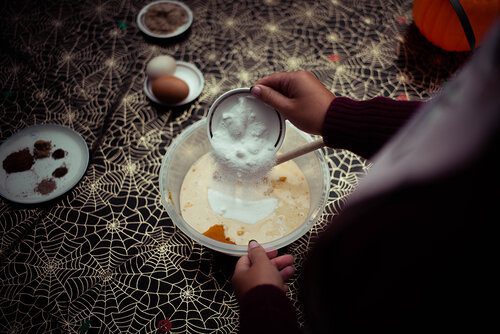
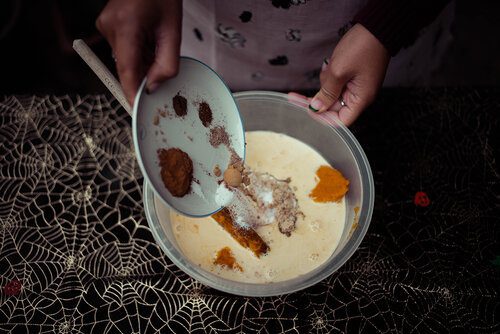
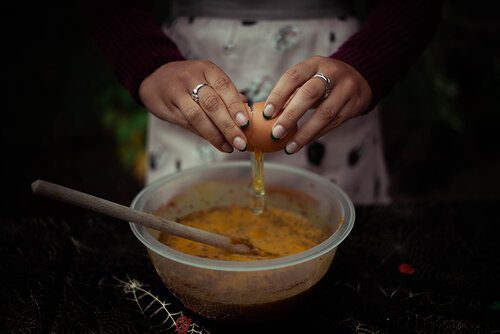
11. Stir in the golden caster sugar, white caster sugar, salt, cinnamon, ginger, nutmeg, allspice, ground cloves and eggs until it’s a smooth, creamy consistency.
12. Pour into the pie casings (or use a ladle if you want to be more precise), filling them to about 1/2cm from the top of the crust.
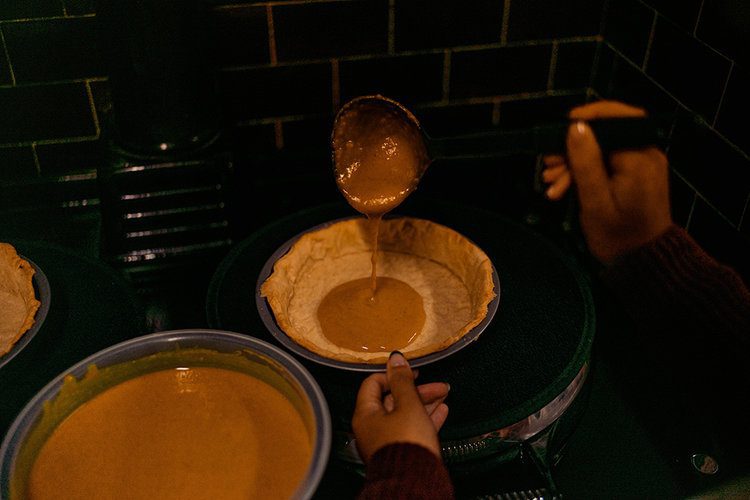
13. Place the pies in the oven for 15mins at 180°C (356°F) then reduce the heat to 150°C (300°F) and cook for a further 25mins
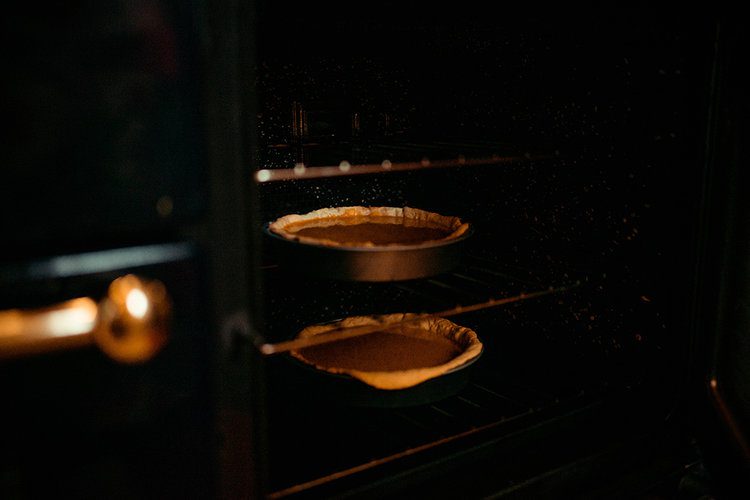
14. Turn the oven off (or down if you want to roast the seeds, see below) and leave the pies on top to cool down
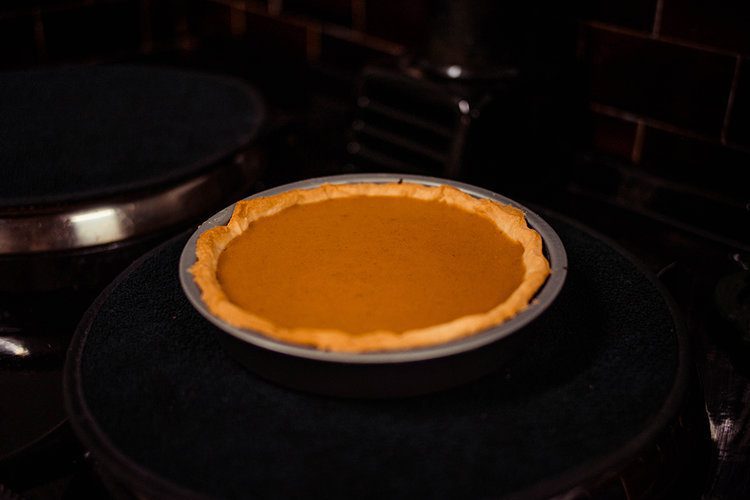
15. Slice the pie to serve it. You can serve it with single cream, whipped cream, squirty cream or ice cream.
Toasted pumpkin seeds
Even if you’re not making pumpkin pie, flavouring and toasting your seeds after carving pumpkins will prevent them going to waste. They’re a great snack with a glass of vino or an after-school treat – plus a lesson to show kids not to let anything go to waste.
Sweet
Remove the pumpkin goop from the seeds and lightly dry them with a cloth
Place them as evenly as possible onto a tray
Drizzle them with oil
Sprinkle cinnamon and sugar over them
Toast in the oven at 180°C (356°F) for 3-4 mins (or until you hear them popping)
Allow them to cool for 5mins
Put them into a smaller pot (a ramekin should do it) and stir through an extra teaspoon (or two) of sugar
Serve!
Savoury
Remove the pumpkin goop from the seeds and lightly dry them with a cloth
Place them as evenly as possible onto a tray
Drizzle them with oil
Sprinkle salt, pepper, garlic or paprika (anything of your choice) over them
Toast in the oven at 180°C (356°F) for 3-4 mins (or until you hear them popping)
Allow them to cool for 5mins
Put them into a smaller pot (a ramekin should do it) and serve!
.
Aloha, Gabriella


