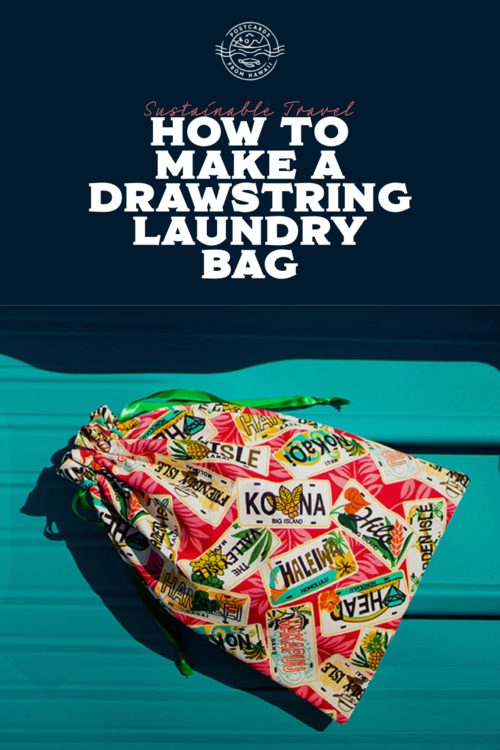
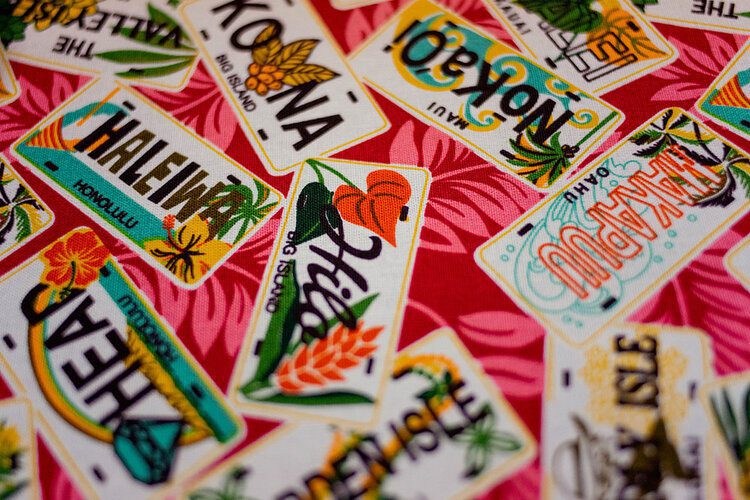
I was packing up my sewing equipment ready for my move to Canada when I came across some fabric I bought in Maui the last time I went to Hawaii and thought, what can I teach you to make from any beautiful fabrics you might have picked up on your travels around the world that’s also useful when you travel and I came up with this drawstring laundry bag pattern.
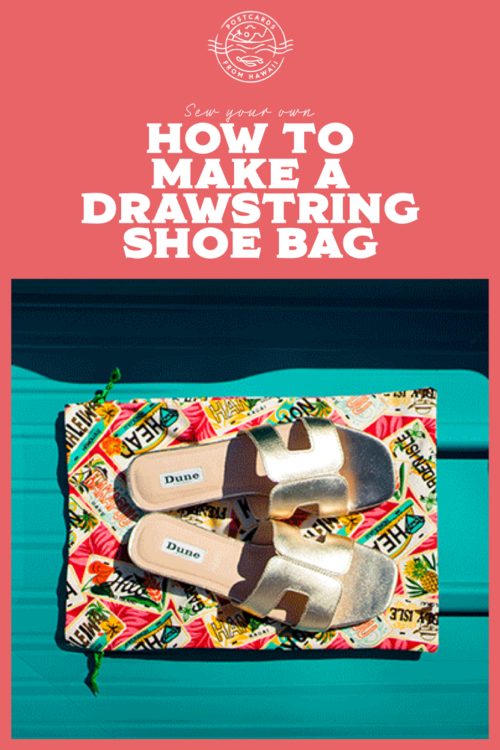
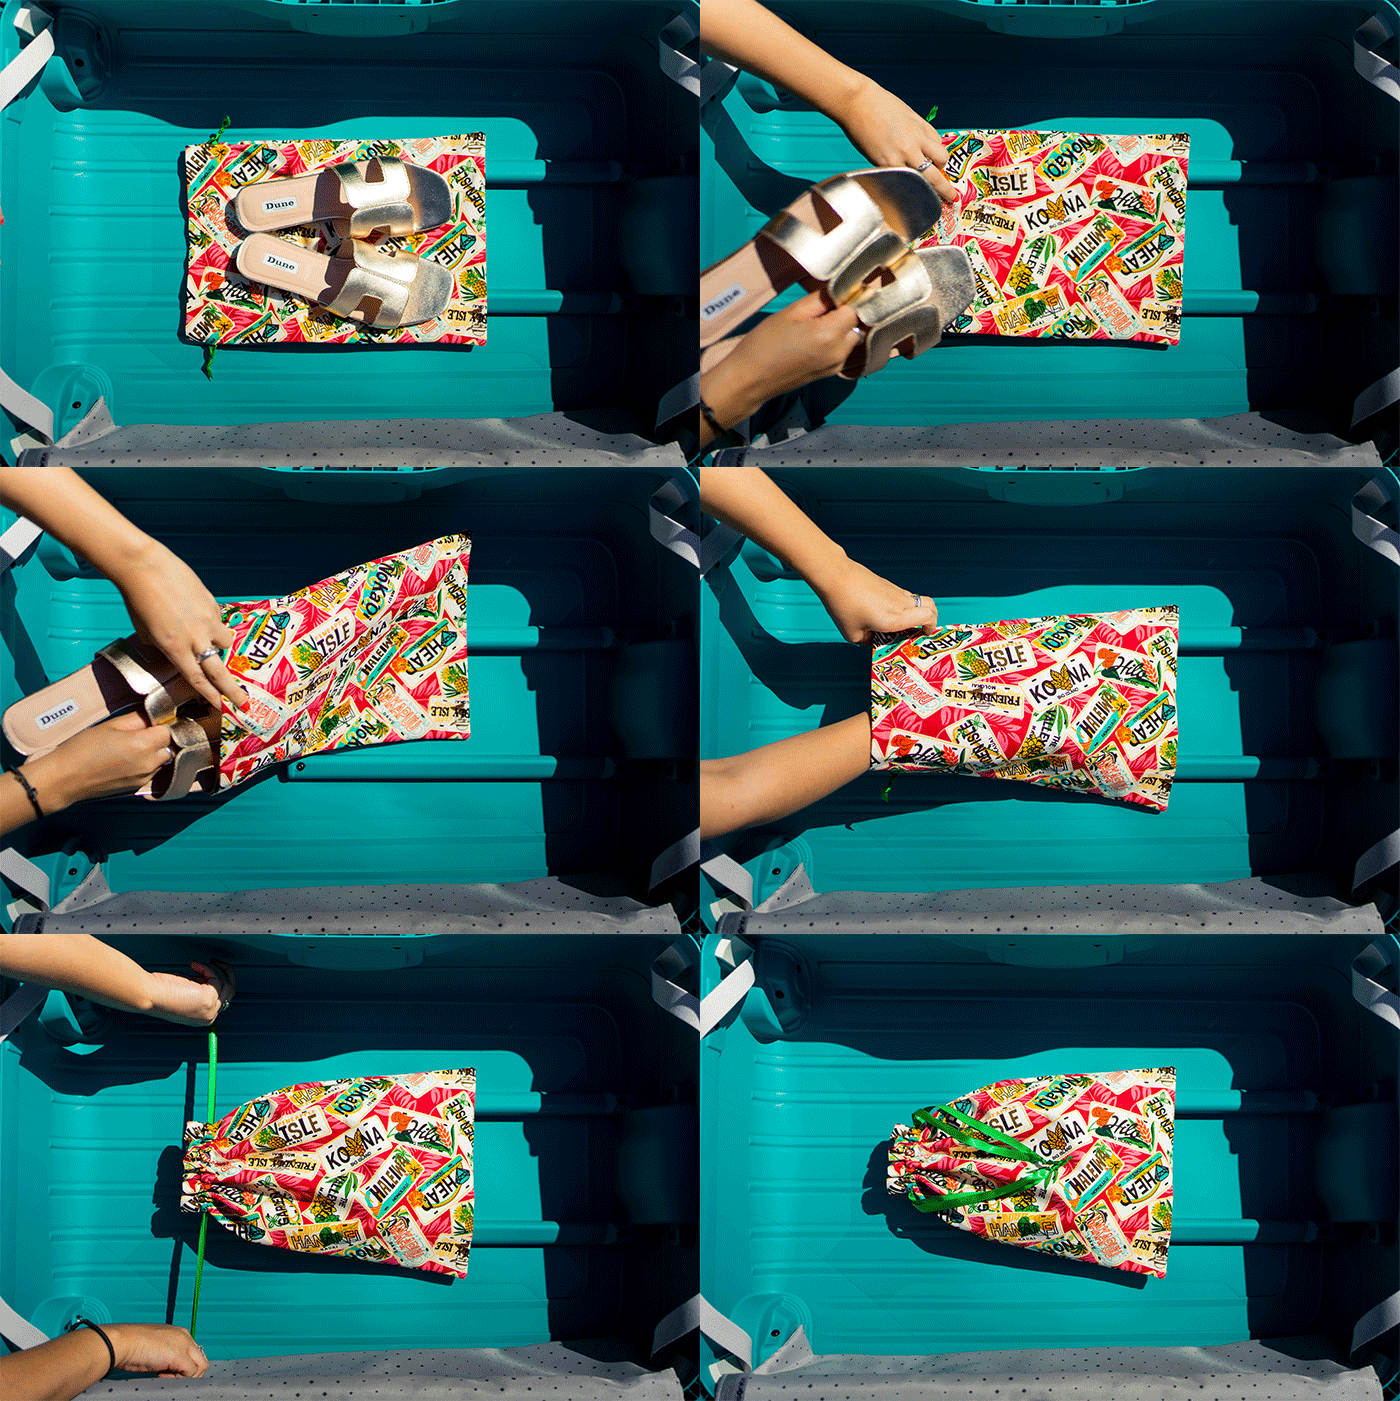
I use a combination of packing cubes and laundry bags when I pack my suitcase. Laundry bags are easy to get in and out of and can be used to pack shoes, separate your clothes, keep your accessories together or you can put your dirty undies in them between washes when you’re on the go. I am phasing out plastic bags to pack my shoes as I’m not purchasing them anymore so these drawstring laundry bags are a great sustainable alternative.
Speaking of sustainable alternatives, I also made a bunch of these drawstring bags last Christmas as a replacement for gift wrap as they’re reusable and way better for the environment. You can just change the measurement of the pieces and fabric and length of ribbon to work with whatever you want to put in there.
As a size reference, this bag that I am showing you how to make will fit a pair of women’s size 5 UK/7 US shoes.
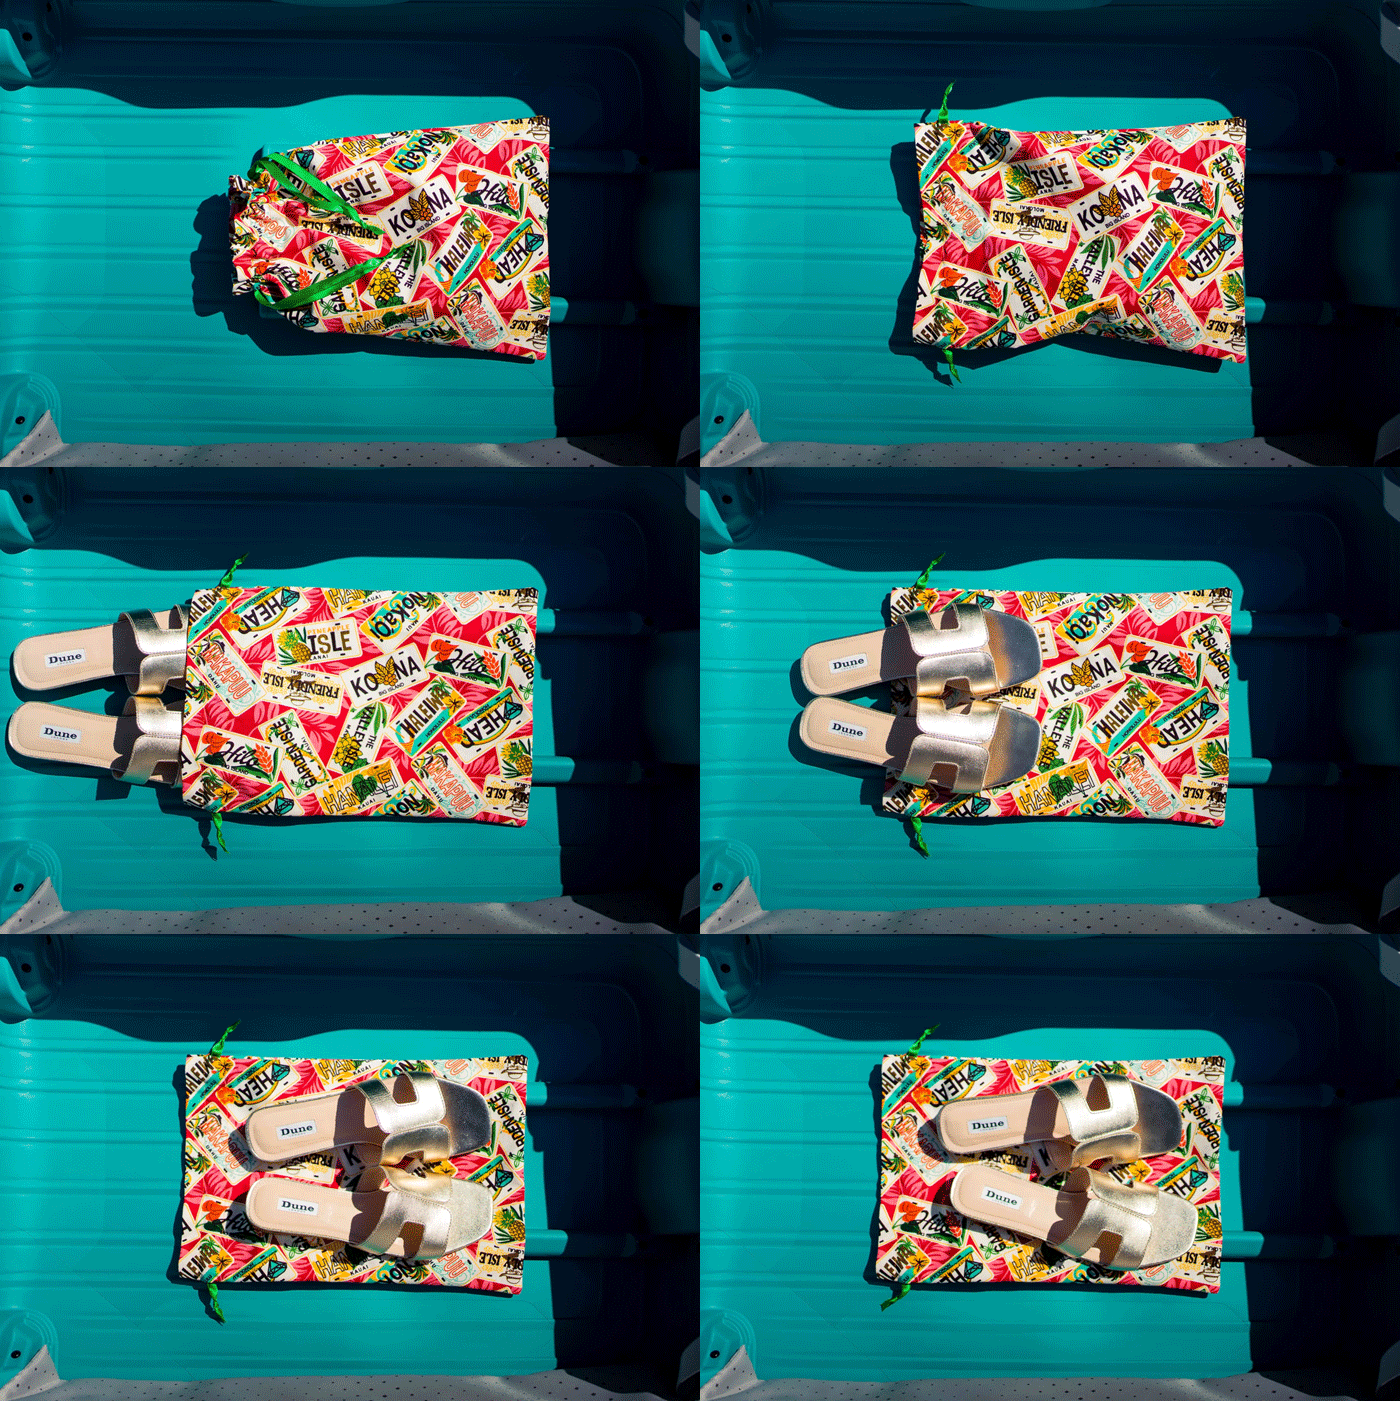
This DIY step-by-step tutorial shows you the most simple way to make a drawstring laundry bag with the least amount of equipment, so that anyone with a sewing machine can make this at home. I have done it this way keeping in mind that not everyone is going to have access to an abundance of fabric and equipment at home.
This guide measures in inches to accommodate for my American audience but none of these measurements needs to be the same as I’m showing you, you can make it as big or small as you like. You can measure out in centimetres or inches, just make sure that the width you fold over and press down in step 2 is bigger than the width you sew from the edge in step 4 so that the raw edge is concealed into the seam.
If you enjoy making this laundry/gift bag then why not take a look at my hair scrunchie DIY tutorial?
Alright, that’s enough from me if you haven’t already skipped forward to the DIY laundry bag tutorial.
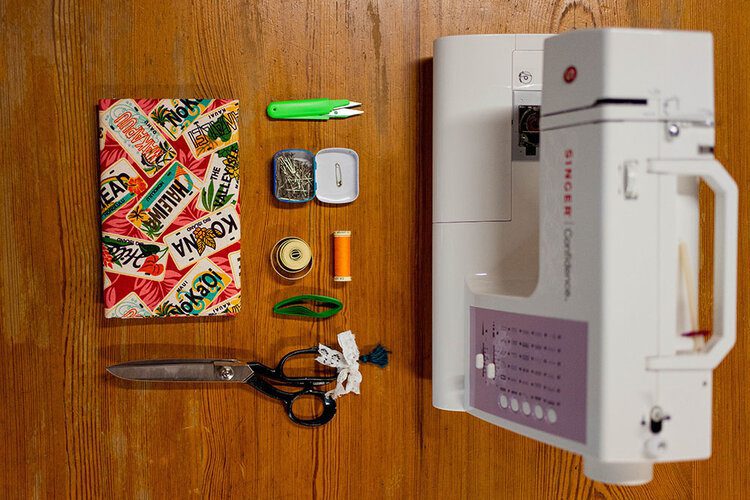
What you need
Sewing machine (you could sew this by hand as it’s not complicated, it will just be time-consuming)
Iron and board
Tape measure (or ruler if you don’t have access to a tape measure)
Fabric shears
Snips (your shears will do if you don’t have dedicated snips)
Pins
Safety pin
Thread
52” of ribbon cut in half
2 pieces of fabric measuring 12” x 16” each
Method
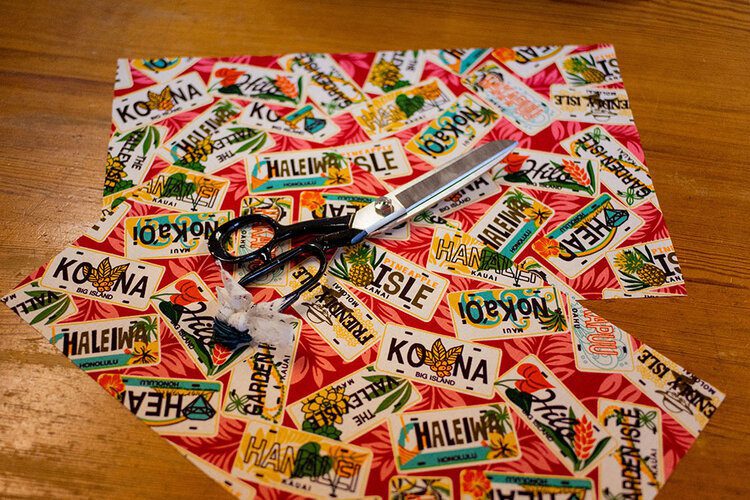
1. Measure out and cut your fabric making sure it’s ironed beforehand.
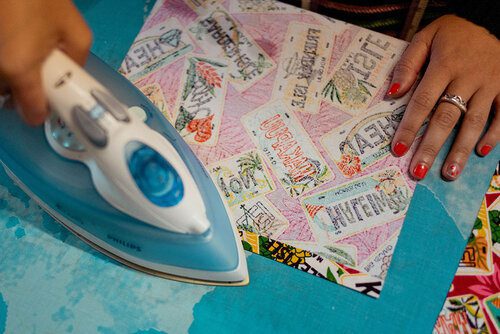
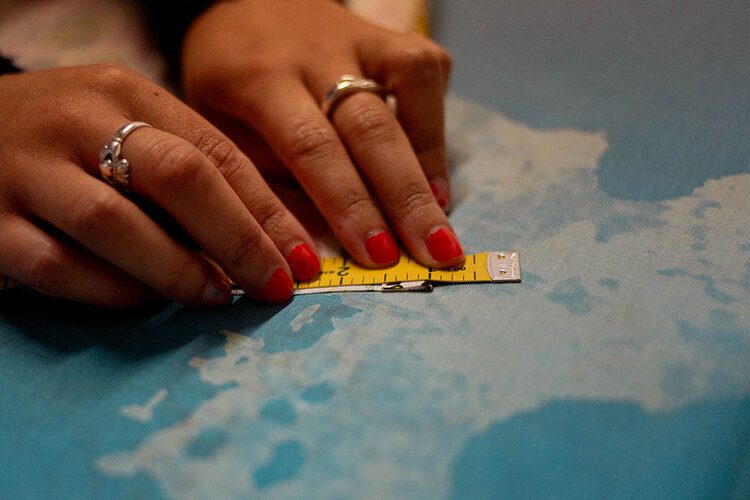
2. Take the top edge of each piece, turn down 1/2” and press it down with an iron.
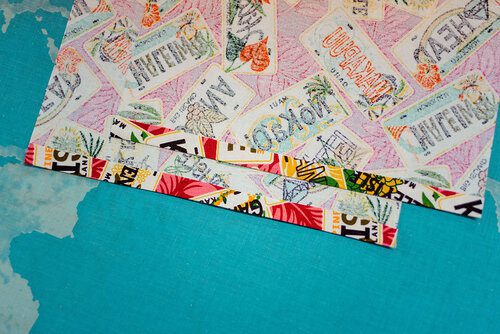
3. Fold down the new clean top edge of each piece by 3”, press it down with the iron and pin it to secure it.
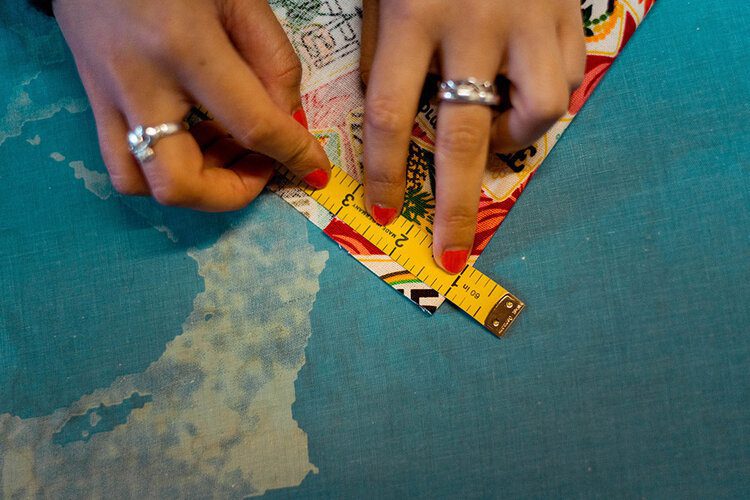
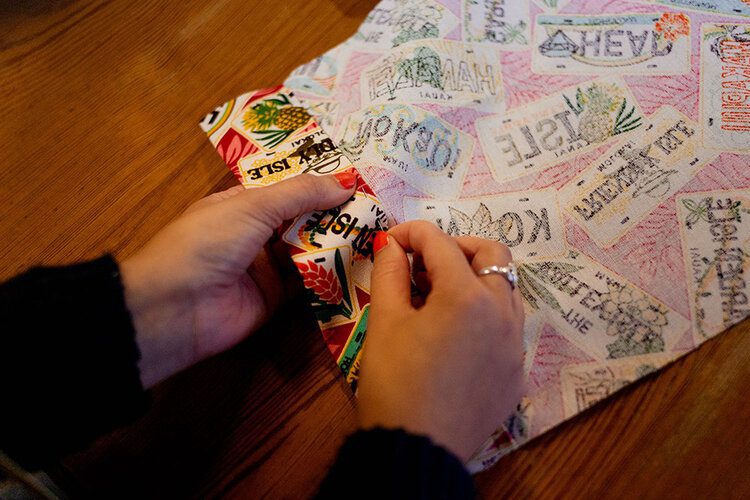
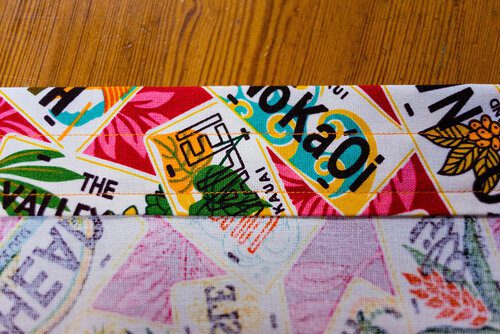
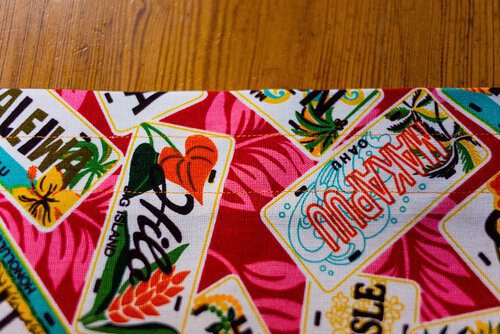
4. Take one piece and line up the edge you have pinned with the edge of the presser foot on your sewing machine and stitch it down. Backstitch both ends to secure your stitching every time you sew.
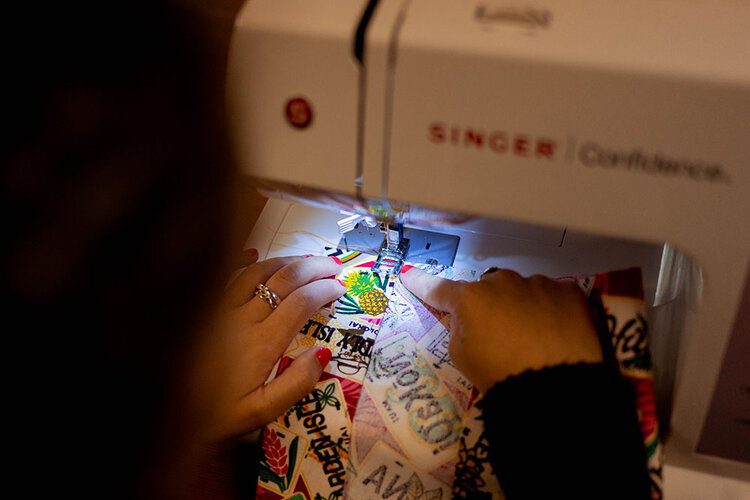
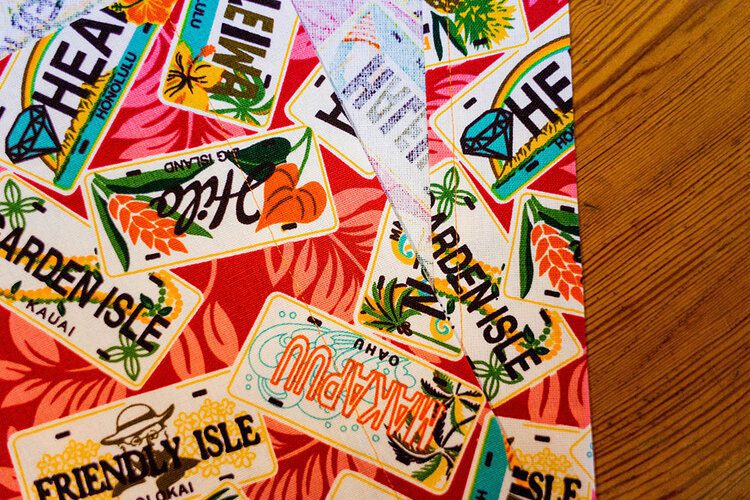
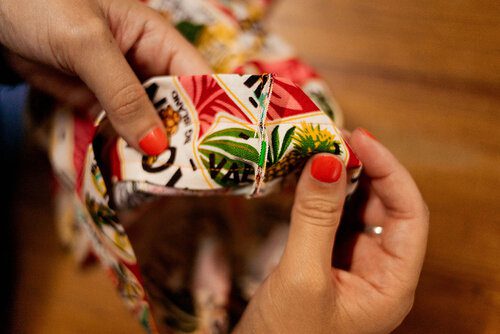
5. Turn the piece around and using the measurement guides on your sewing machine line up the top edge to the 3/4” marker. Sew straight down to form the channel for your ribbon.
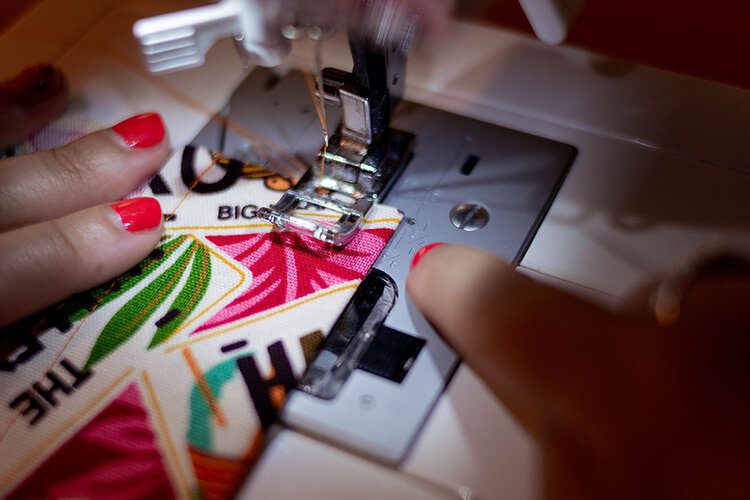
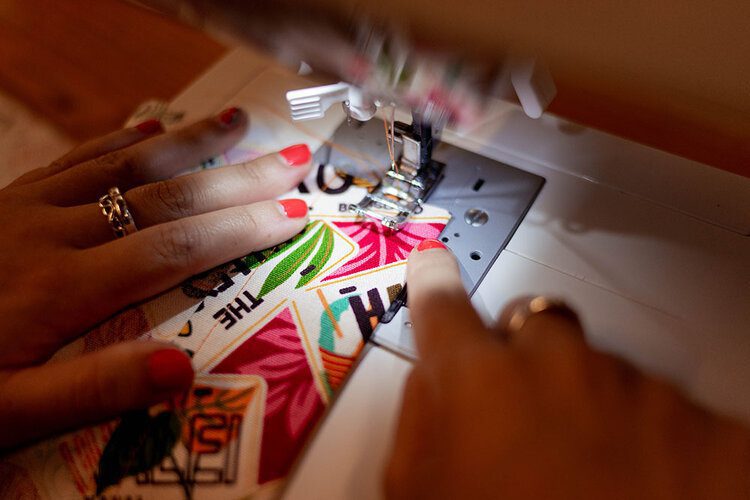
6. Repeat steps 4 and 5 on the other piece.
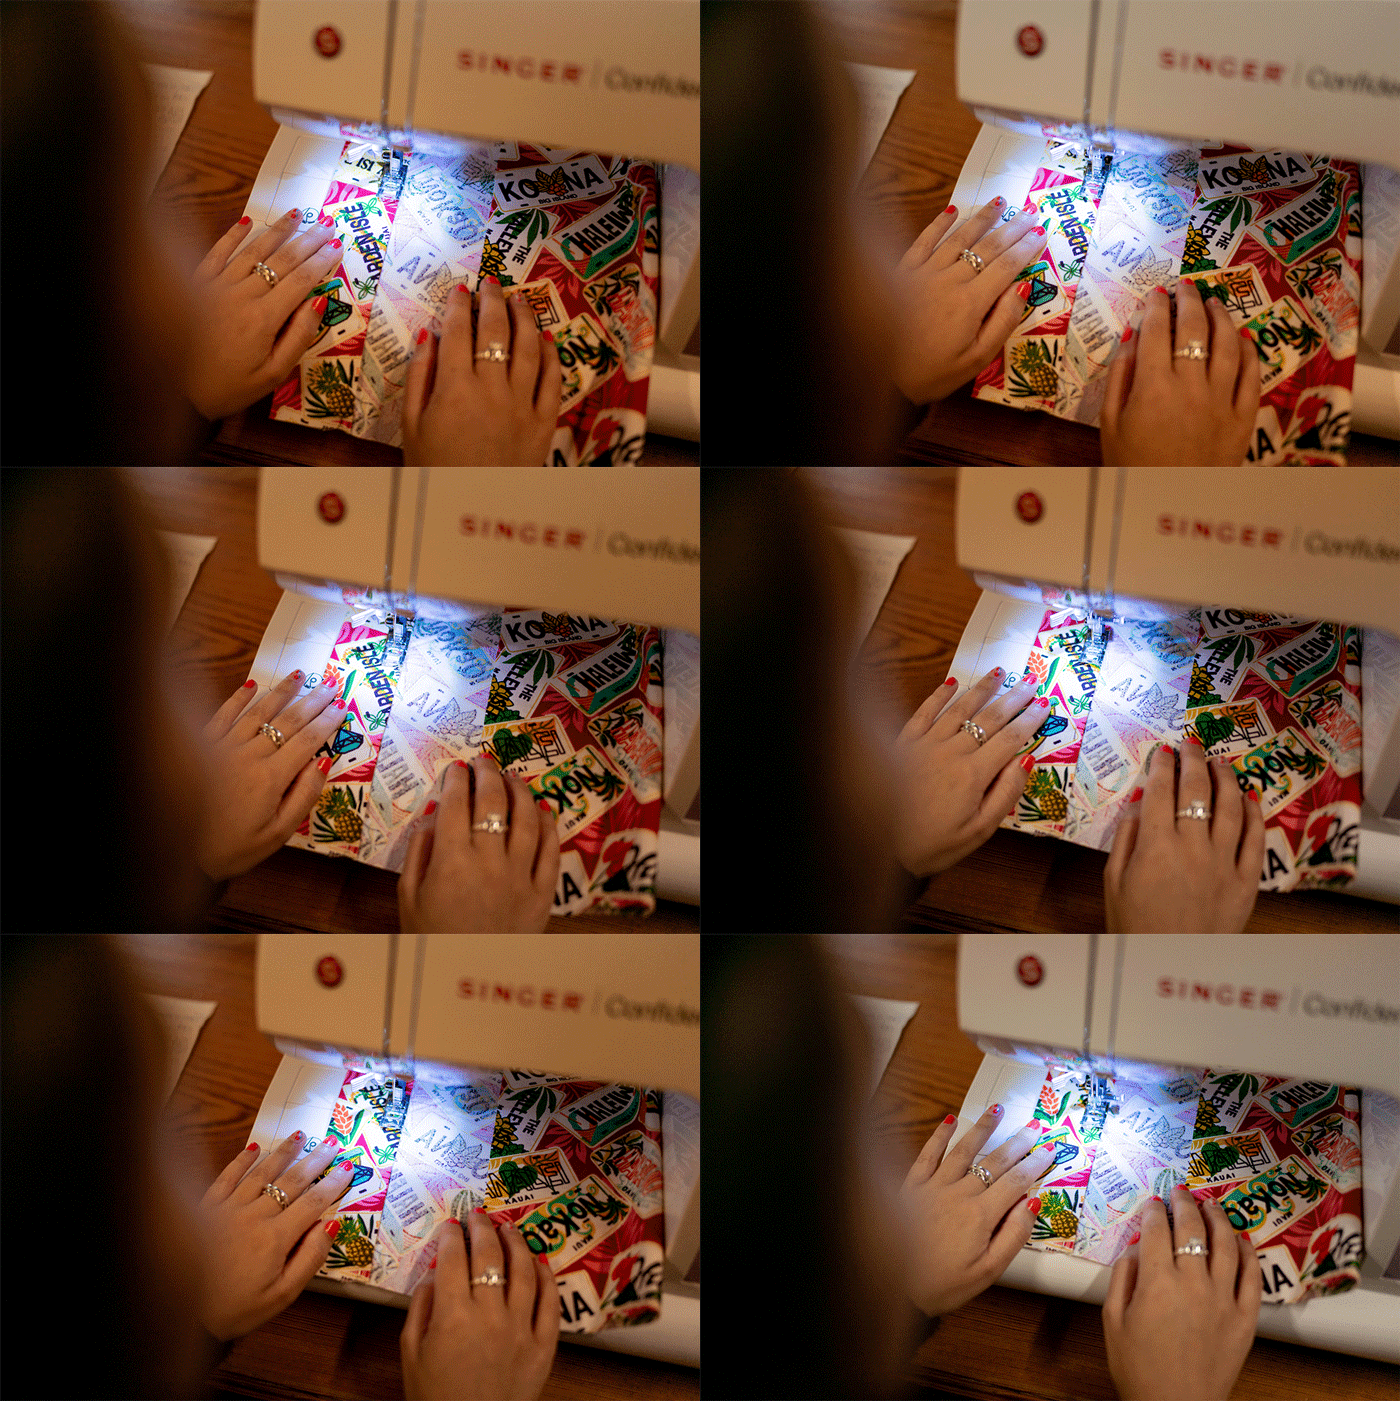
7. Lay the two pieces together with the right sides of the fabric facing inwards. Pin them together making sure the stitching for the channels on each piece lines up together.
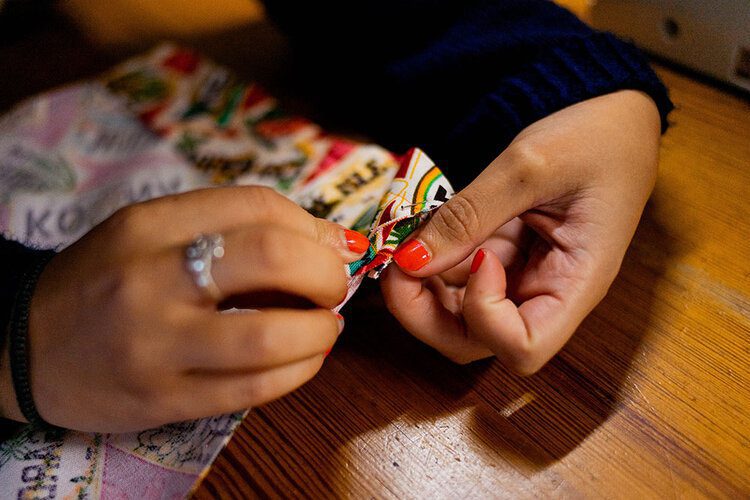
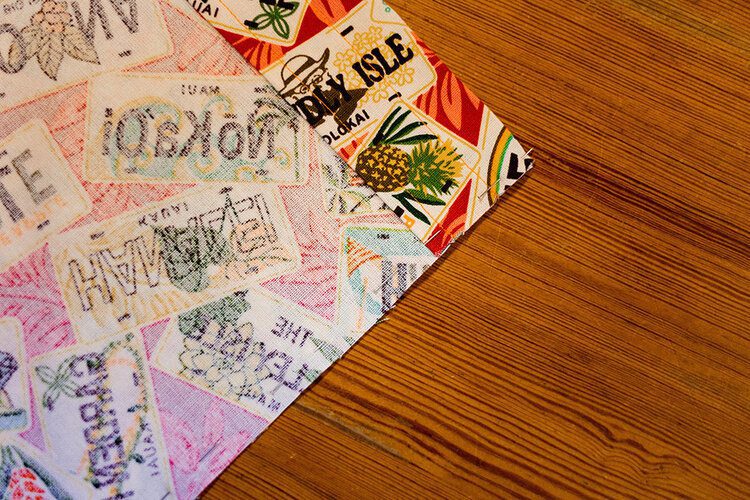
8. Line up the raw edge of the fabric with the edge of the presser foot. Only sew from the top edge of the bag down to the first channel seam.

9. Start sewing again from the second channel seam and continue sewing around the three raw edges, stopping at the first channel seam you come across on the other side. It is important to leave the channel open so you can feed your ribbon into it.
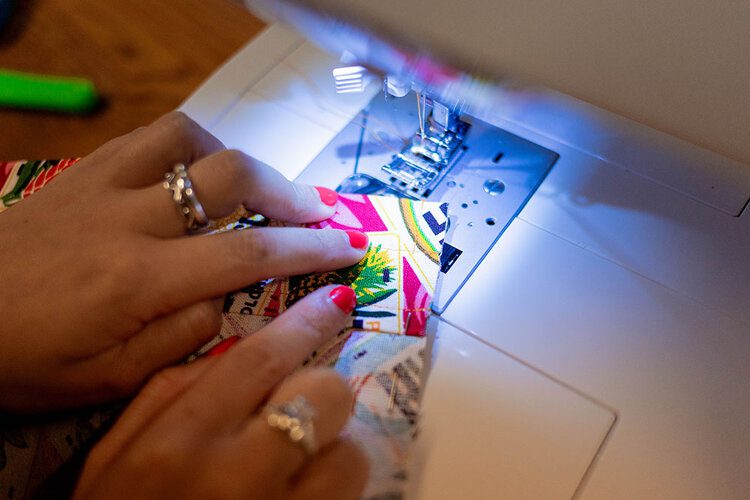
10. Sew from the second channel stitch to the top edge of the bag.
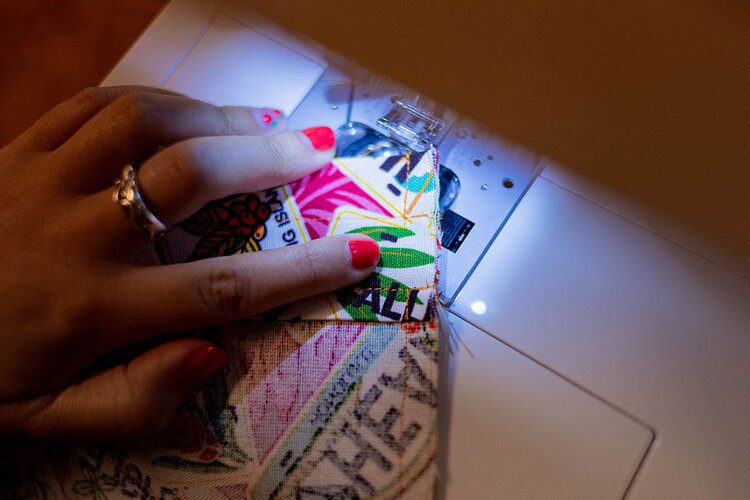
11. Repeat 8, 9 and 10 but this time sew between the existing seam that you just sewed and the raw edge of the fabric. This is to secure the first stitches and to minimise the fraying. If you are using a fabric that doesn’t fray such as a felt then you can skip this step. You can also use an iron bondaweb to line your fabric to prevent it from fraying.
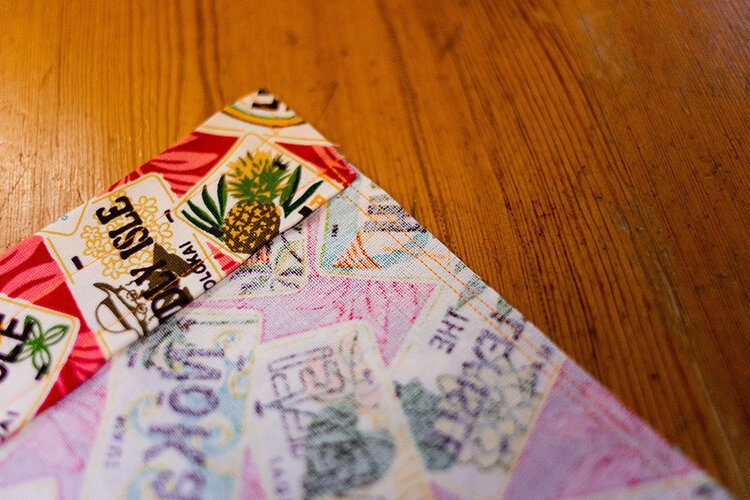
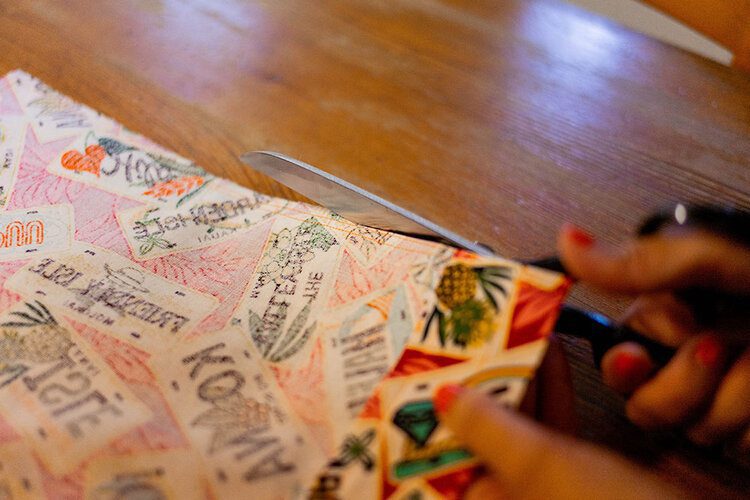
12. Trim the excess fabric as close to the seam without interfering with the stitching.
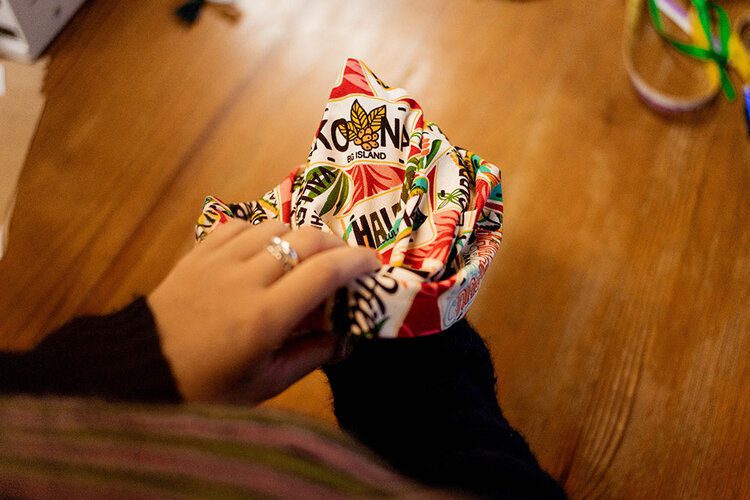
13. Turn out the bag to the right way around.
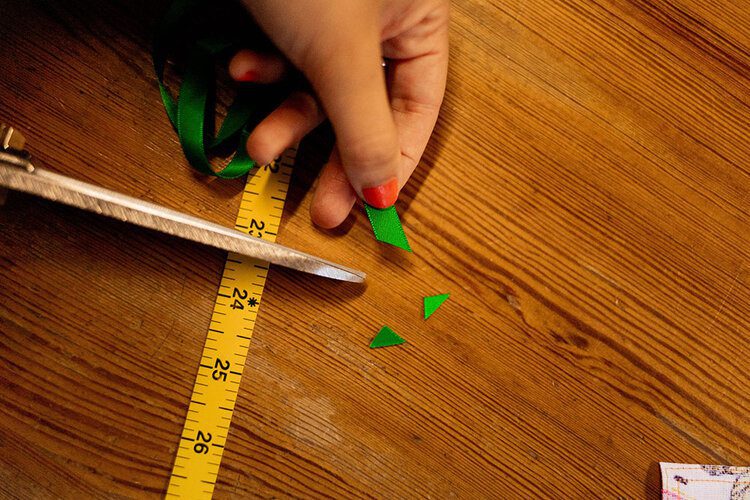
14. Cut x2 strips of ribbon 26” long. Trim each end on a diagonal to prevent fraying.
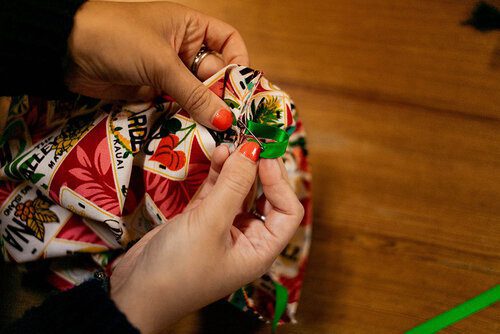
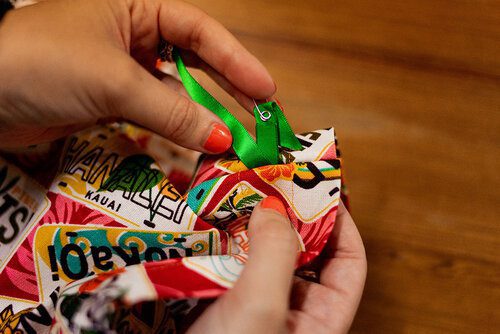
15. Attach a safety pin to one end of a ribbon. This makes it easier to thread the ribbon through the channels.
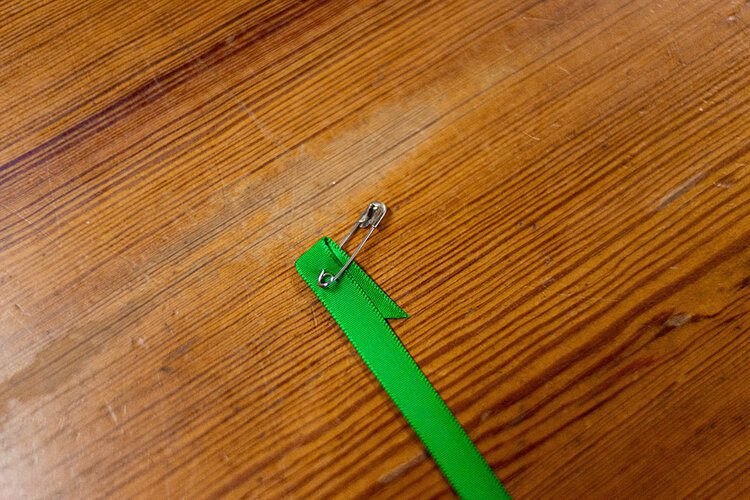
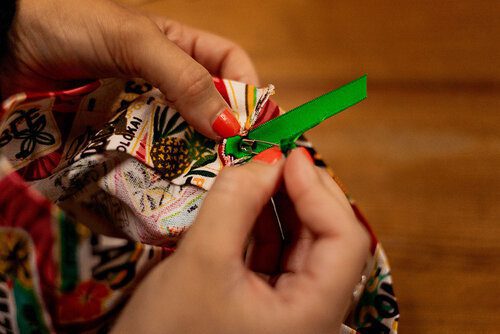
16. With the wrong side of the ribbon facing you (this is so when you pull it though to the outside of the bag, the right side of the ribbon faces out), feed the ribbon into a channel at one of the openings. Using the safety pin, bunch the fabric and continue to feed the ribbon all the way around until you are back where you started.
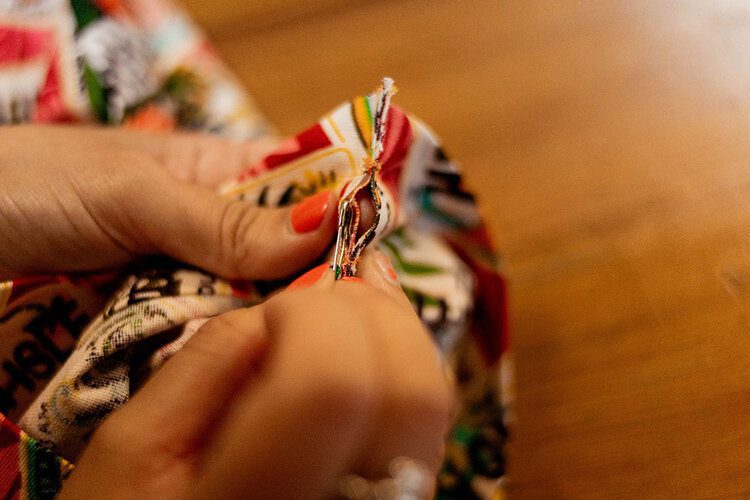
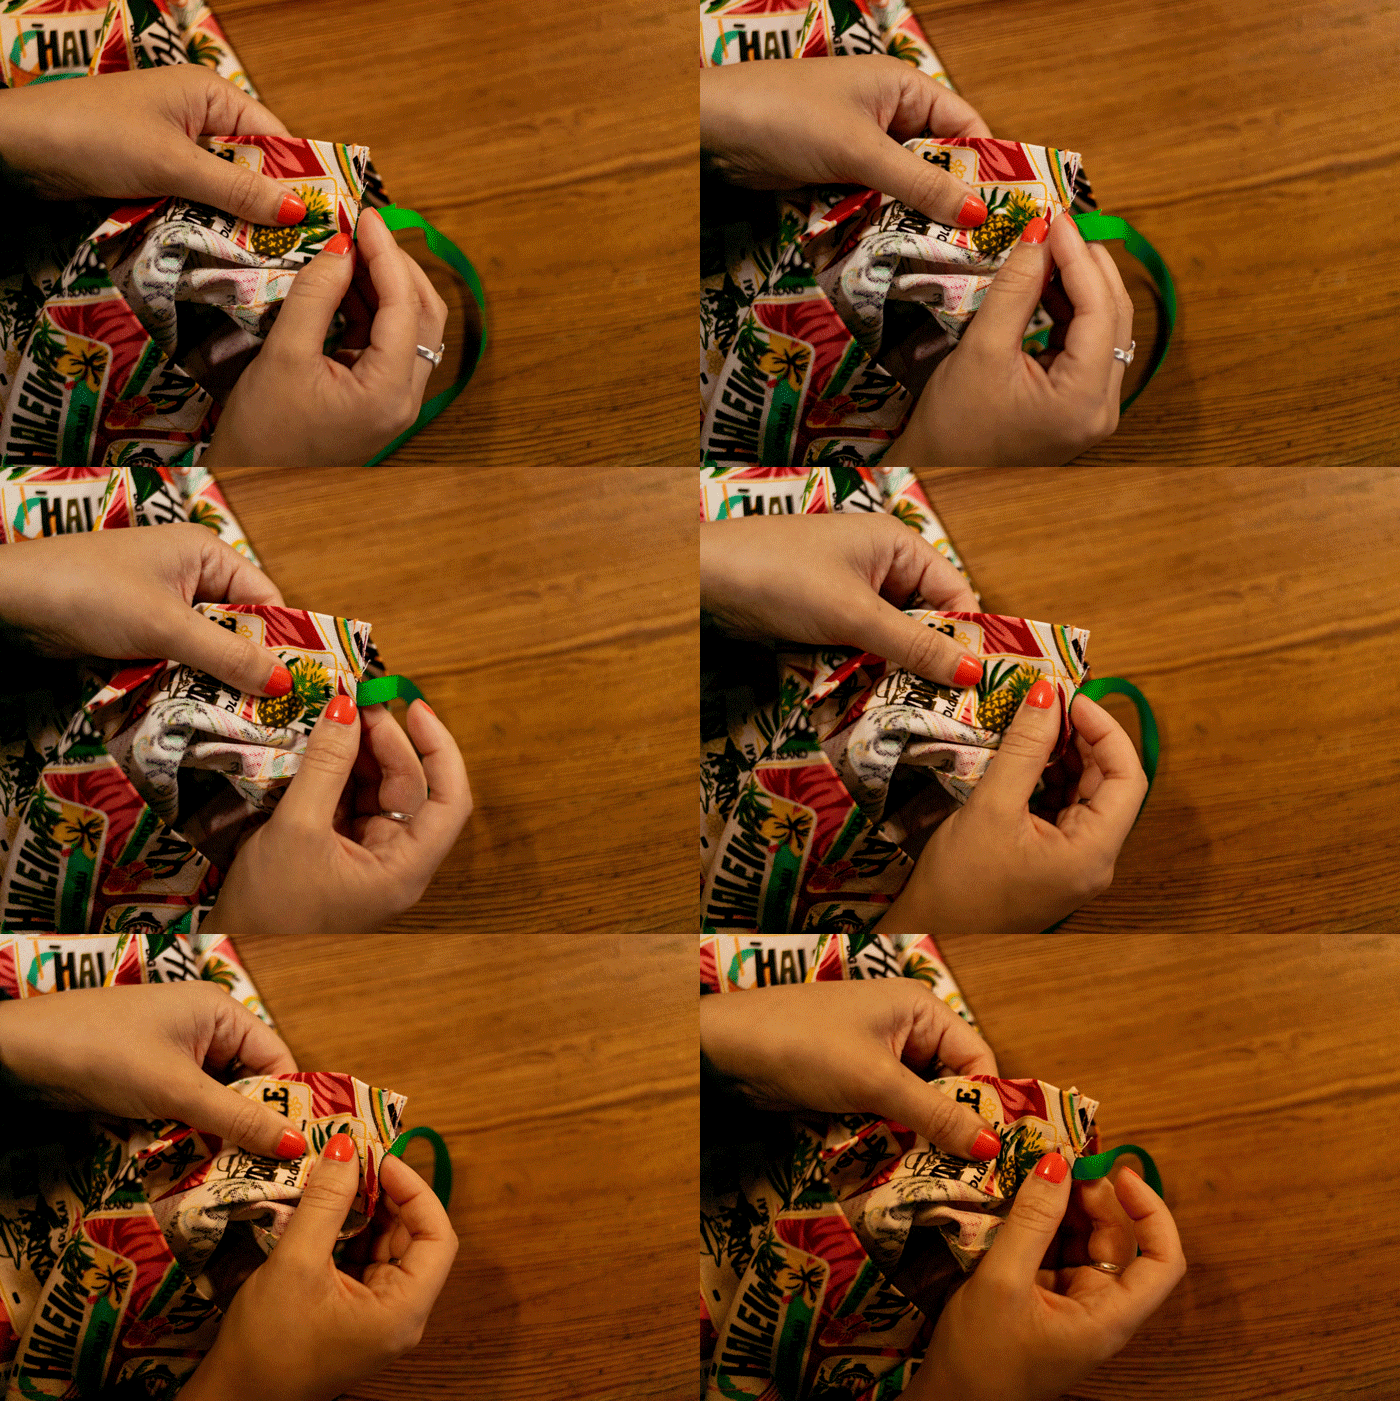
17. Use the safety pin to push both ends of the ribbon to the outside of the bag through the opening. Tie the two ends together with a knot to prevent them from disappearing back into the channels.
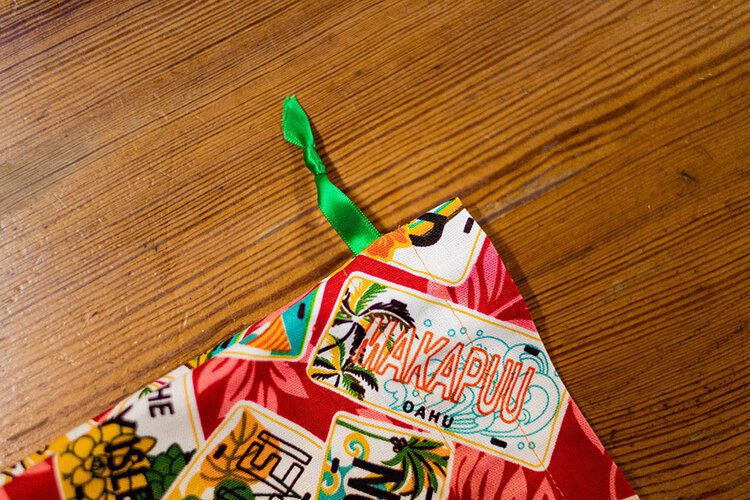
18. Repeat steps 15, 16 and 17 with the other piece of ribbon into the other opening.
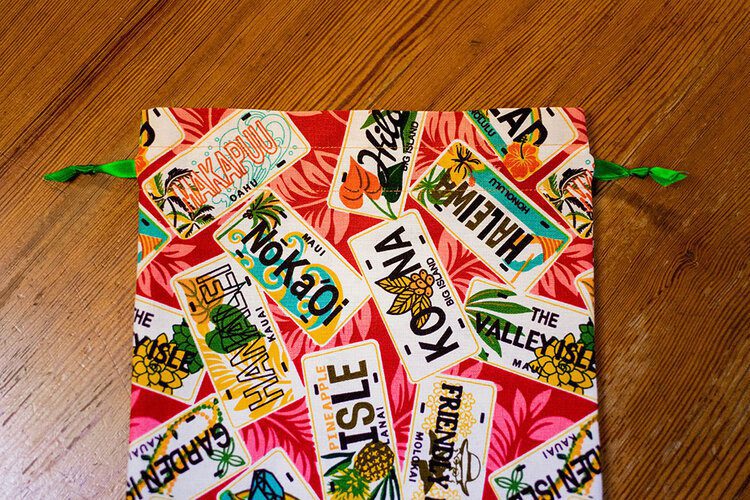
19. There you go! You’ve completed your homemade drawstring laundry bag. Pull on each end of the ribbons to draw it closed!
.
If you make one, I’d love it if you shared it on Instagram stories! Tag me with @gabriellawisdom and I’ll share it!
Aloha and stay home, Gabriella


