For the years it’s been since putting my name into the visa pool for the Canada Working Holiday Visa I have dreamt of being in the snowy mountains of British Columbia. So imagine how excited I was to finally get up Grouse Mountain just over a month after finally moving to Vancouver. I could barely contain myself.
Being a total novice at snowshoeing and feeling a smidge anxious not knowing what to expect, I decided to put together this blog post so that if it’s your first time donning a pair of snowshoes to tackle the side of a mountain you can have a better idea of how to prepare.
In this beginners guide to snowshoeing I will be sharing what to expect, how to prepare, what to wear and what to pack into a backpack so that you aren’t caught out unprepared in the cold.
What is snowshoeing?
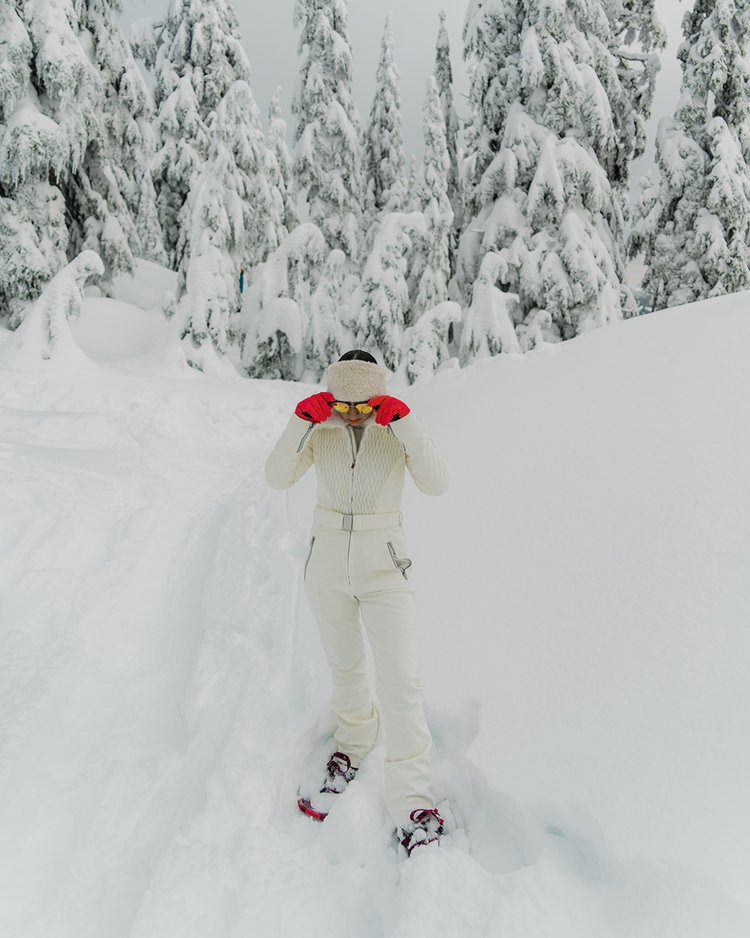
Snowshoes are an outdoor footwear accessory that can be attached around your own shoes without needing to take them off. Unlike skis or a snowboard, specialised shoes are not necessary for wearing snowshoes, however it is highly recommended you wear snow boots or waterproof hiking boots to avoid getting wet feet or something worse such as frostbite.
Snowshoes are wider and longer than your feet and flat so that they can evenly distribute your weight atop deep snow to prevent you from sinking into it.
Snowshoeing is pretty much hiking but in freezing cold conditions. They can be used for a light and pleasant walk or for a challenging and exhilarating hike.
What to expect when snowshoeing
Dedicate a whole day
The first thing you should expect, aside from the obvious snow, is that this activity will take up most of your day so dedicate the full day to it.
Thinking we would be walking for a just a few hours, I hadn’t accounted for all the extra parts of the day that all add up. The queue for the sky ride/gondola both up and down – particularly down which was a 45mins wait in the freezing cold, queuing up for the snowshoe rental and the extra long wait for a table at the lodge afterwards.
All in all our snowshoeing adventure took about 10 hours from leaving to returning home so make sure you factor this in.
You’ll sleep well that night
The cold and uncertainty of what you’re doing until you get the hang of it can be very taxing so prepare to be pooped afterwards. Only make plans for a warm shower or a soak in the bathtub to unwind and to sleep.
Snow is cold, fact
The temperature totally depends on the day or location but expect it to be cold, snow is in the name of the activity and it’s important for your own safety and comfort that you dress appropriately to stay warm.
The journey down is fast
If you take a steep route up and there’s plenty of snow then you will be able slide back down on your booty. This was my favourite part of the day, it’s very reminiscent of childhood sledging days on your school holidays. Prepare with waterproof outerwear so you don’t get a frozen bum on the way down.
What to wear snowshoeing
Wearing the correct fabrics and appropriate amount of layers is the most important way to prepare for snowshoeing. Avoid any cotton fabrics as they will retain water and sweat which can give you a chill. Plan to wear wool and synthetics as they are moisture-wicking fabrics and will insulate your body heat better.
Ski socks and another pair of socks worn underneath.
Snow boots or waterproof hiking boots. Avoid anything that stops at the ankle because you don’t want snow getting in.
Thermal base layers – top and bottoms, it’s likely that you may need a couple of thermal base layer tops. Try to wear a turtle neck for extra warmth around your neck.
A fleece, ones that have a fur zip front are best so you can undo them if you feel warm.
A down layer will easily fit under your coat and provide an ideal extra layer of warmth and if you feel this is too much then you can pack it into your bag.
A waterproof coat and trousers – preferably snow pants for keeping warm but if you don’t have them I suggest getting waterproof over-trousers that you can slip over yours so that you can keep your booty dry when you slide back down – if you choose to do that.
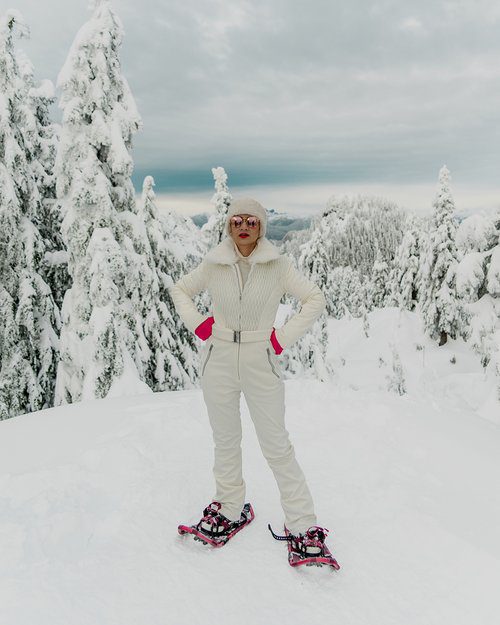
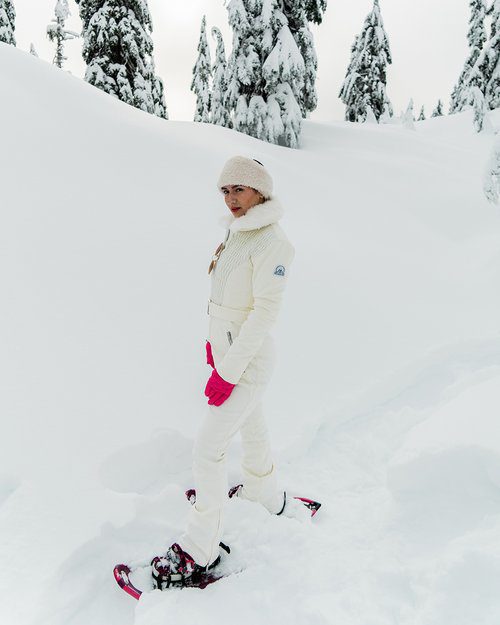
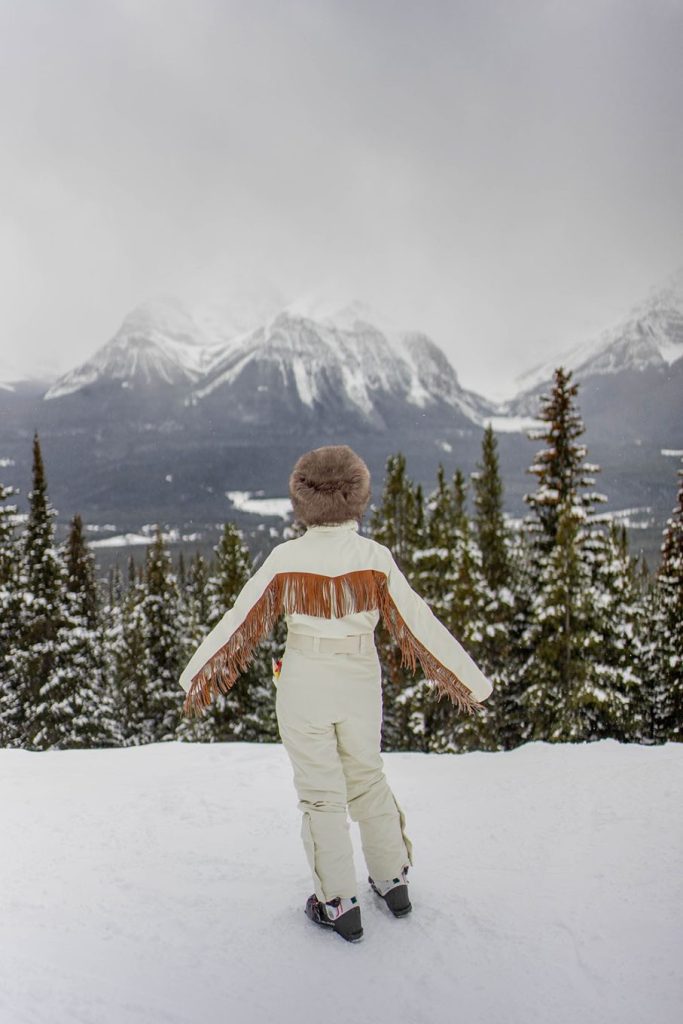
Alternatively you can wear a ski suit like the one I’m wearing but you must layer up underneath and if it’s under -10°C then wear a coat over the top. As this was my first time wearing it and experiencing -15°C I felt very cold at the peak of the trail and desperately wished I has worn my coat over the top.
A hat or ear warmer but I encourage you to wear a hat. I wore an ear warmer and though it kept my ears toasty, I could still feel heat escaping from the top of my head and feel it would have been better to have worn a hat. That being said it was -15°C.
A buff, snood, neck gaiter, ear band, balaclava or neck warmer – something that will keep the chill off your neck and can be pulled up to keep your face warm. Not a scarf as these are hazardous during winter sports/activities.
Ski gloves or mittens – do not wear knitted gloves as they will not stay dry and you will get very sore hands. You can however wear them under your ski gloves for extra insulation.
What to pack into a day bag for snowshoeing
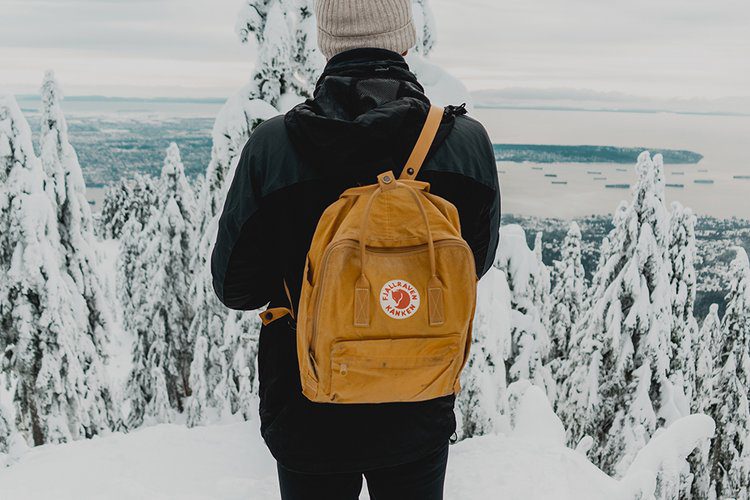
The only practical bag to bring snowshoeing is a backpack. You need something big enough to carry your essentials such as water and spare layers that can be worn on your back so the weight is evenly spread and it’s out of your way. If possible, use one that’s waterproof in case you fall, it snows or you decided to slide back down on your booty.
Alternatively if you don’t have a waterproof backpack, line it with a dry bag to keep the contents dry in the snow.
Here’s what to pack into your backpack/rucksack for snowshoeing:
Proof of Covid19 vaccination and ID, for access to the slopes and restaurants.
Wallet or purse.
Phone.
Camera for documenting your adventures. Keep in mind that cameras need to be kept warm to be able to work in freezing conditions.
Water in a thermal bottle so it doesn’t freeze.
Snacks, again something that won’t go hard in the cold. I brought a trail mix that was fine but the cookies I packed went rock hard.
A small towel to wipe down anything that gets wet.
Sunscreen, snow is highly reflective of harmful UV rays from the sun, so it’s very important to wear sunscreen to protect your skin from burning.
Lip balm to prevent them from drying out or cracking in the cold.
Sunglasses to protect your eyes from the sun and help you to see when it reflects on the snow.
A bag to pick up rubbish, you’ll be surprised at how many people litter in the snow.
Hand sanitiser.
Spare layers in case it’s colder than you were expecting.
Hand warmers especially if you take your hands out of your gloves to take a photo.
A small torch, even if it’s just a light on your phone or a keyring, just in case it gets dark whilst you’re still on the trail.
Blister plasters, even if you’ve broken in the boots you’re wearing, snowshoe straps can cause friction around your toes and heel.
A handkerchief (reusable tissue) if your nose is susceptible to running in cold weather. Learn how to make your own hanky here.
A thermal flask with soup or a hot drink.
A navigation system such as an old school compass or GPS.
A whistle or panic alarm.
Space blanket.
Stanley knife or multitool.
How to put on snowshoes
Luckily for me I had the help of my dear Canadian friend to show me how to get on my ski shoes.
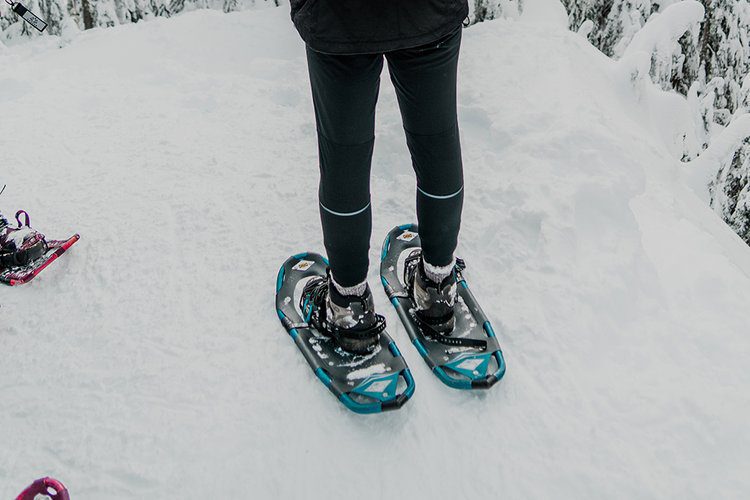
Start by loosening all straps so that you can easily slide your feet into the straps.
There are different shapes and styles but they mostly attach tightly to the front of your feet with straps that cross over the tops of your feet. Pull tightly on the strap to secure them around your shoe.
Pass the back strap around the back of your heel and fastened tightly to prevent the strap from coming undone. The top straps are pretty easy to fasten with gloves on but the strap around the ankle is trickier so ensure you do this one well the first time so you don’t have to keep taking your gloves off in the cold.
How to walk in snowshoes
The first thing to get used to when walking in snowshoes is that they aren’t attached to the soles of your shoes so the back end doesn’t lift as high as your foot does.
Two of the most important tips I learnt on-the-go whilst snowshoeing were:
Don’t try to walk backwards, you will fall. As the snowshoes aren’t fixed to the sole of your feet, the back lifts later than the front which makes it very difficult to walk backwards without the back of the snowshoes dragging and digging in, sending you off balance.
If you need to go backwards then turn around or be prepared for a chilly bum, as you can when I backed up for a photo!
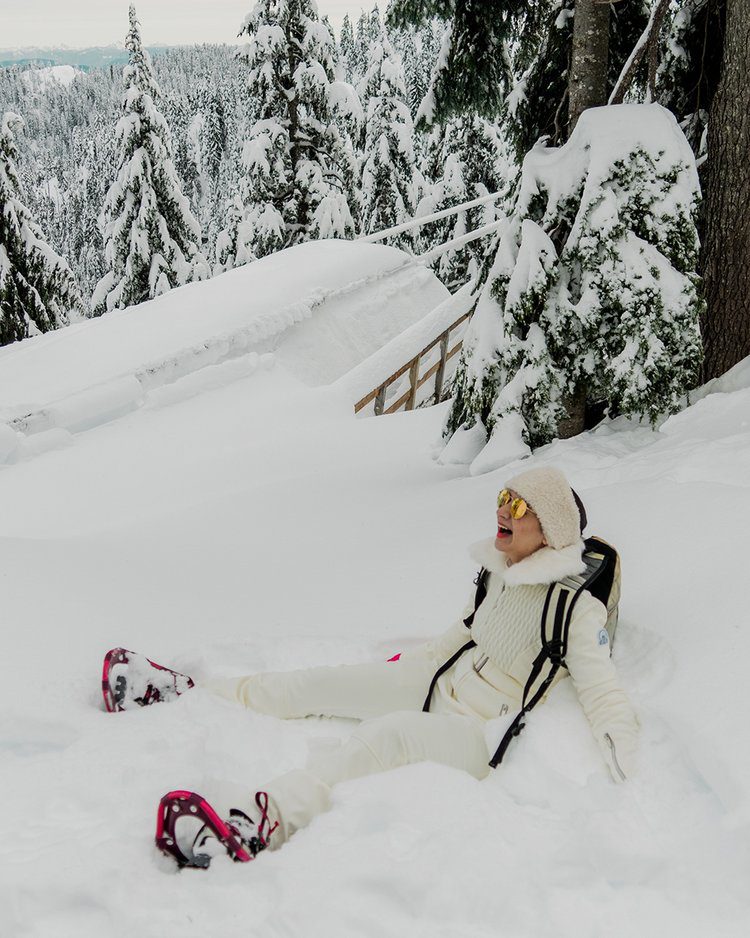
The second of my important tips for walking in snowshoes is to dig your toes into the snow vertically as you begin to scale up steep parts of the trail. If you don’t do this then you won’t make it up without sliding and best to save that for the way down. The best way to get a grip is to imagine you’re kicking the snowy incline in the shins, this should give you good traction and don’t be too proud to use your hands to pull yourself up if you’re struggling to keep your balance.
Things I wish I did differently
As this was my first time snowshoeing I did my best to be prepared for this excursion to Grouse Mountain but there are few things I wish I did differently which would have made my experience a little more comfortable. Here’s what they were in the hopes you avoid them too.
Bring a buff/neck warmer to keep your face warm, if a wind picks up – particularly at the peak – it’s going to be a shock to your face. I struggled to talk for a little while and had to borrow one from my friend until we made it back down.
Drink more water. Just because it’s cold it doesn’t mean you’re not working up a sweat which can lead to dehydration if you’re not replacing lost fluids. I was reluctant to get my bottle out in the cold weather and I regretted it when a headache settled in after I got home.
I should have packed spare layers in my bag. It’s tough to know what will be enough to keep you warm and it’s easier to remove layers so pack extra so you’ve got all bases covered.
Double up on gloves and socks. Even with ski gloves and snow boots I could feel the cold in the moments when my adrenaline wasn’t taking over and it was pretty uncomfortable. Since moving to Canada I’ve learnt that if my fingers are cold then I cannot take on any information until they’re warm again, it’s like frosty-finger triggered brain freeze.
This is a disclaimer on behalf of my good friend who went snowshoeing with us. Do not go snowshoeing, or any other outdoor winter activity for that matter, after receiving any kind of dermatological or aesthetic treatment as you risk irritation from the wind and cold which can lead to a very uncomfortable reaction such as a chemical burn. Leave a few days between your treatment and going snowshoeing to be safe. Unfortunately this was something learnt from experience and I know she would strongly advise against it.
.
As I mentioned at the start this was my first time snowshoeing so although I can shed some light on what to expect and how to prepare for it, as a newbie I can’t offer advice on how to prepare for something like a snowshoeing race or an off-the-grid hike so please do further research to ensure you prepare safely.
If you have tips for snowshoeing that other readers will find helpful, please leave them in the comments! Additionally leave a comment if you find this useful.
Do more on & for the planet, Gabriella


