As you are aware, this homemade jam recipe blog post has been published in the midst of a worldwide pandemic. I haven’t left England in over a year and I don’t have any trips booked for the foreseeable future. Giving you fresh travel content is tricky, but I want to keep giving you blog posts that can at least keep you occupied whilst you also wait for your borders to open, so here I am publishing my Mum’s jam recipe.
Her homemade jam is stashed in just about every corner of her kitchen so we can all trust that she makes a good jam. You didn’t come here to read an essay about why you’re getting a homemade jam recipe though as the chances are you’re here because you just want a jam recipe, right? If that’s the case scroll down for the recipe. Everything that comes between now and the recipe is me answering some frequently asked jam related questions, so if you find yourself thinking “how long will this jam last Gaby?” check back here and I won’t judge you for skipping these paragraphs before the recipe – we all do it!

Notes on making homemade jam
Homemade jam is really easy to make, plus it’s a really cute gift if you’re trying to give more eco-conscious presents – it uses minimal ingredients, it preserves the fruit for much longer and it gives a greater purpose to your upcycled jars.
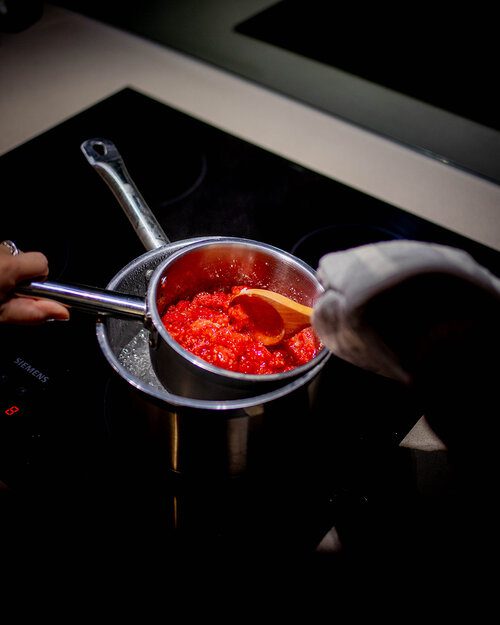
PFH Top Tip: Wear an apron or something dark coloured that you’re not precious about as the jam will spit.
Can I take jam on a plane?
Making jam out of fresh fruit is also a really neat and easy way to preserve fruit to bring it home from your travels in your suitcase, should you be staying in accommodation with a kitchen.
Border restrictions prevent you from being able to enter a country with fresh fruit but the sugar in jam preserves the fruit and eliminate the risk of pests and diseases that can spread with fresh fruit.
Of course, the jam is a liquid so you will have to pack it into your checked luggage to be able to bring it back. Make sure it’s protected within your luggage so it doesn’t break when your suitcase gets tossed around behind the scenes.
Jars are super easy to get hold of in homeware stores so should you go coconuts for some juicy mangoes on your tropical travels, you can make them into jam and bring them home to enjoy! I actually made a raspberry and mango jam with this recipe (if you add another fruit then increase the amount of sugar to match the weight of all the fruit) and it was delicious!

How do I sterilise up-cycled jars?
It’s super simple to sterilise old jars to give them a second life such as holding your homemade jam. Place the jar into a container filled with warm soapy water and leave for a few hours to remove the labels and the sticky residue. Then either wash out the jar or put it in the dishwasher to clean the inside.
To sterilise it before using it for food storage (leftovers, jam etc.), pour some boiling water into it and let it sit for a few minutes. Wear oven gloves/mitts or use a tea towel to touch it to pour out the water so you don’t burn your hands. Dry it and it’s ready to use.
How much jam will this recipe make?
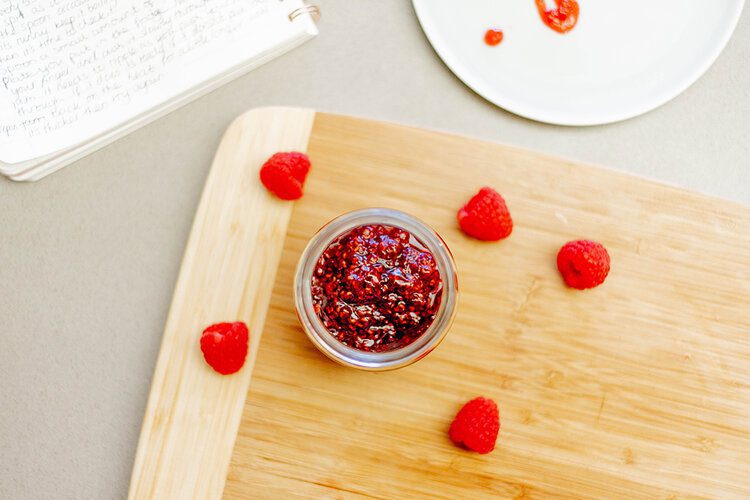
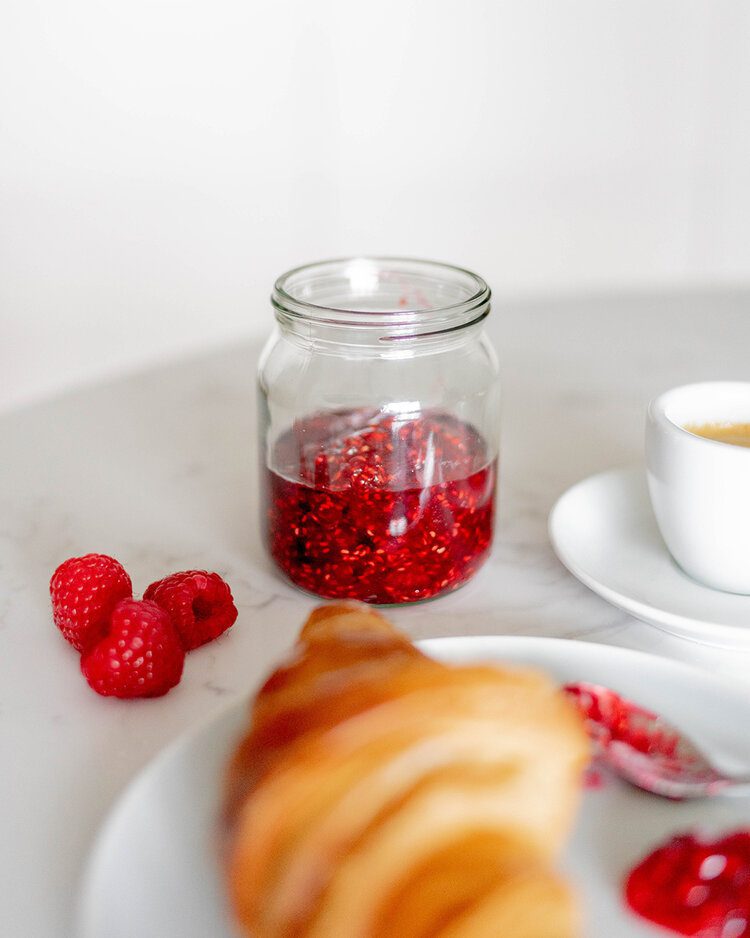
This is a small batch jam recipe and will make one jar of jam. A 150g punnet of raspberries (which is a standard measurement in British supermarkets) will make one 350g jar of jam.
Although I give quantities of the ingredients below the rule of thumb for jam making is to have equal sugar to fruit. The quantities in my jam recipe are based on the punnet of raspberries I bought, so just check the weight of the punnet you buy and adjust your sugar to equal it.
Take into consideration this is based on weight not volume.
How long will homemade jam keep?
If you store homemade jam in a cool and dry space that is out of direct sunlight it will last for 12 months.
Once opened, your jar of jam should be consumed within a couple of months.
Store opened jars of jam in the fridge.
Use a clean spoon/knife (as opposed to one with butter on it) to prevent it from getting contaminated.
How will I know my jam is the right consistency?
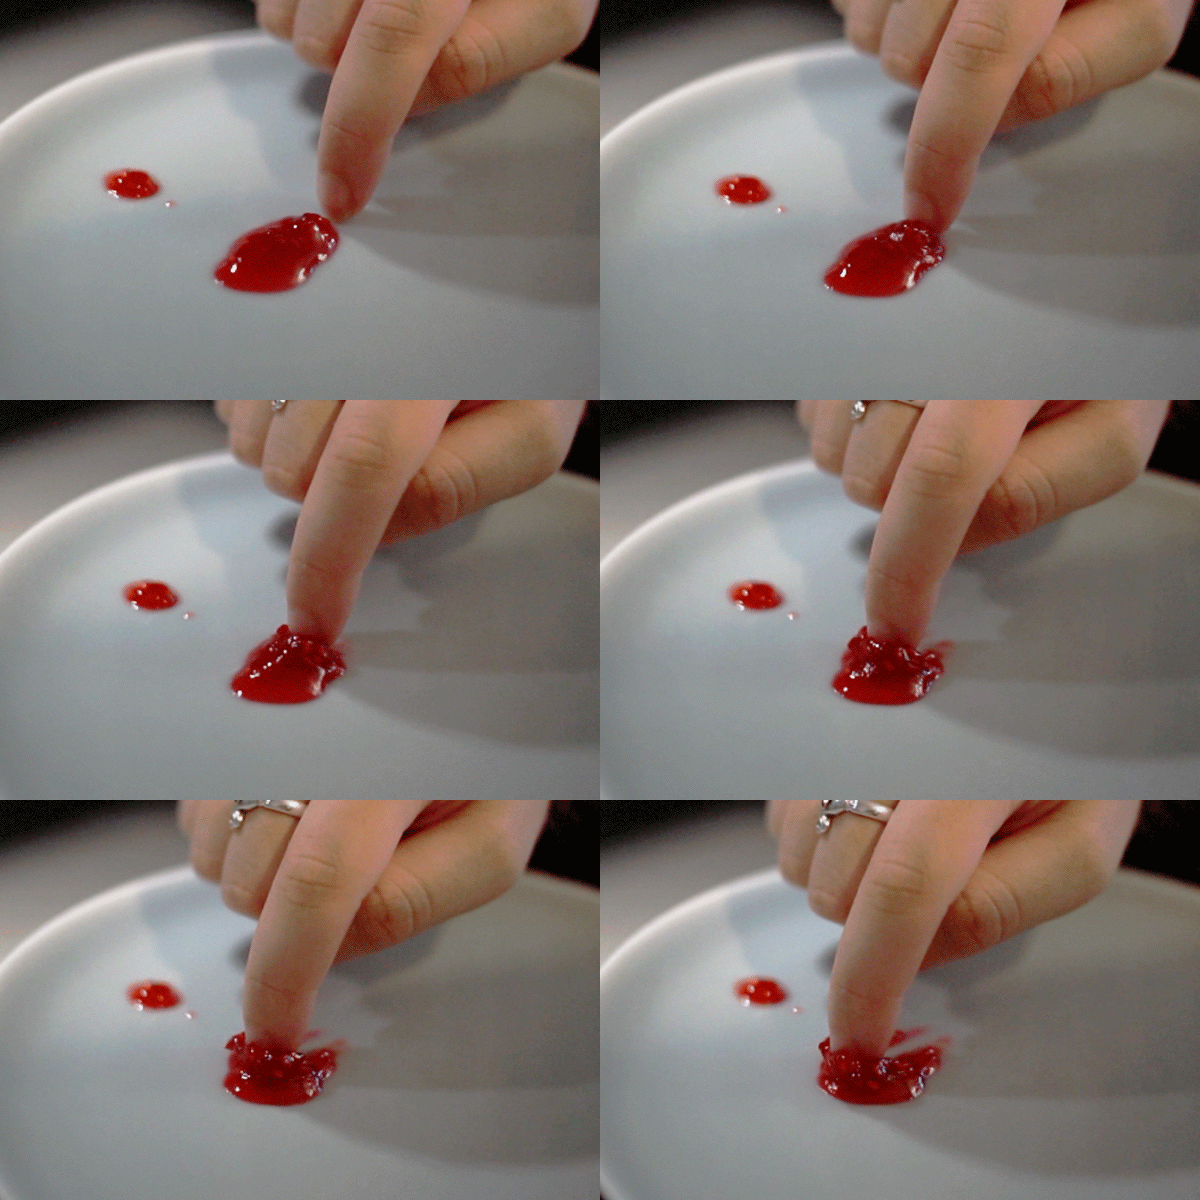
I explain the process for checking your jam is the right consistency in step 9 of the recipe below but if you’re just looking for this answer then the test goes as follows:
To test if your jam is ready to pour into your jar push your finger through the centre of the jam. If the jam ripples in resistance to your finger nail and your finger leaves a clear path through the jam then your jam is at the right consistency.
If you’re still unclear then take a look at step 9 for a GIF that perfectly illustrates what I mean.
What you need to make jam
Wooden spoon
Medium saucepan
Small saucepan
Scales/measurement cups
Tbsp measure
Small plate
Jam jar with lid
Homemade raspberry jam ingredients
150g / 1 ⅓ cups / 5.3 oz of fresh raspberries
150g / ¾ cups / 5.3 oz of Billington’s golden caster sugar
1 tbsp lemon juice
Raspberry jam recipe
1. Put a small plate in the fridge. This is for checking if your jam is the right consistency before pouring into your jar to set.
2. Pour some boiled water into your jar to sterilise it. Set it aside until you’re ready to pour the jam in.
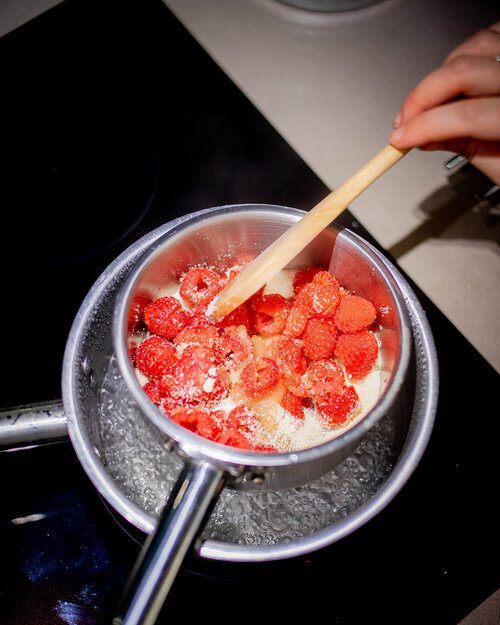
3. Set up a double boiler by placing the smaller saucepan into the larger saucepan and bringing enough water to the boil in the large saucepan that it heats the small one but doesn’t touch the bottom. Once the water is boiling, turn it down to a simmer.
4. Add your sugar to the small saucepan and leave it to gently warm the sugar, this will encourage the fruit to melt rather than burn when you add it. Stir the sugar every few minutes to make sure it’s heating evenly.
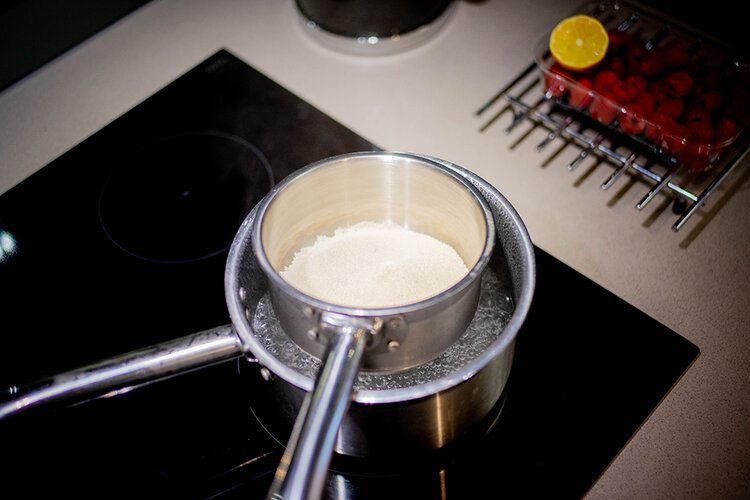
5. Once the sugar is warm to the touch (it should only take about 8 minutes) add your raspberries (or fruit of choice) and lemon juice.
6. Gently stir to encourage the fruit and sugar to melt together.
7. Once the fruit and sugar has combined, remove the small saucepan from the large one and place it directly onto the hob (giving the bottom a quick wipe dry before) and increase the heat until you have brought the mixture to a boil, stirring it consistently every 5 seconds. WARNING, the jam mixture will spit as it boils so wear oven gloves/mitts to protect you hands.
8. After 10 or so minutes boiling, the consistency should go from runny to sticky. If it is still runny then continue to boil and stir it. You want to keep an eye out for when it starts to stick to the sides of the saucepan.
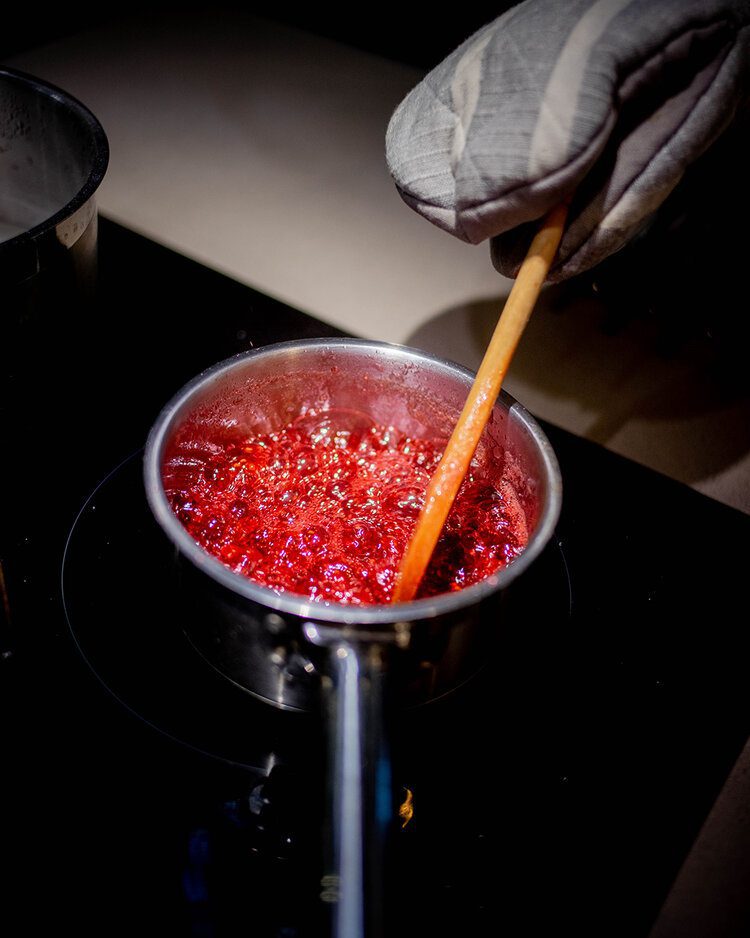
9. Once you see the jam starting to stick, take your small plate from the fridge and use the spoon to drop a small amount of jam onto it. To test if your jam is ready to set, push your finger through the centre of the jam, just like I’m demonstrating in the GIF below. If the jam ripples in resistance to your fingernail and your finger leaves a clear path through the jam then your jam is at the right consistency. If it doesn’t ripple and looks as though your finger was never there then continue to boil and stir the jam until it appears thick enough to try this test again.
10. Once your jam is the right consistency on the plate, take the saucepan off the heat. Pour the water out of the jar, dry it and pour the jam in. Place the lid on whilst the jar is still warm so that it forms a seal (as it cools you’ll hear a pop as the lid expands to form a seal).
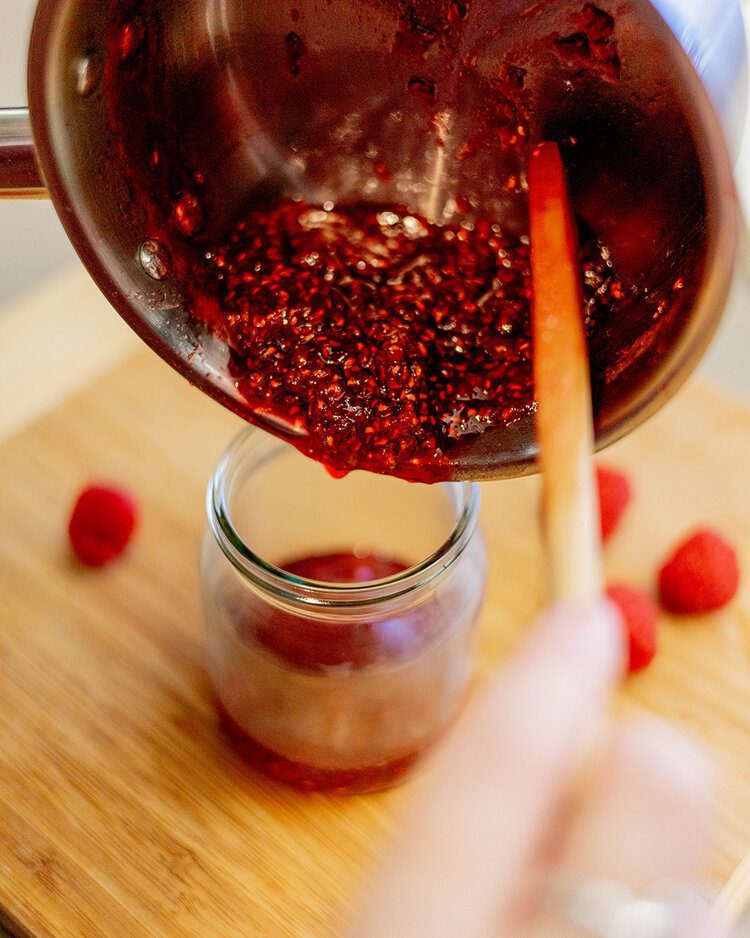
11. Leave it out to cool completely so that it sets. You can keep your unopened jam in a cool and dry place for up to a year. Once opened, store it in the fridge where it will last for a couple of months.
Bon appétit!
You may also be interest in my vegan sugar cookies recipe.
Do more on and for the planet, Gabriella


